If you’re thinking about getting a wooden cup coaster for yourself or a friend, here’s how you can DIY one in under an hour. This cup coaster is so easy to make, I hesitated about publishing this “guide” for a long time.
I’ve been making wood pens for over a year now, and I might have purchased way more pen blanks than I can possibly use. Lately, I’ve been thinking about what else I can do with them, and “cup coaster” is one of the things I wrote down in my little book of woodworking ideas.
I rummaged through my basket of pen blanks and decided to use maple, walnut, Purple Heart and Yellow Heart blanks.
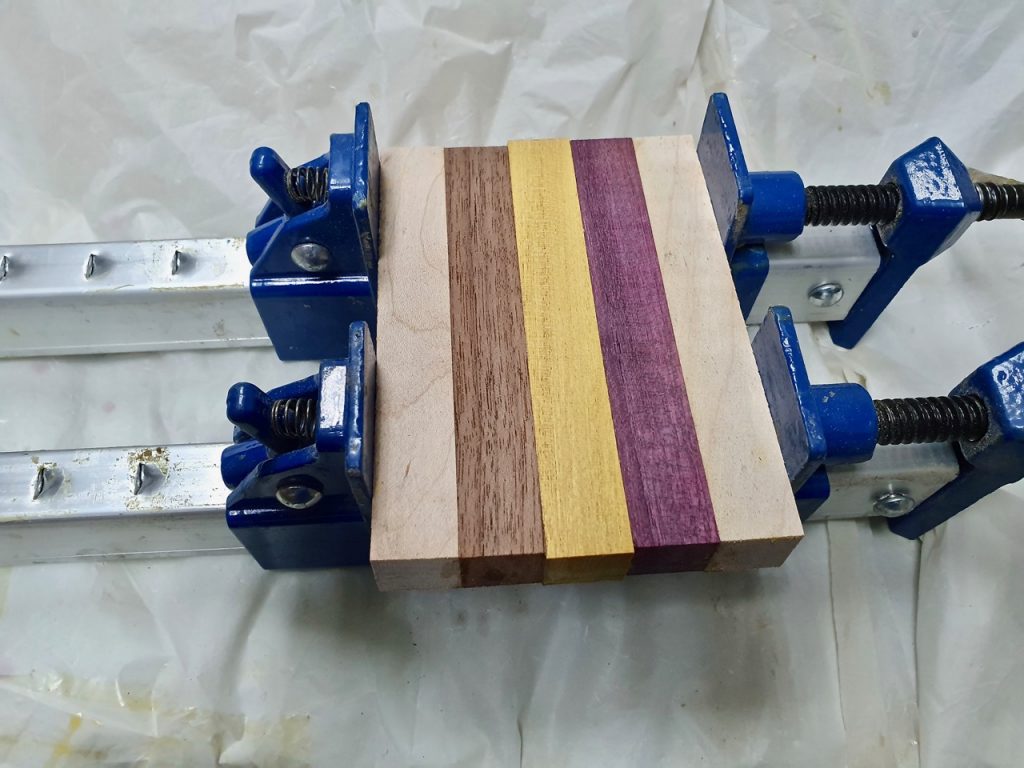
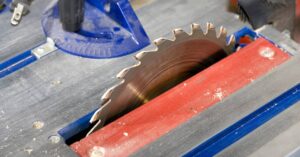
The first step is to square the blanks on all four sides. This is very important because almost all pen blanks are rough cut. You can have them cut at the same dimensions or not, but they must be squared up with a table saw.
Then, arrange the blanks for the best fit and colour matching. I glued the blank with Titebond 2 wood glue.
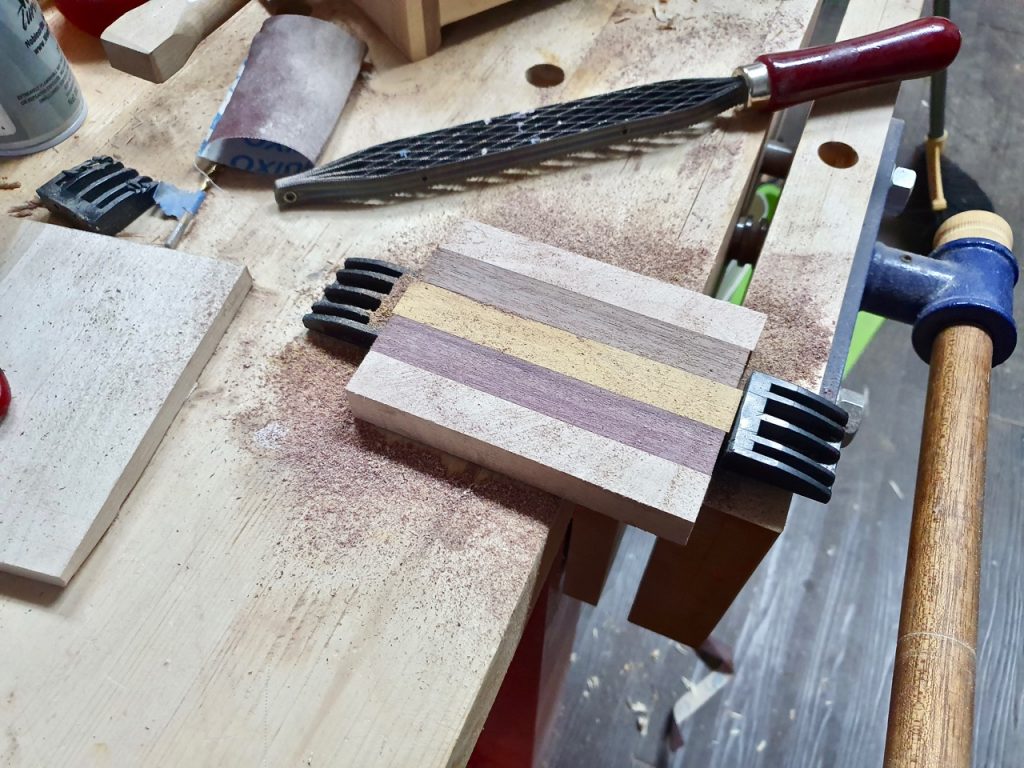
I levelled the laminated blanks using the Shinto Rasp I reviewed a few months back. It made short work of getting both sides of the wooden cup coaster flat, but I had to finish with a few grits of sandpaper.
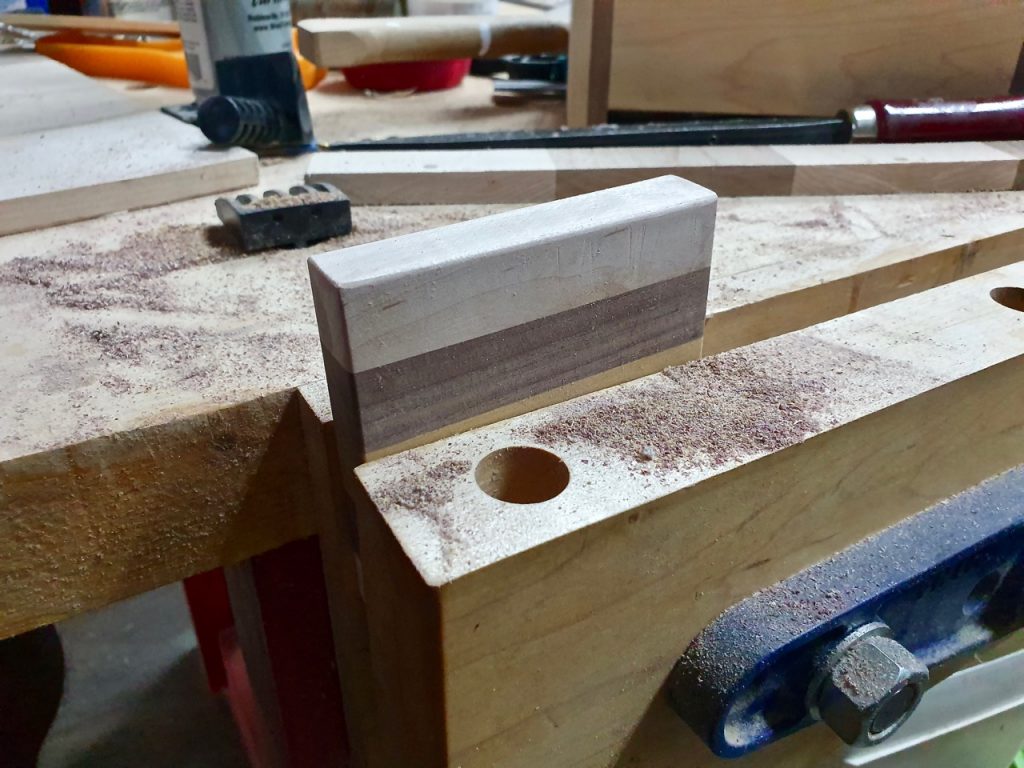
If you have a card scraper / cabinet scraper, use that. You could also use a sharp smoothing plane or block plane. I added bevels using my Stanley block plane.
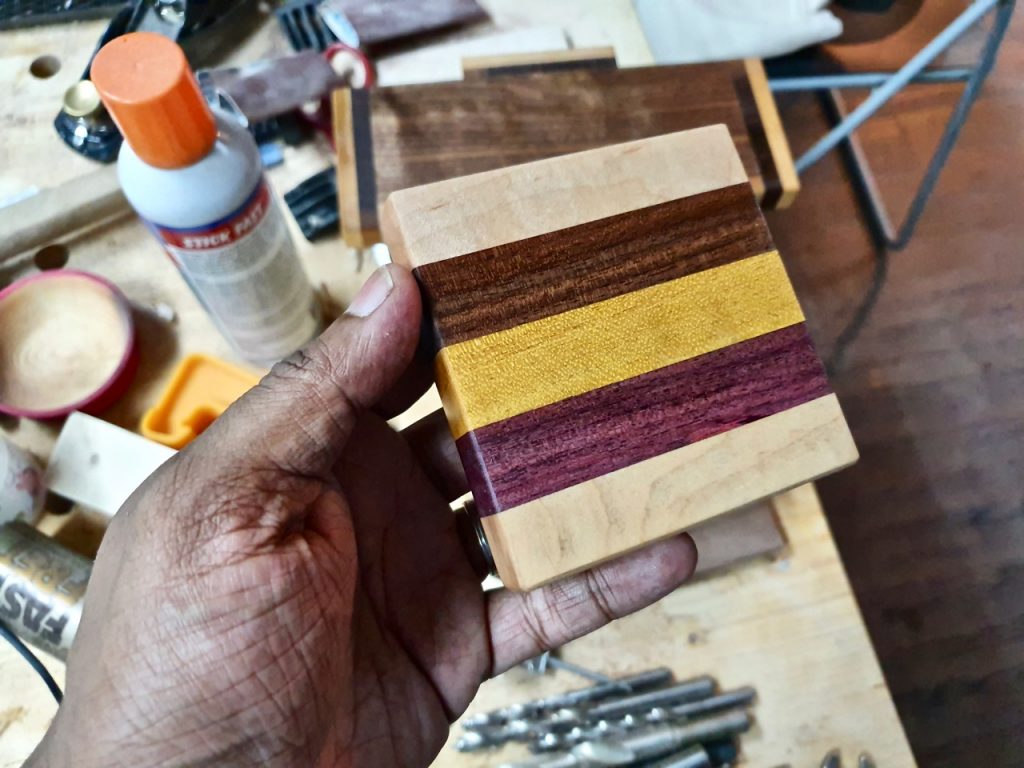
After several coats of wipe-on poly, with sanding between layers, I got the satin waterproof finish I was aiming for.
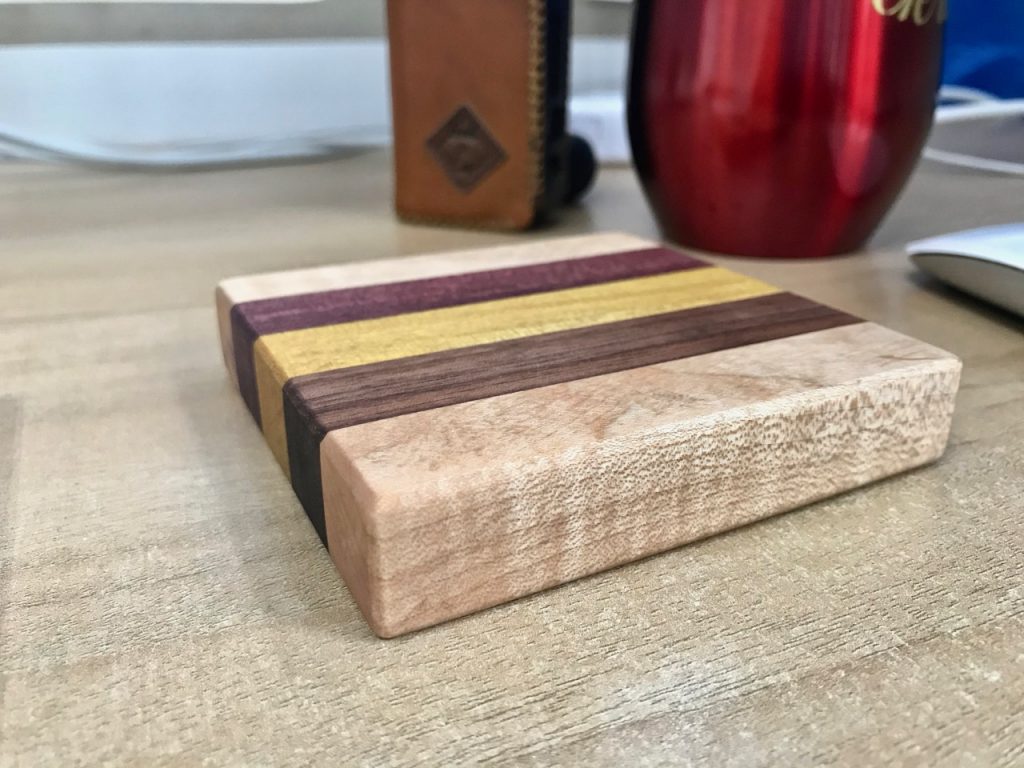
The wooden cup coaster I created from unwanted pen blanks looks chunky in the pictures, but I think it looks just about right in real life. I could have made it thinner, but this way, I can always reuse the coaster for other projects in the future.
Ironically, it is also still thick enough to become several pen blanks again!

