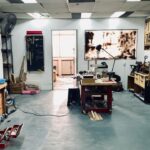
Since my workshop is tiny, I’ve always wanted to build myself a cheap cyclone dust collector & separator. However, from my previous experience buying vacuum adapters that just didn’t fit, I knew I had to take my time and read as much as I could about these cheap Amazon cyclone dust separators before biting the bullet.
Until today, I was using my Bosch vacuum cleaner for sucking up just about every kind of dust. It was small and removing all the fine dust from my table saw and belt sander was a nightmare. Often, I would end up releasing tons of fine particles back into my shop while trying to clean the filters of my Bosch vacuum.
The total cost of building the entire cyclone dust collector from scratch was about $36. To build my cyclone, I used these things:
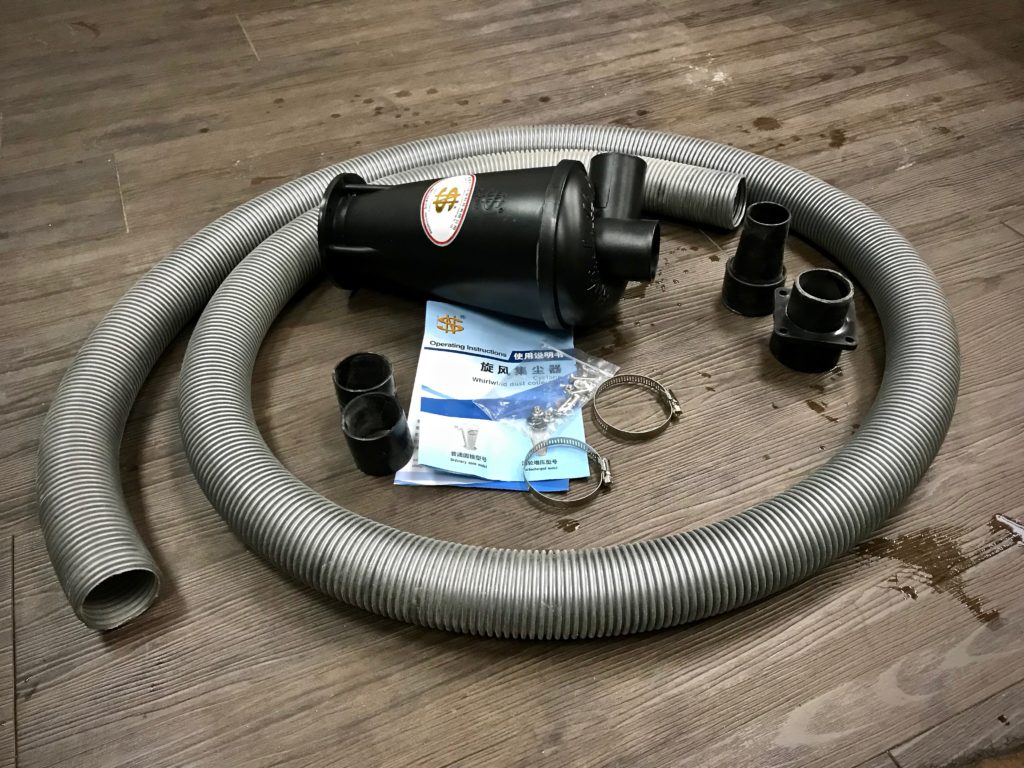
- DIY cyclone dust separator. It came with two 50mm adapters, nuts and bolts, hose clamps and instructions. The one I bought cost around $18.
- 50mm vacuum hose, which costs about $26 for 3 meters. As I explain below, 2 meters is probably enough and would have cost only about $18.
- Used empty 5-liter paint bucket with plastic lid. This proved to be the most difficult to get. For whatever reason, searching through other people’s garbage always got me smaller buckets or buckets in bad condition and without lids. You can buy empty plastic paint buckets from Amazon here.
- Some random hose adaptors I was already using in my workshop to connect my Bosch vacuum with my table saw and sanders. You can get them from Amazon here and here.
- A hot glue gun to seal all connections.
- My trusty Bosch wet & dry vacuum.
I had previously watched this YouTube video where he built a similar cheap cyclone dust extractor. It was useful enough to answer some questions I had.
If you want to understand how and why a cyclone system works to separate dust and fine particles in your workshop, refer to this article.
Cheap Cyclone Dust Collector from Aliexpress
First, let’s talk about the cyclone separator I picked up from Amazon. There are a bunch of them, but when you look closer, most of the listings are selling (more or less) the same dust collector.
This is quite normal in 2020, as more and more Amazon listings are managed directly by sellers in China, who source from the same suppliers. I decided on which one to buy based on reviews and my research. I can no longer find the listing for the exact one I have, but since I published this article there are now better quality versions.
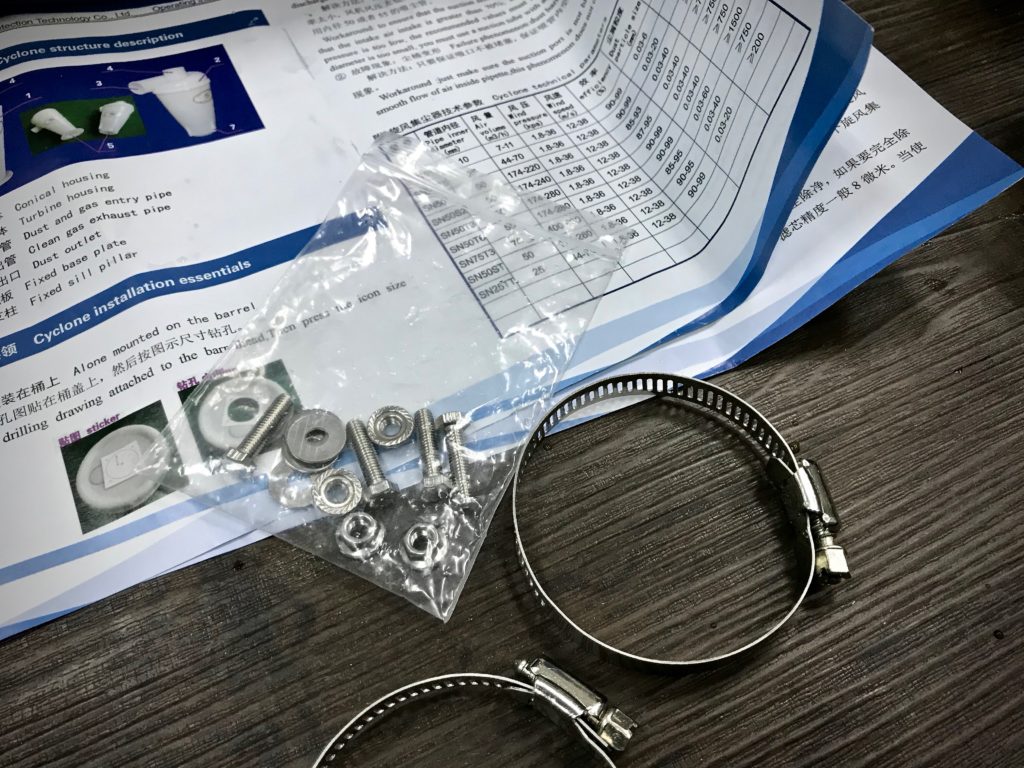
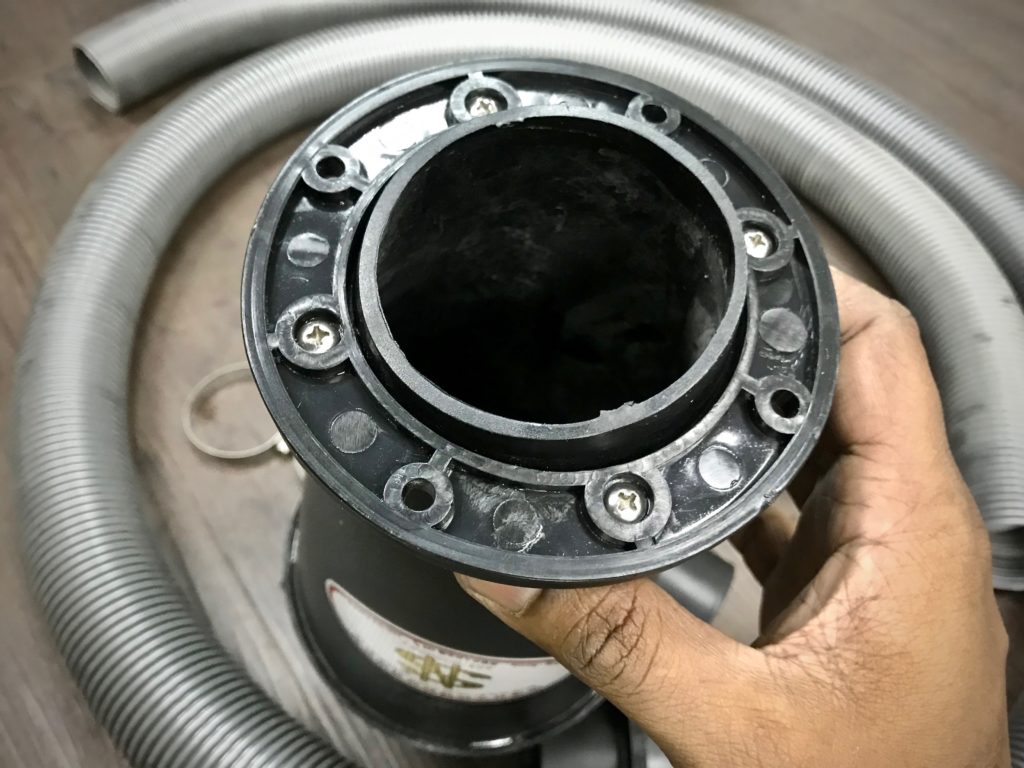
The cyclone itself was pretty well made from plastic. The bolts, nuts, and clamps were pretty good quality. No sharp burrs leftover on any metal part.
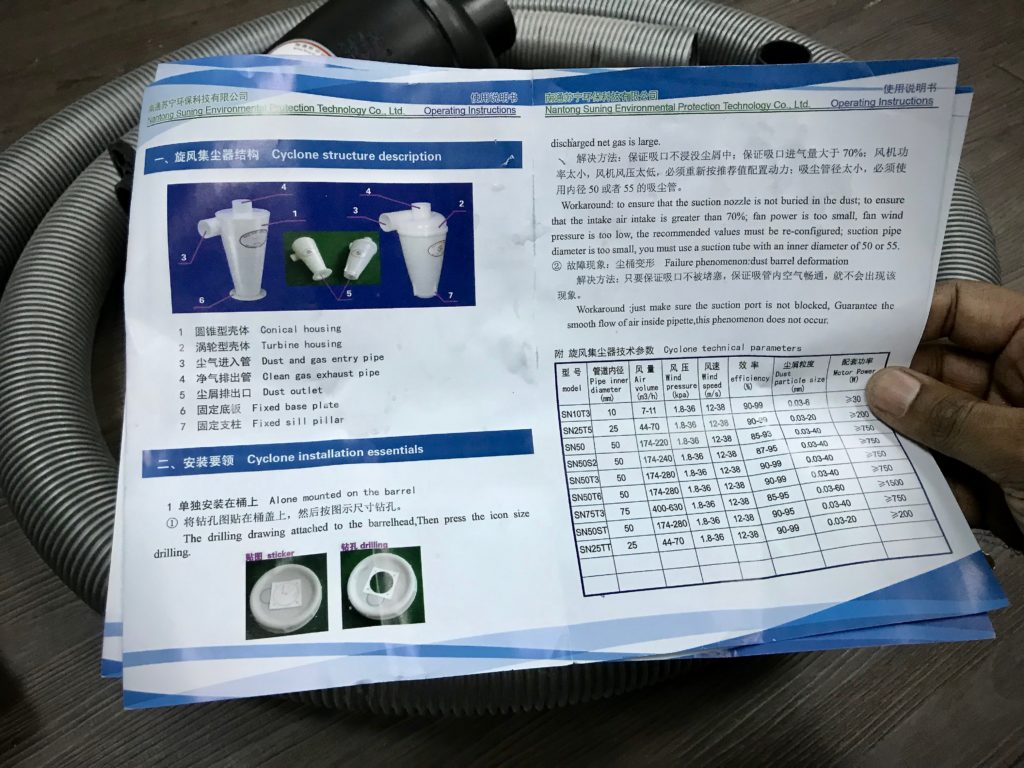
The instructions were clear enough, considering it was translated from Chinese. The pictures helped too. However, there was no “cutting template” in the package. It could also have a part of the box that I had hastily thrown away.
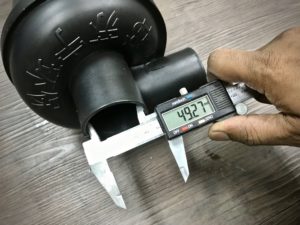
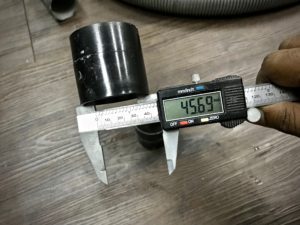
The dust inlets measured 49.27 mm on the inside, while the two included adapters measured 45.69 mm on the inside. They fit the extension hose I bought perfectly.
Assembling The Cyclone System DIY
The first thing I had to do was cut out the main hole and accompanying screw holes. A template would have been handy here. According to these instructions one was included in the cyclone package, but I found none.
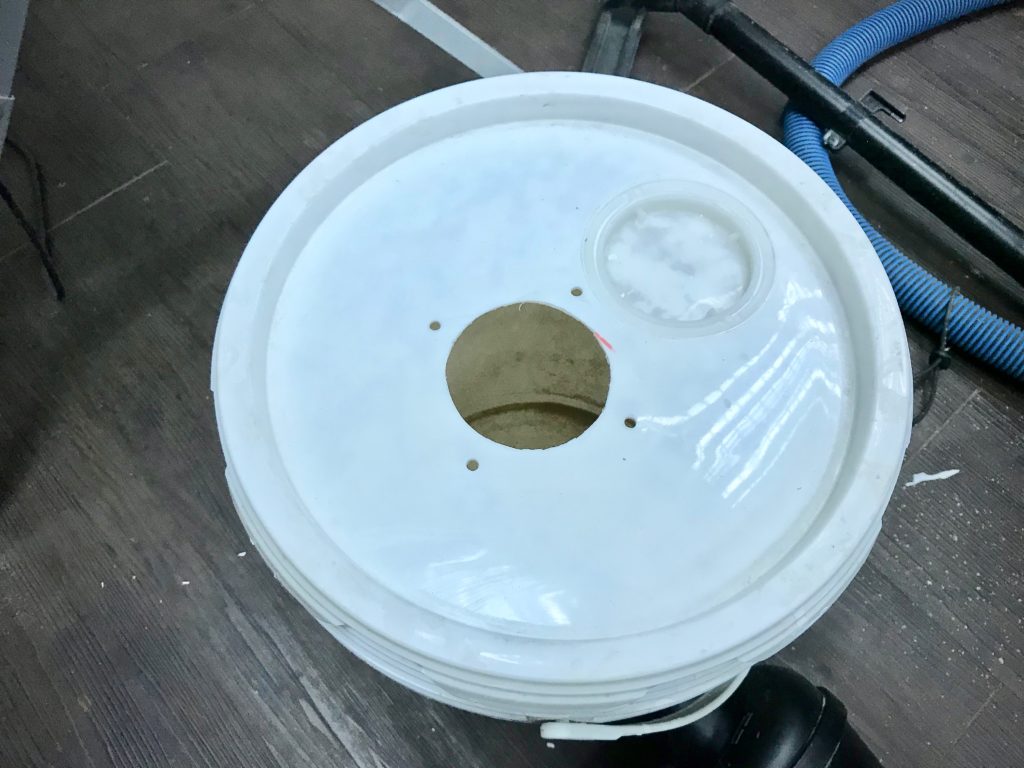
Anyways, I could easily remove the base of the cyclone, which was attached with three screws, and use it to draw out my template. I used a sharp knife to cut out the main hole and drill out the rest.
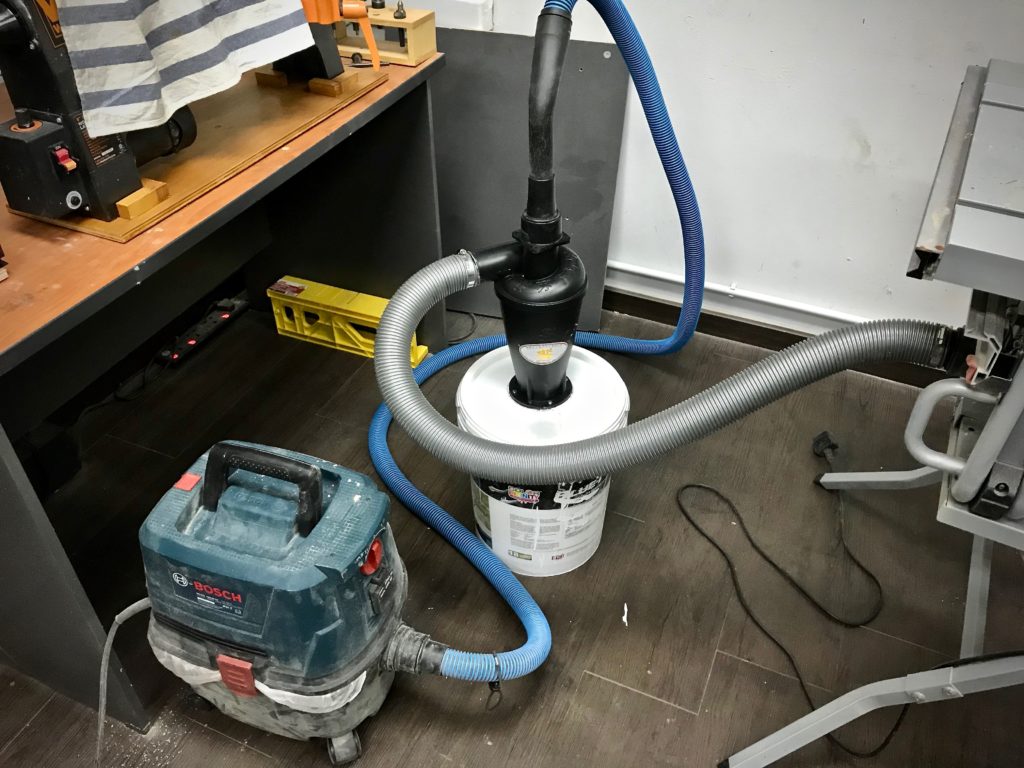
I then screwed on the cyclone dust collector to the lid of my paint bucket and sealed everything up with a hot glue gun. This is to improve the vacuum seal in the cyclone. I used a lot of glue since my main hole was cut pretty jagged.
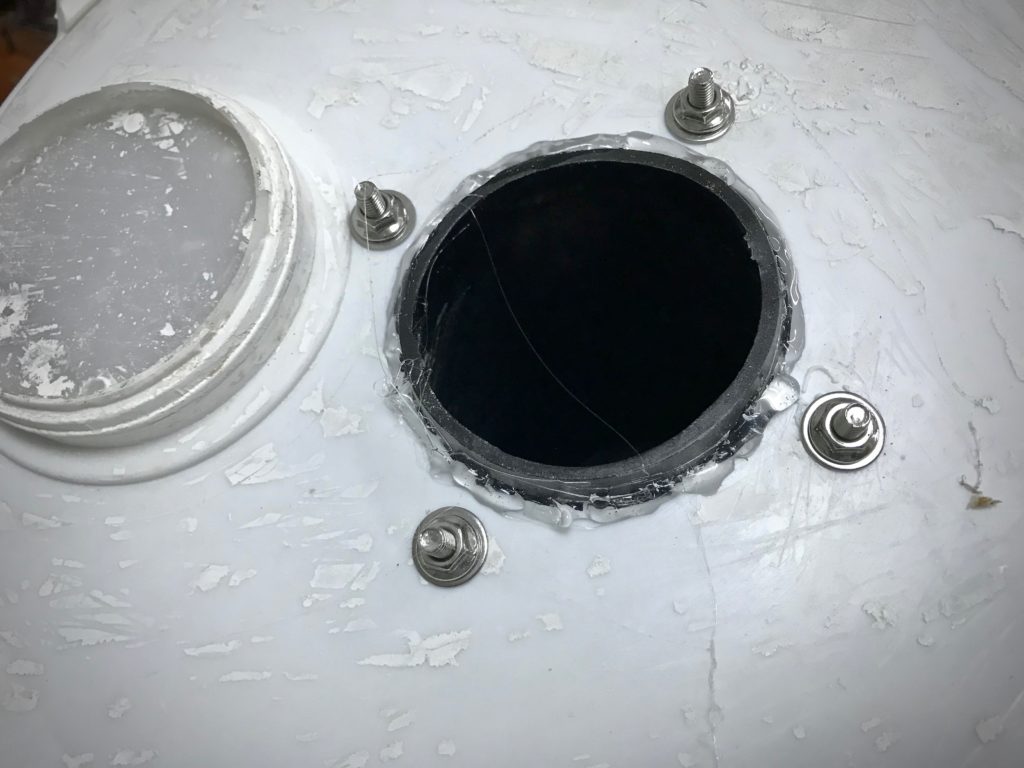
I secure the 50mm adapters with both the included hose clamps and hot glue. I also cut down the extension hose to about just 1.5 meters. This is long enough to connect to both my table saw and belt sander with the bucket on the floor.
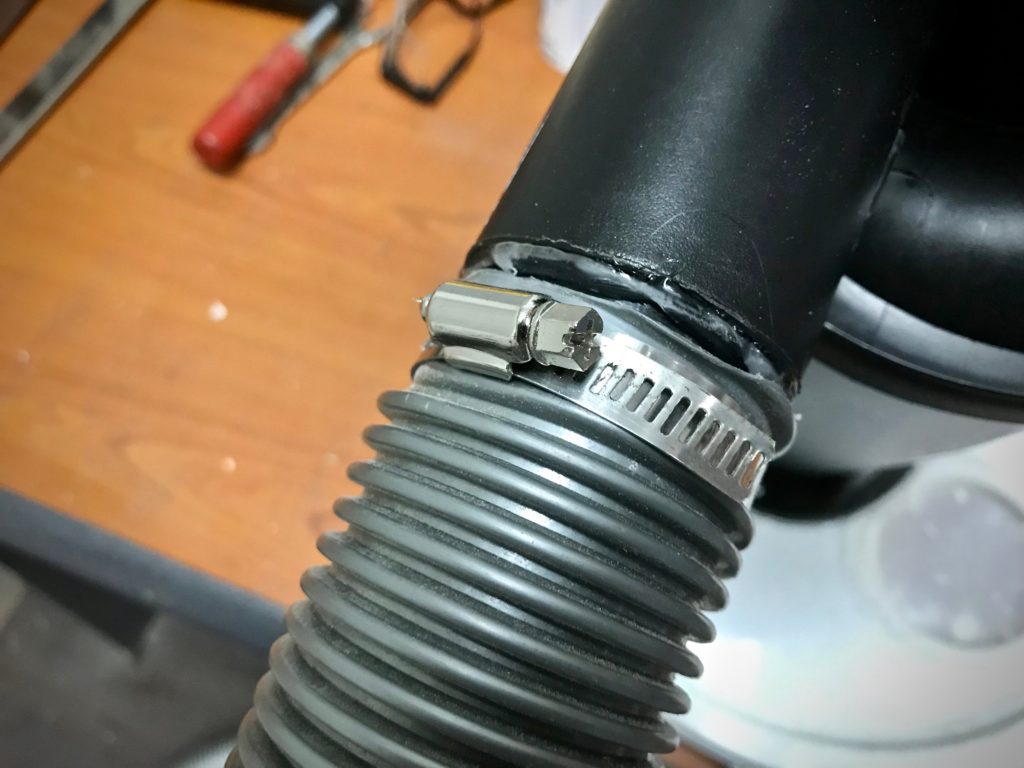
From my previous dry tests, I found that having shorter hoses improve the vacuum suction inside the cyclone dust collector system. Plus, it was cleaner and reduce the chances of me tripping over an extra vacuum hose on the workshop floor.
Does The Cheap Cyclone Dust Collector Work?
In all honesty, I never owned any type of cyclone separator or collector system. Most hardware stores I go to in Malaysia have no idea what a cyclone separator is. I had to research, buy, build, and test everything from scratch.
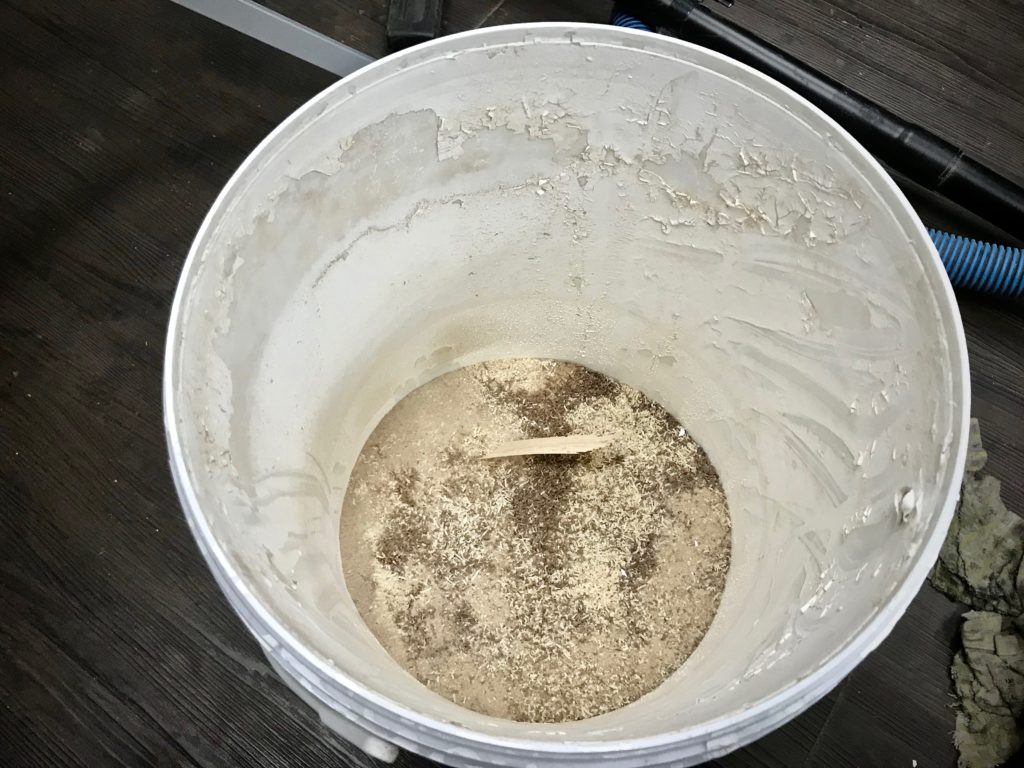
But yes, it DOES WORK. As you can see, this cheap cyclone dust collector managed to separate about 90% of all fine dust particles into the paint bucket. That means I can clean up the filter in my Bosch vacuum cleaner a lot less often. Plus, it’s so easy to transfer the fine dust from the bucket into a garbage bag.
It doesn’t take up too much space in my workshop, but I do plan to make it more portable by building a base with wheels for it soon. I might even build another cheap cyclone dust separator just for my lathe, and have it fit nicely under the table.
A few things I need to mention about getting this setup to work properly:
- Get a hard paint bucket with a durable air-tight lid. If you only managed to get one without a lid, you can cut a new lid from plywood and clamp it to the bucket. Thinner lids may break from the internal vacuum. You can also use a plastic garbage bin.
- Seal all connections and keep the hose as short as possible to prevent loss of vacuum.
- The dust inlet is always the one on the side, while the vacuum inlet is always the one at the top. The cyclone will not work if you get these mixed up.
- If your vacuum is powerful, you may have the issue of a collapsing bucket. Double it up (use two buckets) and this problem will be solved.
I hoped this review and tutorial was useful. Leave a comment below if any of the links do not work, and I will fix them. I believe anyone can build this cheap cyclone dust collector easily with nothing more than a drill, knife, glue, and patience.