While searching for replacement chisel handles, I came across a video showing you how to DIY some really cool wooden chisel handles from scrap wood. Since then, I’ve pretty much dismissed the idea of buying a replacement chisel handle for any amount of money.
It’s also a good way to make use of my WEN mini lathe again, as I stopped turning pens for a while. Let me show you step-by-step how I made these gorgeous wooden chisel handle sets from a stunning piece of African Teak.
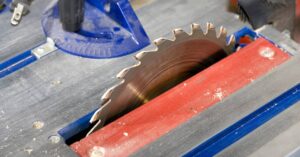
A chisel handle is easy to make with a lathe. All I have is the WEN mini lathe, which proved more than adequate for the job. You can also make handles without a lathe, and perhaps I’ll try creating some in the future.
For this guide however, I have to assume you already have a lathe and all the turning tools you’ll need.
DIY Wood Chisel Handle Parts & Tools
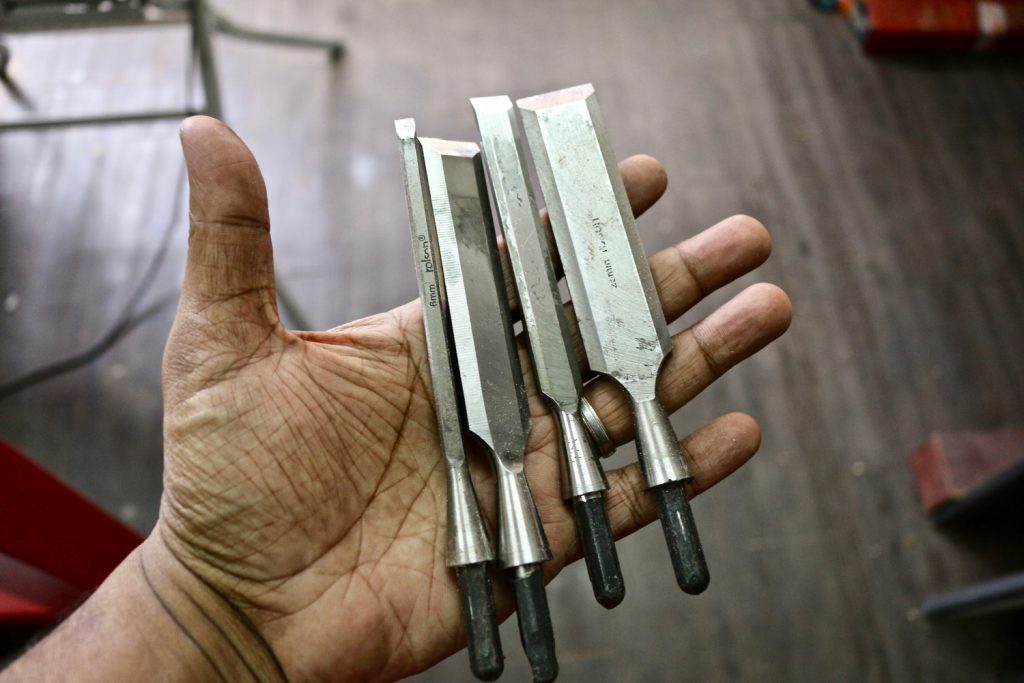
First, you’ll need to remove the existing handles on your chisels. You can probably notice that I’m using a pair of cheap Rolson chisels, but they are actually pretty decent after some setup. Here’s how I removed the composite chisel handles on these cheapos.
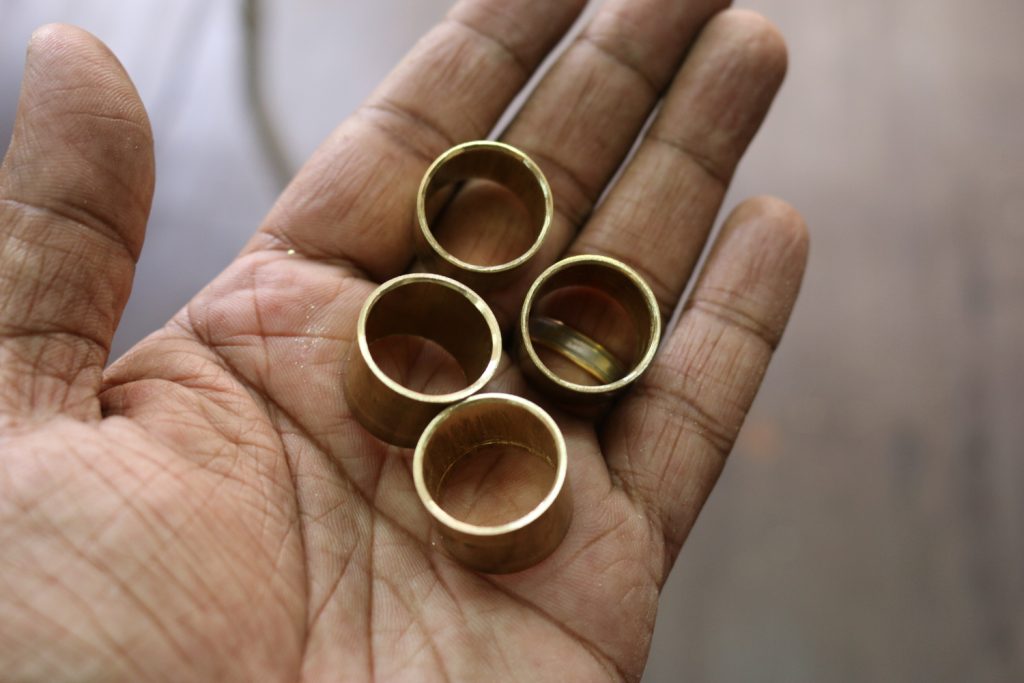
One component of making a chisel is a ferrule, which acts to secure the wood and stop it from splitting from all the hard knocks it’s guaranteed to get over it’s lifetime.
- You can get a pack of 10 high-quality Robert Sorby brass ferrules for about $14
- Or try a 50-pack of Interstate Pneumatics ferrules (meant for hoses) for about $20
Since I only needed four ferrules however, I didn’t want to spend the extra money. I figured out how to make my own DIY brass ferrules from a piece of brass pipe. It was more fun making them!
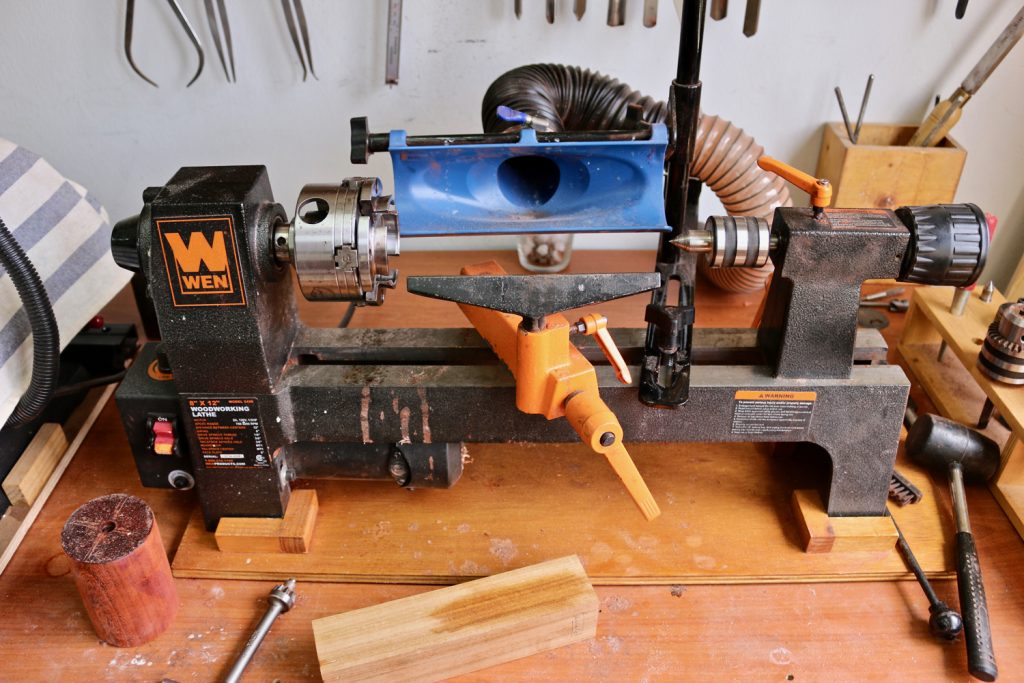
As I said, you’ll need a lathe. My WEN Mini Lathe was up to the task. You’ll also need a drive spur and a live center.
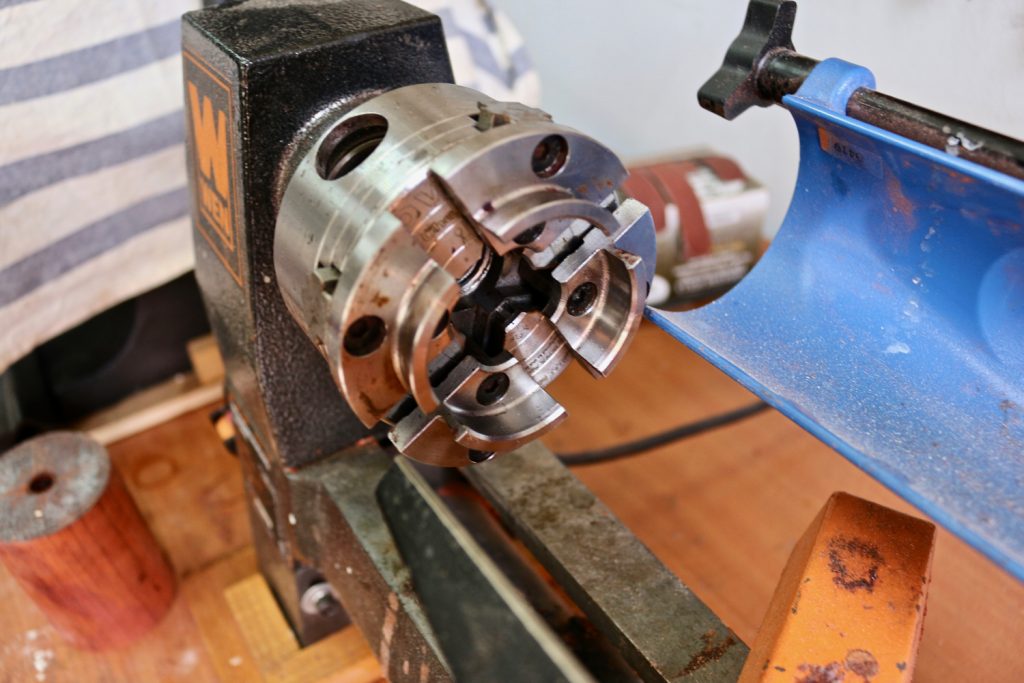
I am using a Nova G3 chuck by Teknatool, which adds all sorts of possibilities to my small machine. With a 4-jaw chuck like this, you can securely hold square stock even when you remove the live center.
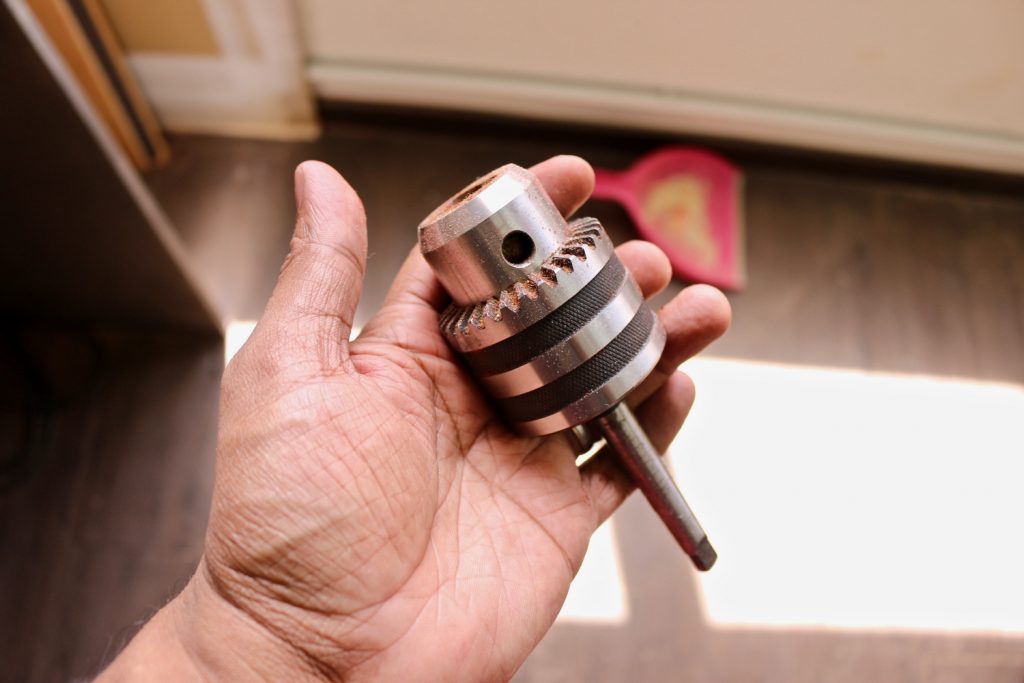
To drill a hole, you’ll need the correct sized drill bit and a drill chuck for your lathe. If you don’t have a Nova chuck, you can skip buying a drill chuck as you will not be able to drill it on the lathe with just a drive spur.
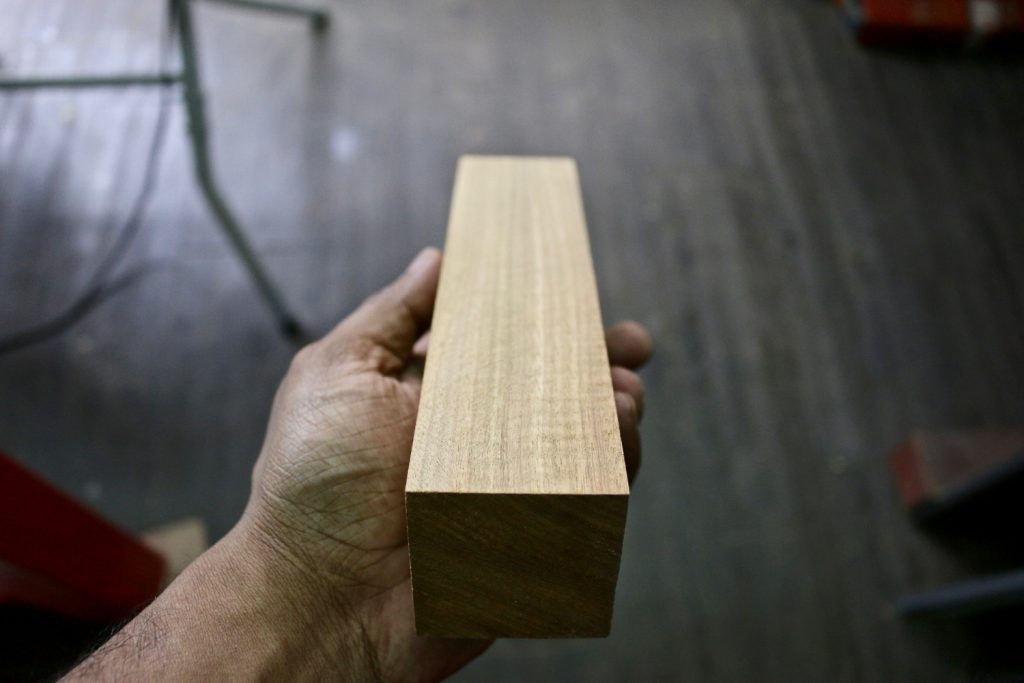
Next, you need wood. Use any hardwood that you can get. If you can choose, buy denser wood like hickory, oak, birch, maple or teak. Softwood like pine will not take all the hard hits very well, and are generally not suitable as tool handles.
Square up the stock as much as you can, and make sure it is at least 1.5 times larger than the dimeter of the wooden chisel replacement handles you want to make. Measure the existing handles as a reference point.
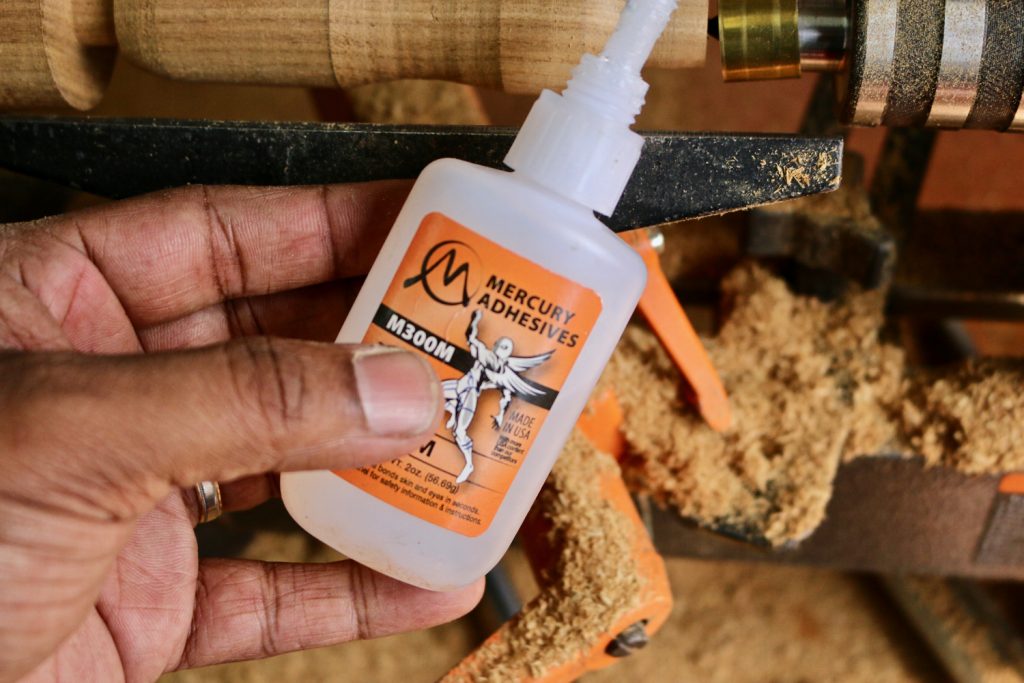
To secure the ferrules, you’ll need either 5-minute epoxy or medium CA glue. I prefer using CA glue as it cures almost instantly.
CA activator is optional, but highly recommended if you decide to use CA glue. It makes CA glue cure instantly and has proved useful in so many cases where even waiting two minutes is way too long.
Turning Your Wood Chisel Handles
This guide cannot teach you the basics of woodturning, so I will just explain how to specifically turn a wooden chisel handle. Make sure you take all the safety precautions!
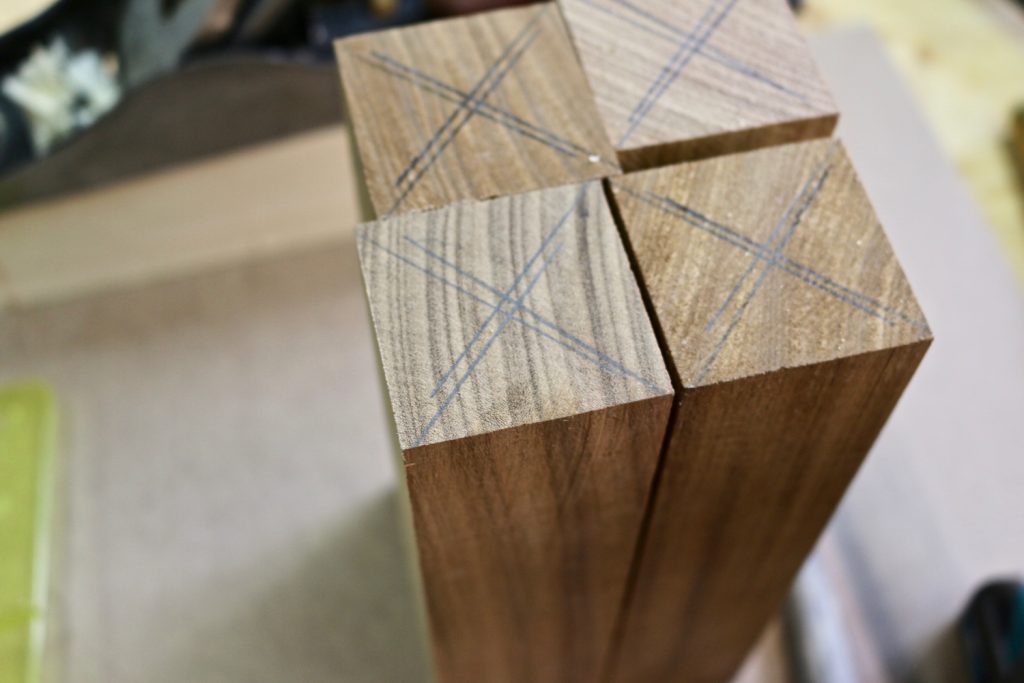
First, mark the center on your piece of wood. This can be as easy as drawing two lines from each corner, and the intersection is your middle.
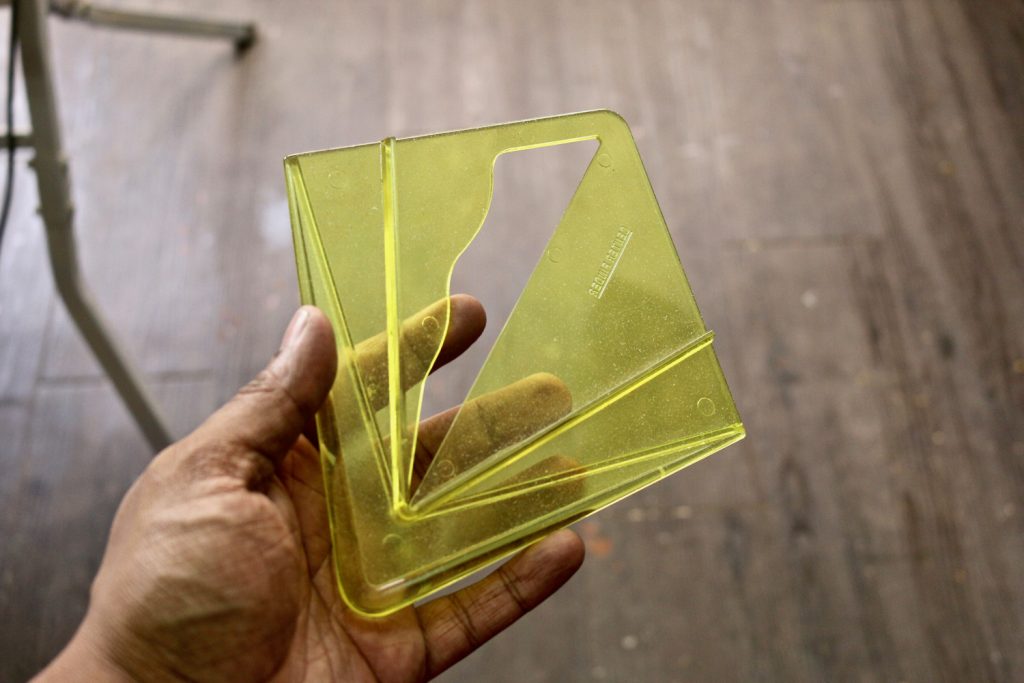
To get more precise, use a center finder like this. It’s especially useful if the piece of wood is not completely square.
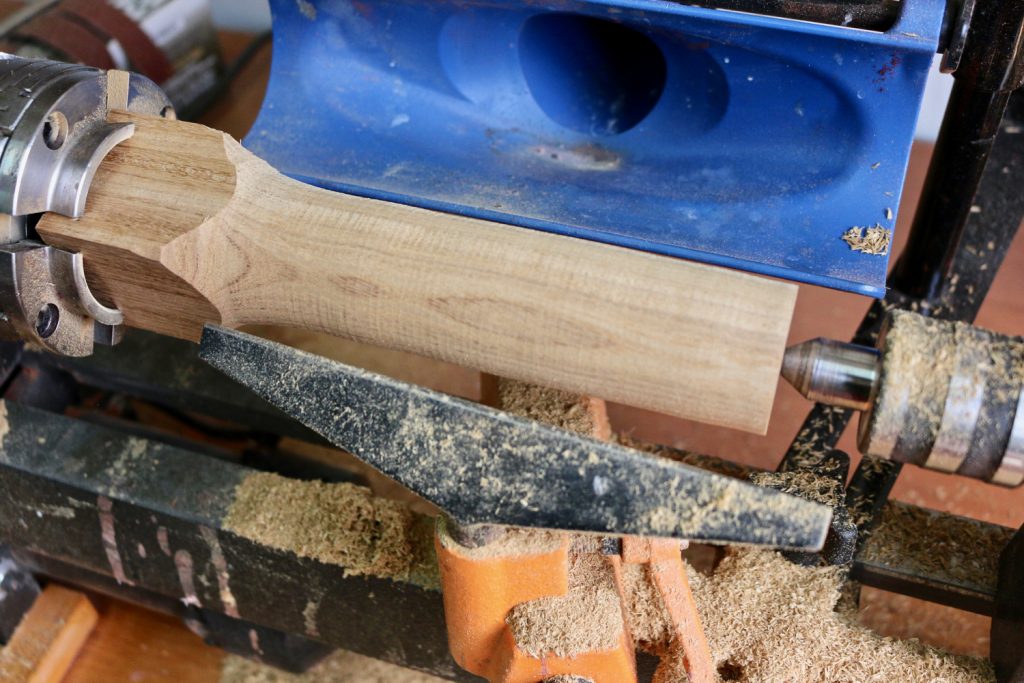
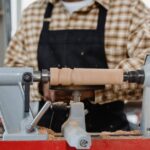
Then, chuck one end of the wood and position the live center on the other side. Turn down the wood until it is as close as possible to the largest diameter of your wood handle design.
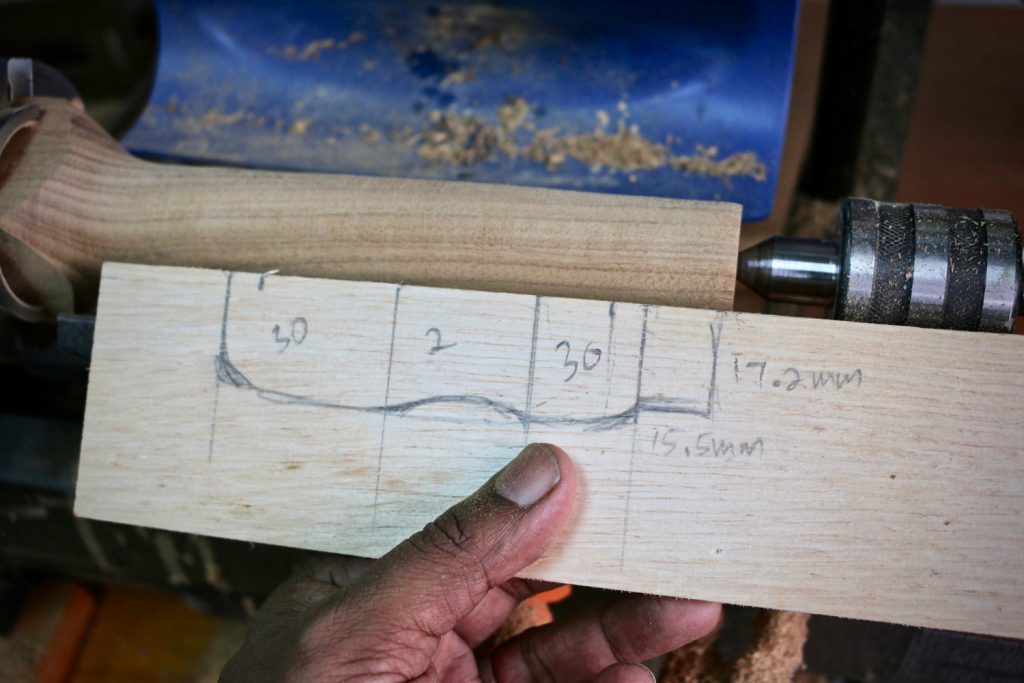
Mark the important measurements of your handle design on a piece of scrap. Use it to draw lines on the piece of wood. Without a design, you can turn one handle but will never be able to get consistent-looking handles for a set of four.
The most important measurement is the diameter of your brass ferrule. Turn this slightly oversize at the beginning. Then turn the rest of the handle down to the correct measurement using a parting tool.
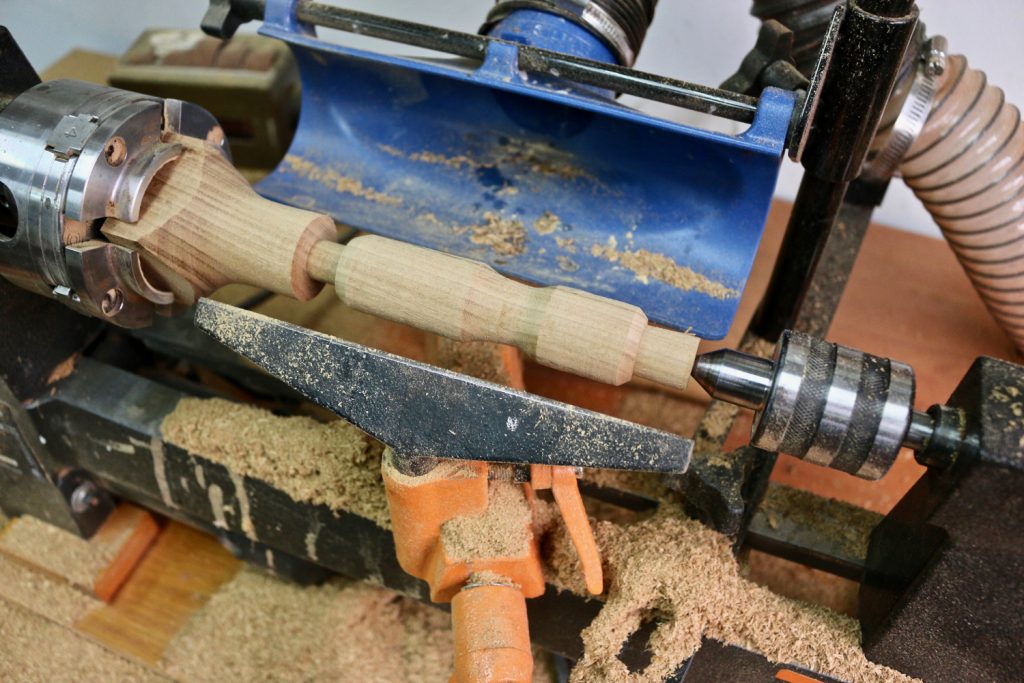
This is how my handle looked like before sanding. Then, remove the live center from the tailstock and fix the drill chuck.
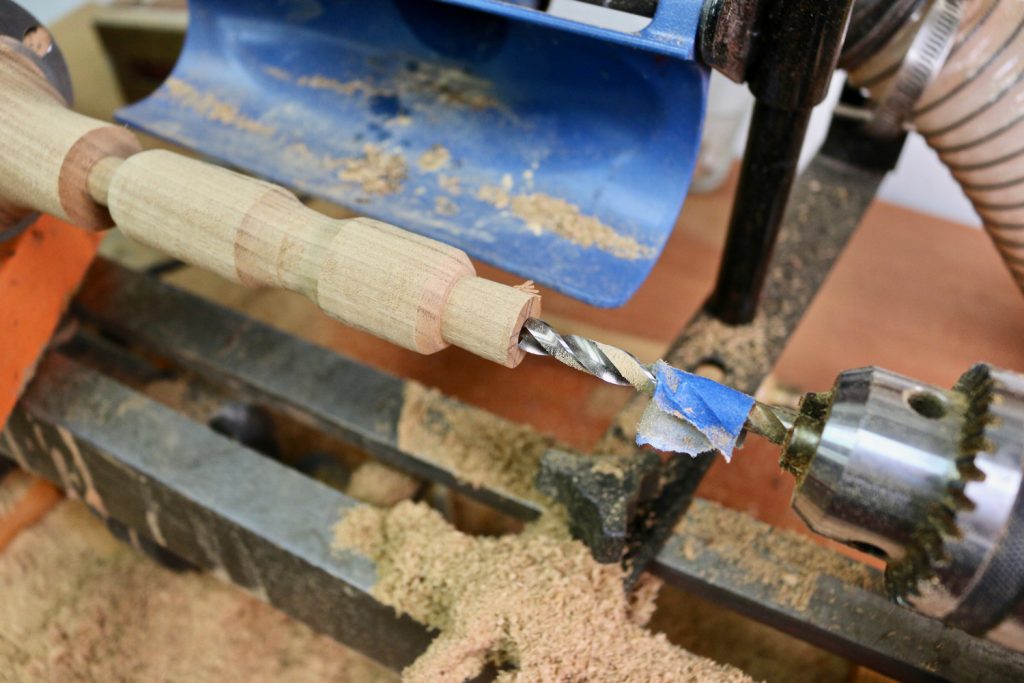
Insert the correct sized drill bit, and mark the maximum depth with carpenter’s tape. The diameter of the hole has to be slightly smaller than the diameter of the shank on your chisel. Mine measured 8.75mm, so I drilled a hole with an 8mm drill bit.
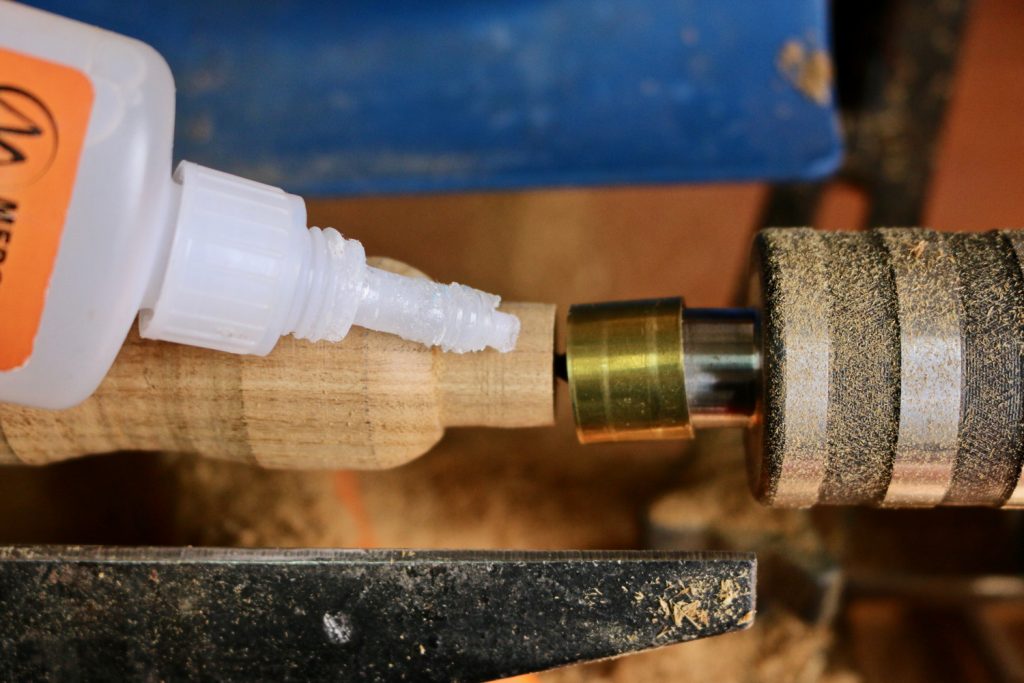
With the hole drilled out, I put the live center back in position with the brass ferrule ready for mounting. The best-case scenario is to get a nice snug fit, but in reality, you’ll most probably turn the tenon just a bit too small.
So, I applied some CA glue to the tenon and fixed the brass ferrule in position. I then sprayed some CA activator while holding the brass ferrule square with my fingers. The CA cured instantly with a nice solid bond.
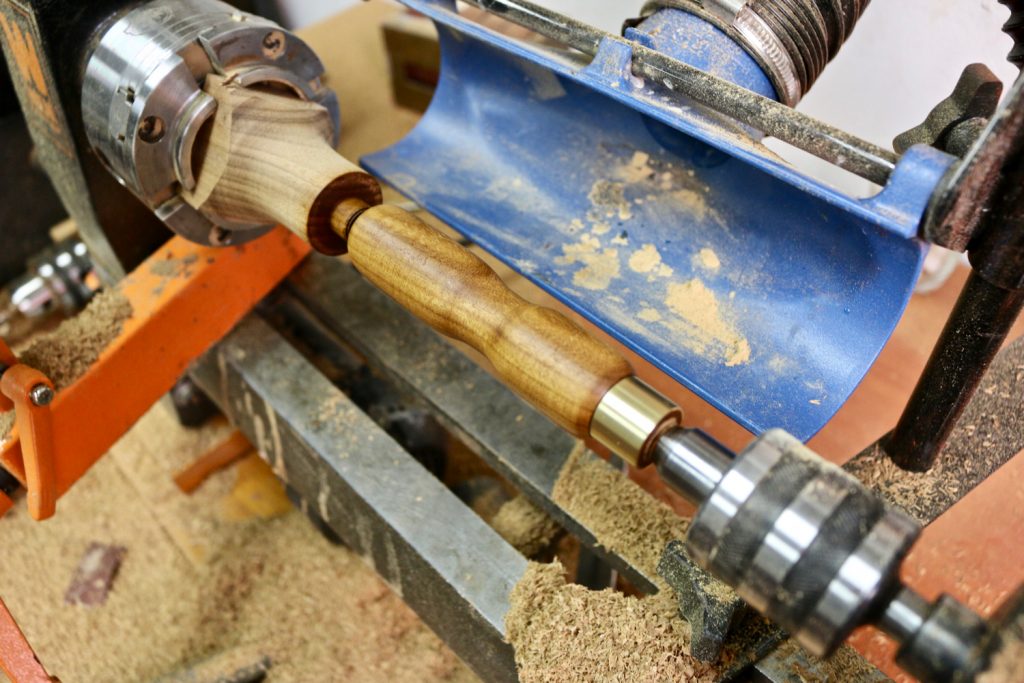
With the ferrule in place, I can continue turning the handle to it’s final dimensions. I actually made some mistakes on the one you see here, cutting past my center measurements by being too aggressive.
However, I managed to make it look good by reducing the overall diameter. It will still look OK for the smallest chisel.
I proceeded to sand the wooden chisel handle from 150 grit all the way to 600 grit. I finished with two coats of Danish Oil.
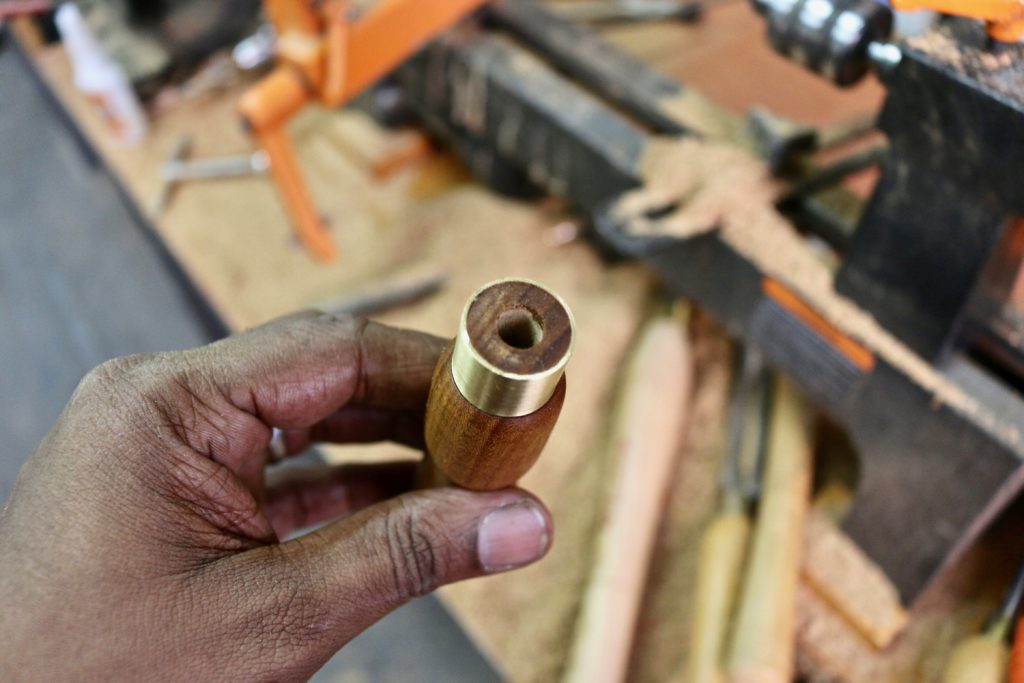
Using a parting tool, I removed cleaned up both ends and cut off the handle with my Ryoba saw. I then filed and sanded both ends, touching up with more Danish oil.
I measured the depth of the hole just in case, to make sure it was deeper than what I needed. You want to make sure of this, and drill a bit deeper with a hand drill if required.
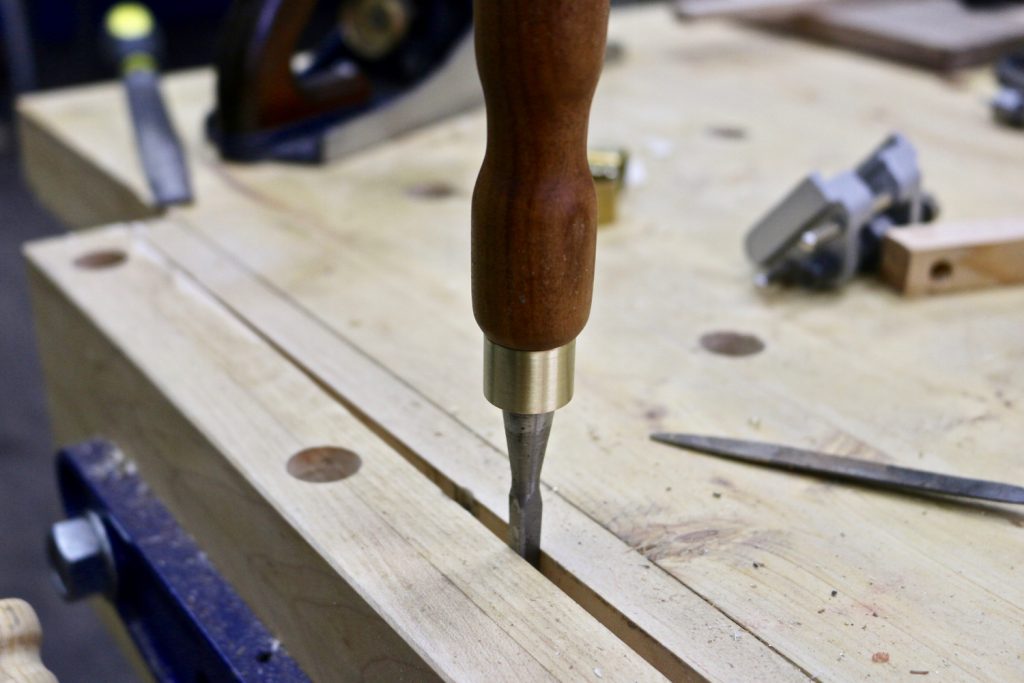
I clamped the chisel with my Yost 10″ vise, and slowly hammered the handle in.
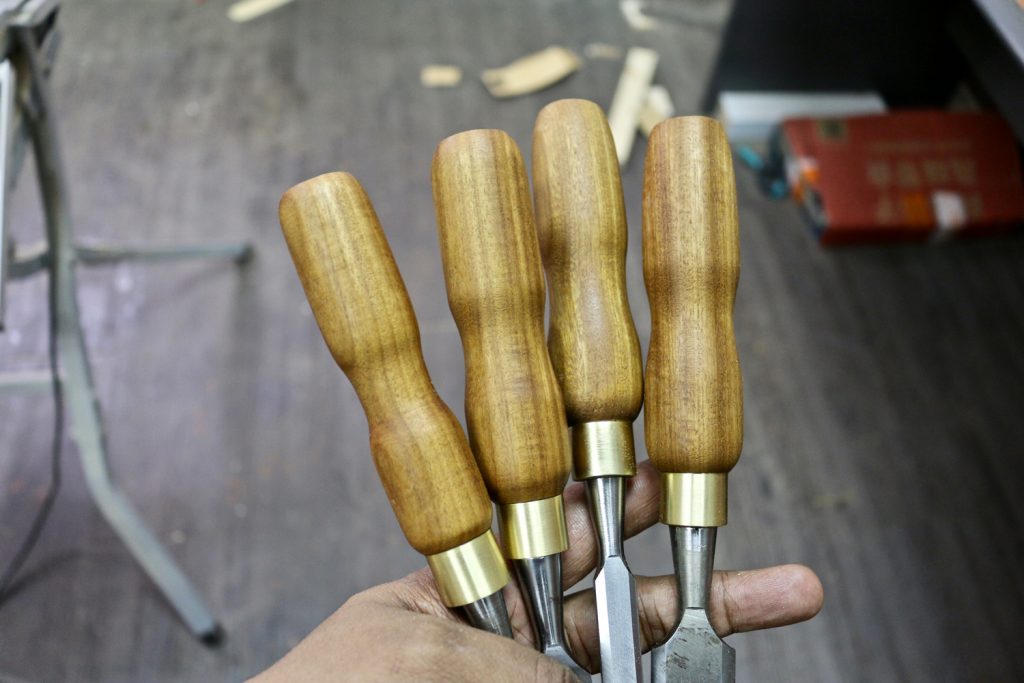
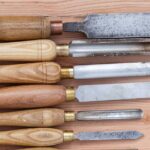
Then I repeated all the steps above three more times. In total, it took me about 5 hours to make the brass ferrules and the wooden chisel handles, and they look fantastic.
I showed them to my friend, and as expected, he asked me why I bothered making these wonderful wooden handles for a set of cheap Rolson chisels.
Well, because I can!