My first DIY table saw sled was a mess. I watched a few videos on how to make a sled and just went about making the most basic one I could. I don’t even know how accurate it was, but it most certainly made thing s a lot easier.
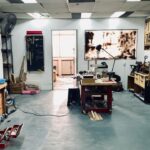
Recently, while moving to my new workshop, I decided to build a new table saw sled. This time, I was going to do it right. I’ve seen a lot of advanced table saw crosscut sleds, and a few of them were perfect for my needs.
I wanted T-tracks to be the main feature of the sled, with accurate an accurate stop block. I also wanted it to be flexible enough to attach other add-on jibs like a box joint jig or segmenting jig.
Since my Bosch table saw doesn’t use the standard American-type miter slot, none of the jigs on Amazon will work. I had to think about how I can DIY each, and attach them to my crosscut sled using T-tracks.
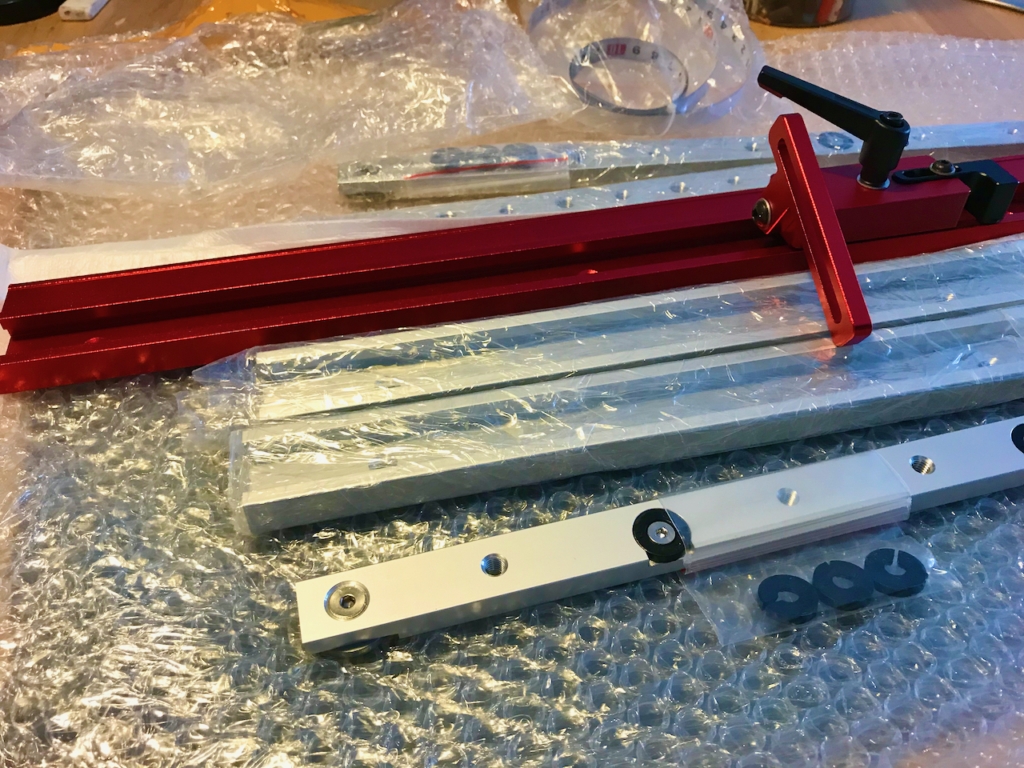
I puchased a bunch of things last year for my DIY table saw sled – t-tracks, stops and holddown claps – from Aliexpress.
As with all my projects, I watches a whole bunch of videos on making table saw sleds, but did nothing.
DIY Table Saw Sled Videos
As I said, there are many videos on making a table saw sled. I decided to use a combination of ideas from these video as the method for building.
You can find a lot of videos on the topic. Some are very basic, others are overly complicated sled builds. Chances are, like me, you’ll take a few ideas from each video.
Making My Table Saw Sled
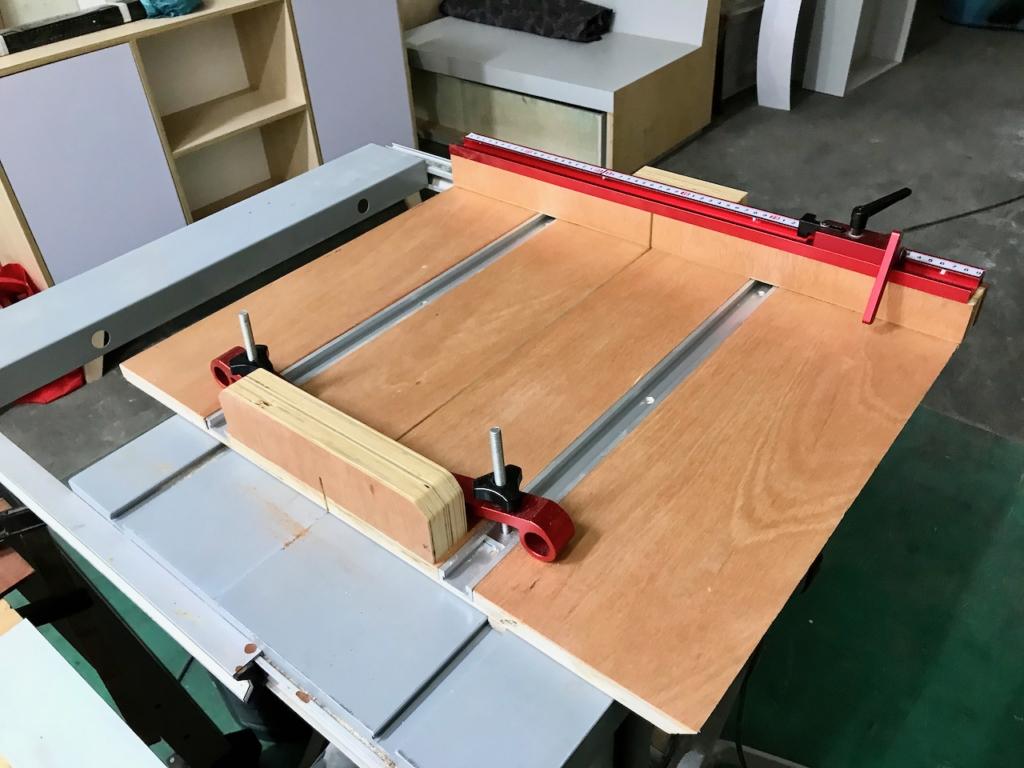
I used 19mm (3/4 inch?) plywood for everything, and here’s how the completed sled looks like:

I put slides on only one side, so I can use the left edge of the sled to make 45-degree miter cuts when making boxes.
The aluminium stop needed a bit of tweaking to change the position of the arm, but works really well. Now I no longer need to use a piece of scrap wood as a stop.
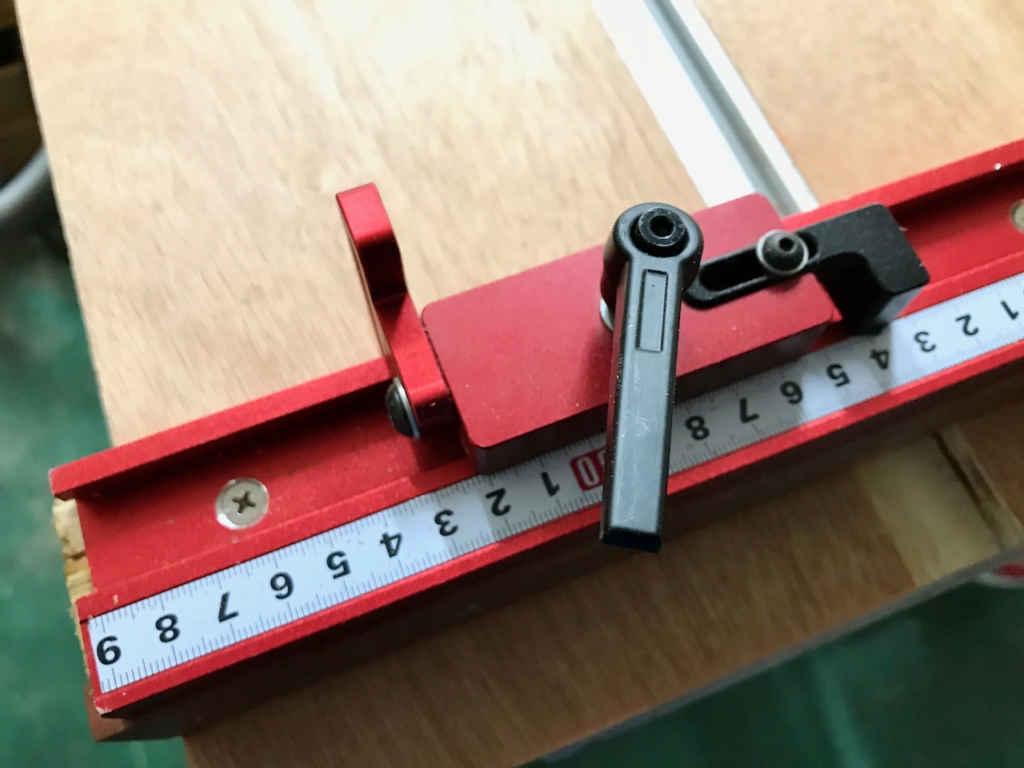
Plus, I’ve installed a tape measure as accurately as I can so I can remember where to place the stop again in the future to cut more pieces of the same project.
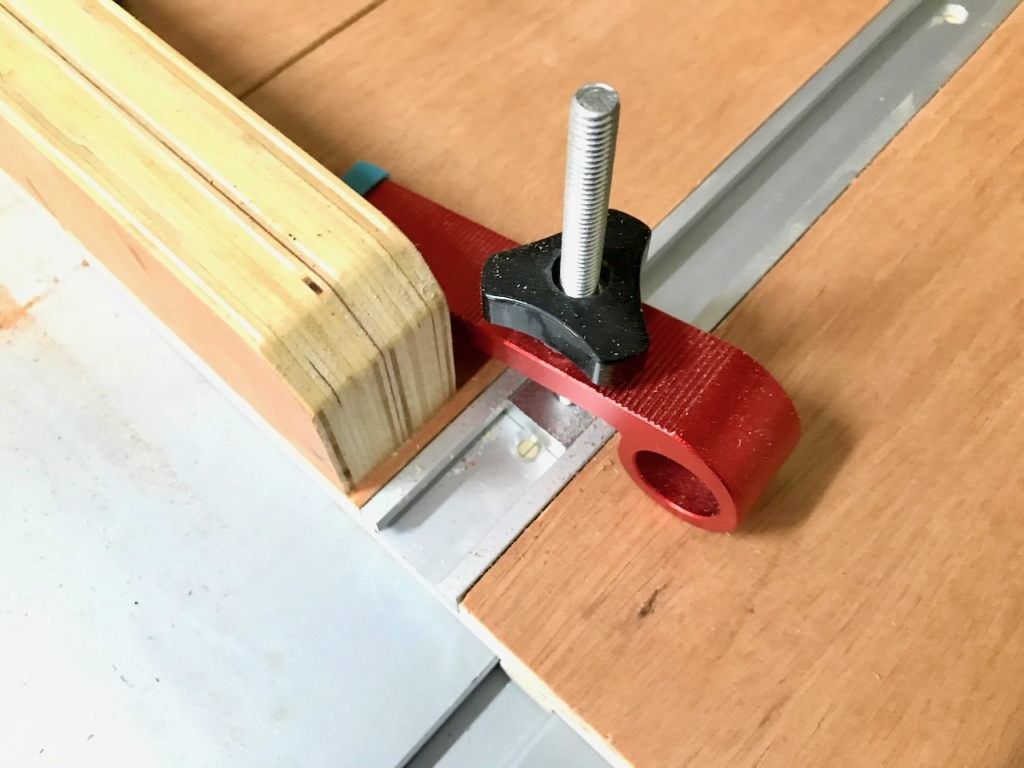
The hold-down clamps are also good quality, although they are not absolutely necessary.
The most important thing are the t-tracks. With this in place, I can make add-ons for box joints, spline joints and even a rip cutting jig for small parts.
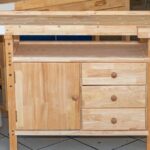
Overall, I’m very happy with how this DIY table saw sled turned out. I drilled a hole later on both sides so I can store it away under Frankenbench, the name of my DIY workbench.