You might have a lot of scrap wood to throw away, but why not create a simple hard drive stand / holder with it? I’m sure most people will have at least two or three hard drives, plus the same hard drive stand can be used to store other things as well.
To make this hard drive stand/holder, all you need is:
- Scrap wood – I used scrap pine.
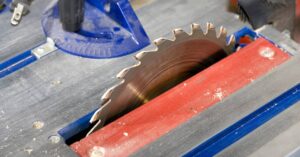
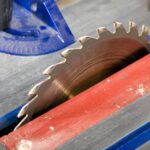
- Table saw – I used my trusty old Bosch GTS10J portable table saw.
- Epoxy – I used 15-min epoxy to allow some time for clamping and adjustment.
- MDF – I used 3mm MDF to match the kerf of my table saw blade
- Paint – I used some leftover purple Nippon paint.
- Roller or brush to spread the paint
- Carpenter’s square to measure the angles when clamping
- Suitable clamps, or just carpenter’s tape
- Sandpaper, carpenter’s square, and a rag cloth
This is a very basic project, but you will most definitely need a table saw.
There are more complicated designs you can find online, but all I wanted to do here was make use of scrap parts.
Dard Drive Stand – Milling The Pieces
First, your scrap pieces are going to be in all sorts of lengths and thickness. You will need to determine the smallest standard size to cut the pieces to. Then, using a table saw (and crosscut sled if you have one) you can dimension your scrap lumber.
I cut mine to about the size of Jenga blocks at first but eventually decided to make them thinner. Rip your scrap wood pieces to the correct width and thickness on the table saw, then use the mitre gauge or a crosscut sled to cut the long pieces down to rectangles.
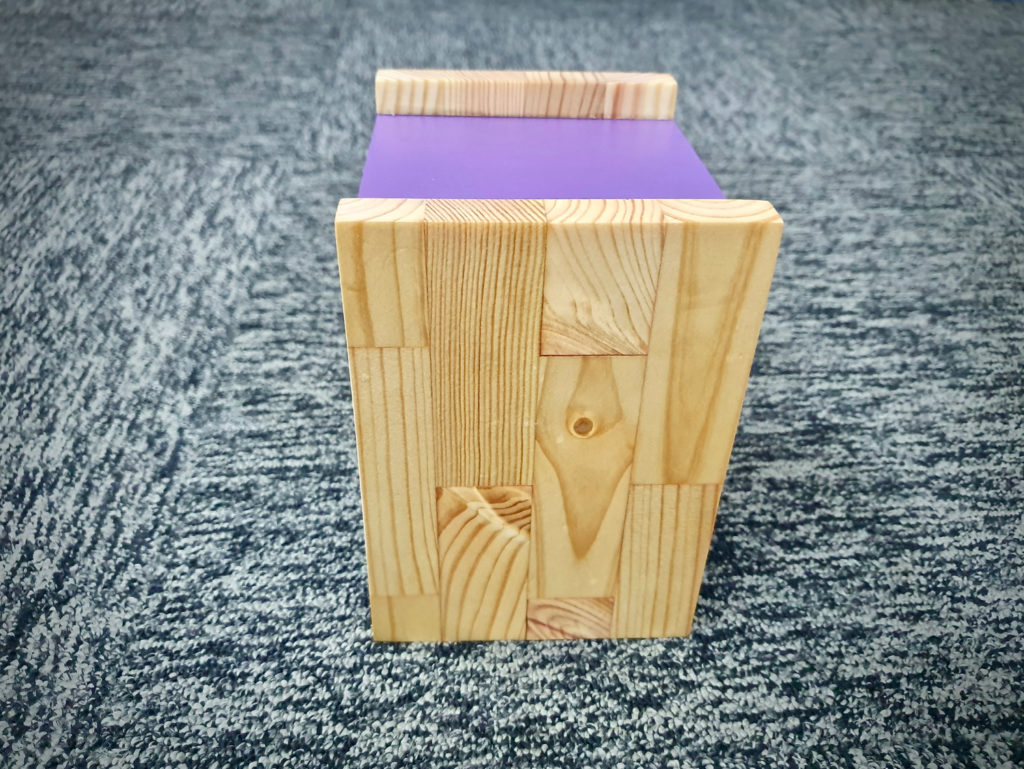
Next, you’ll need to glue the pieces together and clamp them. When the glue has cured, you’ll need to plane or sand the two side pieces flat. Sorry, I have no pictures of this process as I only decided to write about it after all the pieces were prepared.

Next, make some markings with a pencil and cut grooves on the wood sides. I use my crosscut sled with a couple of playing cards as extra spacers to cut them on both the wood panels.
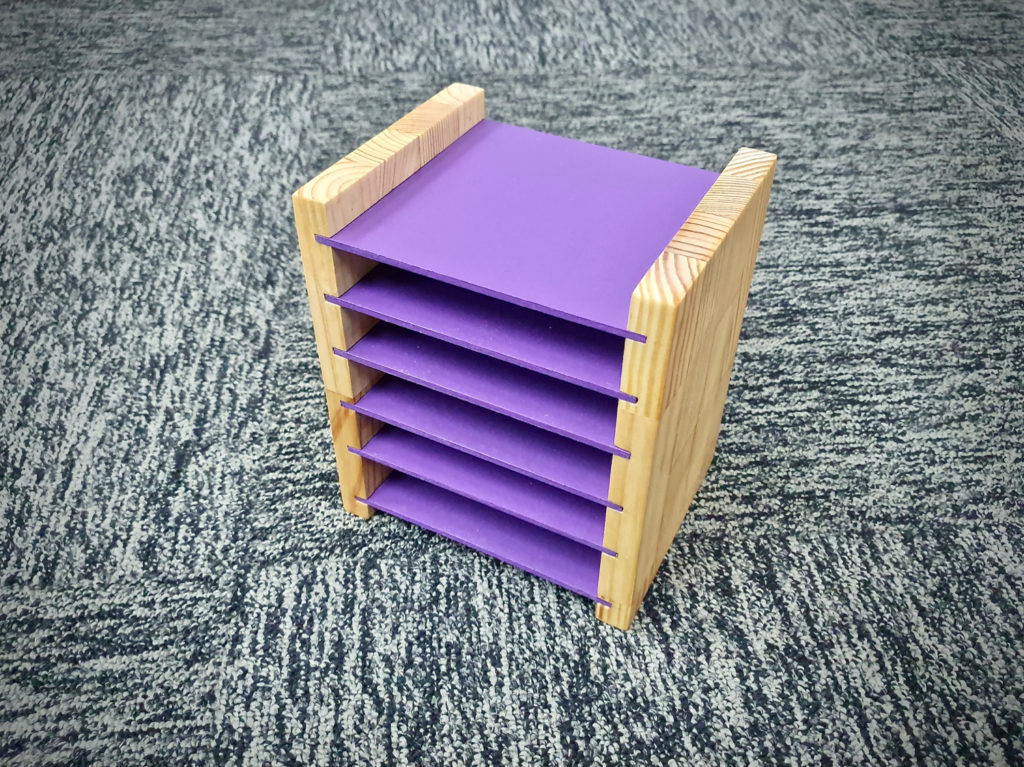
I made the top larger just in case I needed to fit a larger hard drive, or something else, into my hard drive stand later. Once the grooves are cut, you can sand the two pieces of wood panels and apply a finish.
I sanded up till 240 grit and treated the pinewood with two coats of Hope’s Tung Oil. I allowed about 24 hours for the tung oil to cure, before applying a few layers of Minwax Wipe-On Poly as a finish.
I believe using tung oil or Danish oil can bring our the beauty of the grain, but the polyurethane adds a layer of protection against moisture and dirt.
You can use plywood or MDF for the panels. MDF is easy to cut on the table saw, and available in many different thicknesses. I bought a 3mm MDF to match the kerf (width) of my table saw blade.
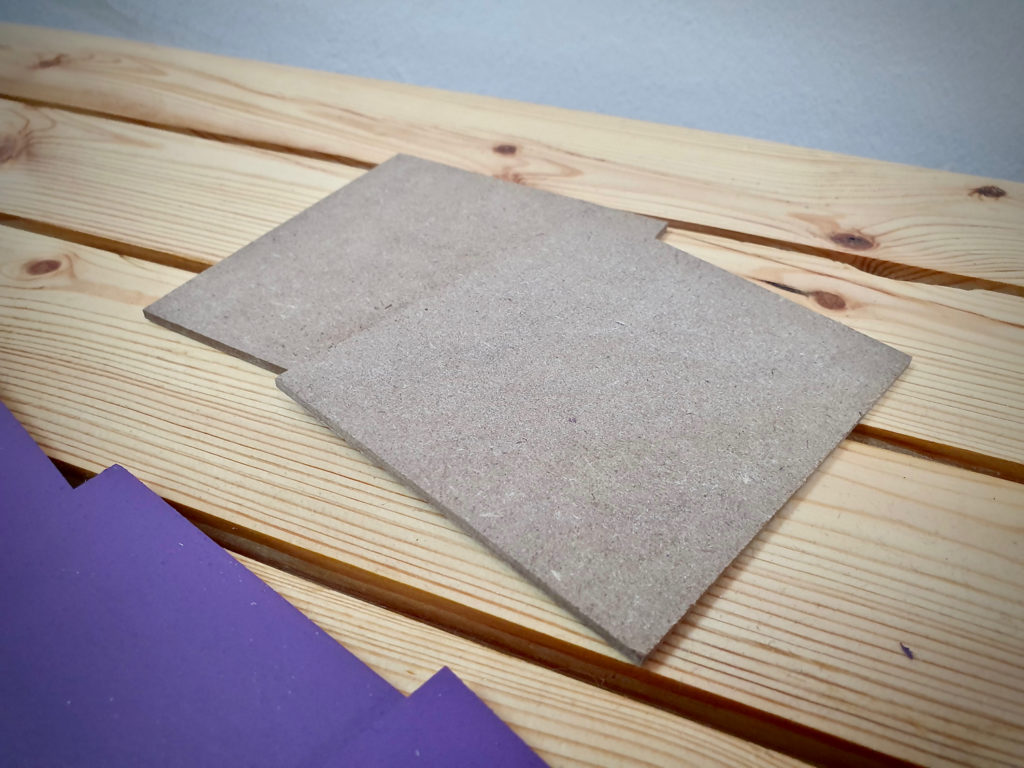
Cut down the MDF to size, taking a typical hard drive as measurement. Here I screwed up the measurement by using a smaller hard drive as the reference, when in fact most of my other hard drives were larger.
Painting the PDF for Your Hard Drive Holder
The great thing about MDF is that it can easily be painted with regular household or wall paint. You can use water-based or oil-based paint, and you’ll need very little. MDF can bloat with too much water content, so do not thin down water-based paints.
Using your roller, roll on a thin layer of paint initially, and let it dry. It’s ok if it looks like crap at this stage, and you don’t need to make the colour even. The first coat is just a “primer” to make the second coat adhere better.
Apply a second coat of paint with your roller, and a third if necessary. You’ll notice a much more even and smooth surface. Painting all these little panels can take time, but do not rush it.
Let the paint fully cure between coats. Read the manufacturer guidelines at the back of your paint container for the recommended settings.
Most importantly, do not shake the paint. It will introduce lots of tiny bubbles onto the MDF as I learned the hard way. Stir the paint with a waste piece of lumber or straw. You do not need to sand between coats.
I used some steel wool (#000 and then #0000) to smooth out the painted MDF, but that’s because I had an uneven surface. If you did not shake your paint like I stupidly did, you probably don’t need to do this.
Assembling Your Hard Drive Stand with Epoxy
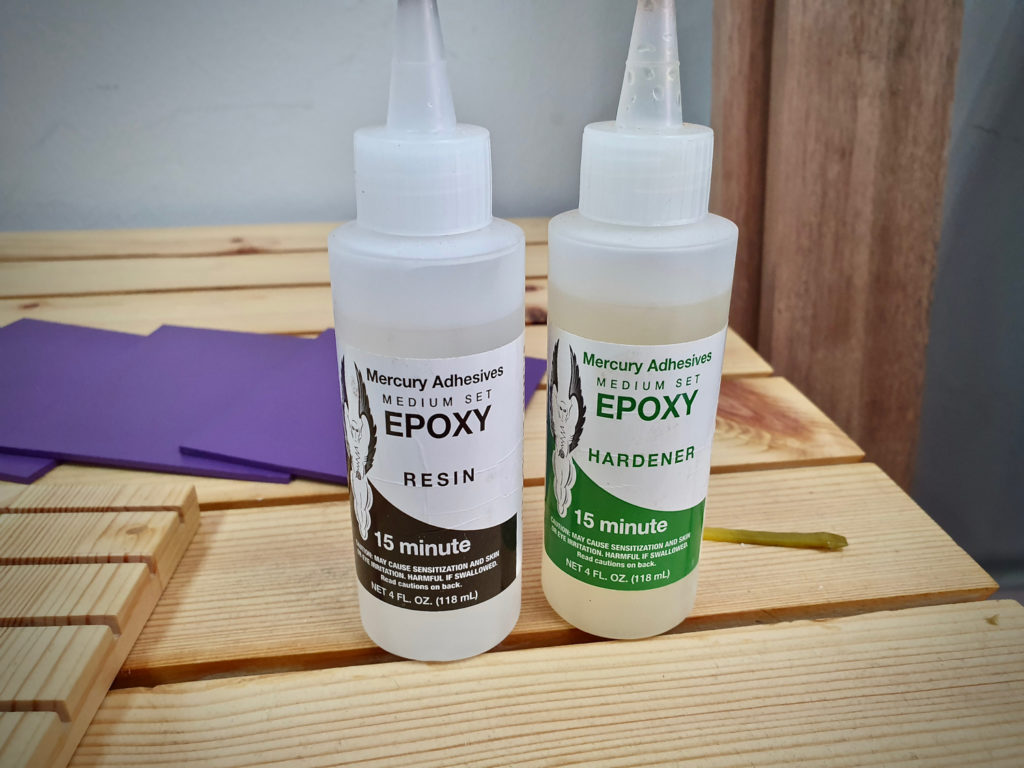
I used 15-minute epoxy glue to assemble the pieces. Mix equal parts of the resin and hardener, then apply a thin layer to the edges of the MDF.
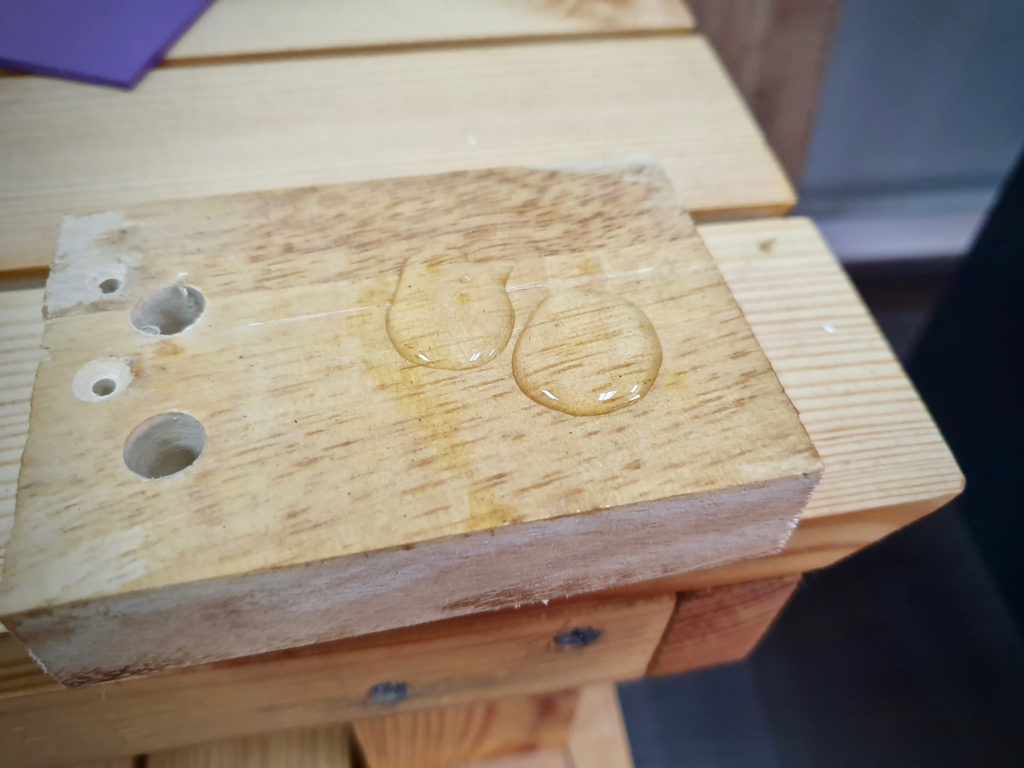
Then, assemble all the pieces, making sure you don’t have epoxy on the wood side panels. Access epoxy can be wiped away with a damp cloth or rag at this point, but when epoxy cures, it’s going to be much harder to do anything about it.
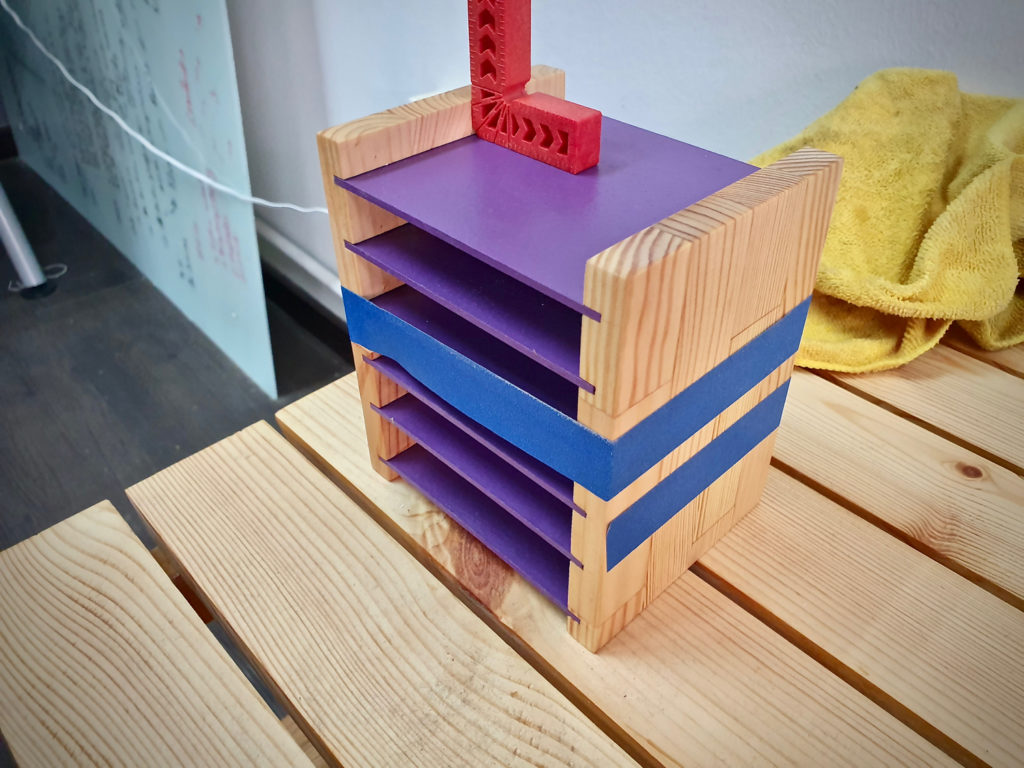
The easiest way to clamp the two pine sides together is to use some carpenter’s tape. I tried clamping with larger clamps, but it wasn’t easy getting everything aligned properly.
Thank god for the 15-minute hardening time! Use a square to make sure everything is aligned correctly. Let the epoxy cure for at least an hour, and read the instructions to determine how long you’ll need to wait.
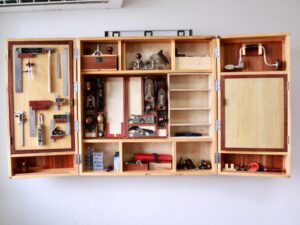
The Finished Stand – Good, Not Perfect
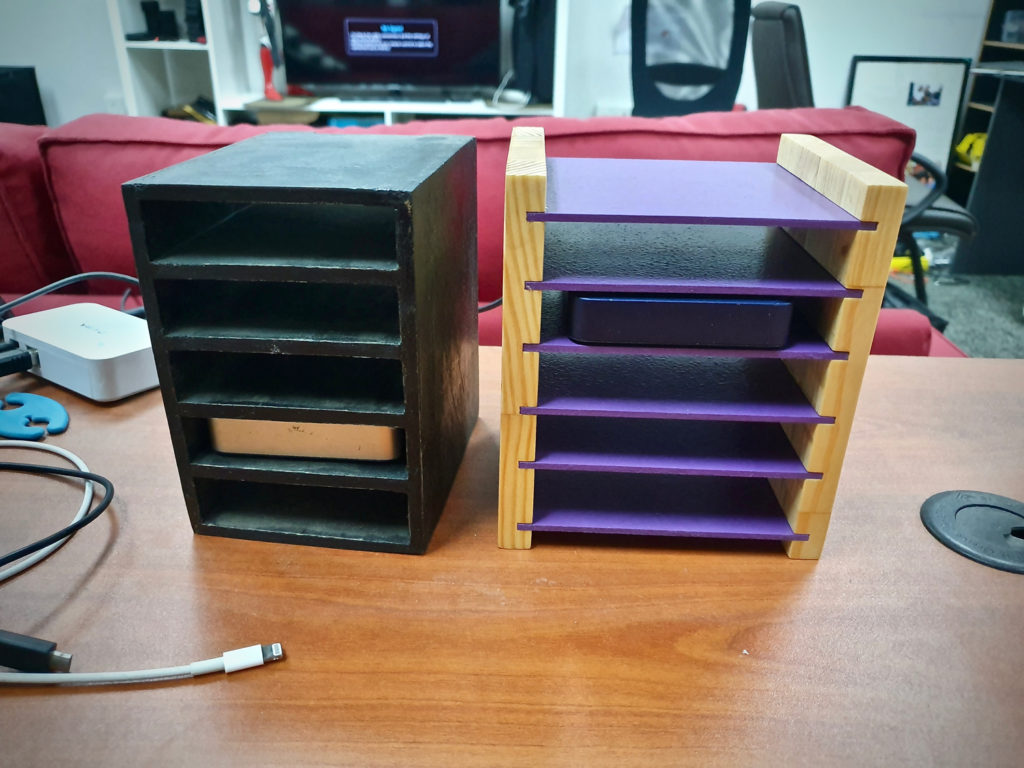
I made two critical mistakes in my hard drive stand/holder. First, I changed my design plan half-way. Initially, I wanted to replicate the old hard drive holder on my table, which was made from cheap Daiso balsa wood.
However, I realized the design at the back of the old stand was not going to work. With the old stand, I could not just pull my hard drive out from the back. I had to disconnect the hard drive cable first.

I wanted to do an open back, but I forgot to recalibrate my calculations. As a result, my hard drive sticks out just a little bit on either side. If you decide to this design, make sure you measure correctly, then measure again before you cut the side wood panels to the final size.
Even with all the setbacks, I’m happy it turned out as it did. It is a much simpler design than my old hard drive holder, and it looks much better. This was the first time I attempted to paint MDF, but it turned out just ok without the need for any special primers.
Plus, besides the 3mm MDF board (which was cheap), I spent nothing on this project. Now I had a beautiful little hard drive stand for my desk!