This is a short review of an unhandled scraper burnisher that I purchased from Taytools. You can buy a good Crown burnisher for about $25, but the unhandled version costs about $19 and it’s much more fun to turn your own handles!
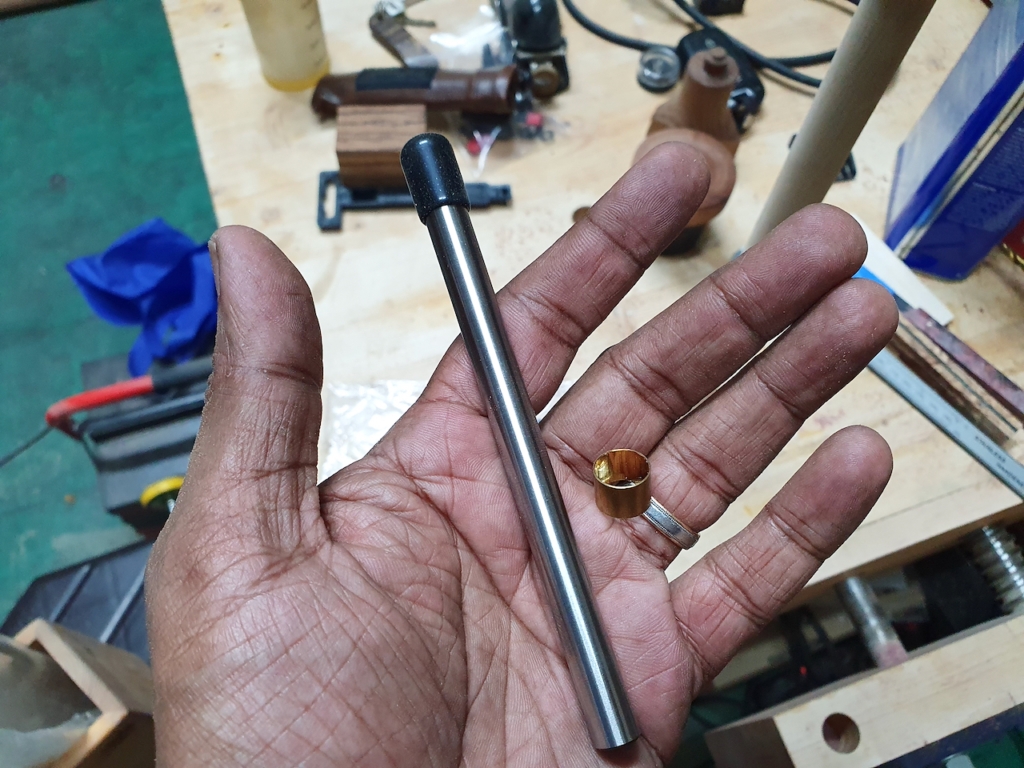
If you don’t know how to DIY your own brass ferrule, you may also want to consider the Narex cabinet scraper KIT which costs about $16. Narex is well known for quality, and if only the Narex scraper burnished kit was in stock at the time I was trying to buy it, I would have definitely got that instead.
Making the scraper burnisher handle is pretty straightforward, similar to my DIY chisel handles tutorial. So I’ll skip the details in this review.
Turning The Scraper Burnisher Handle
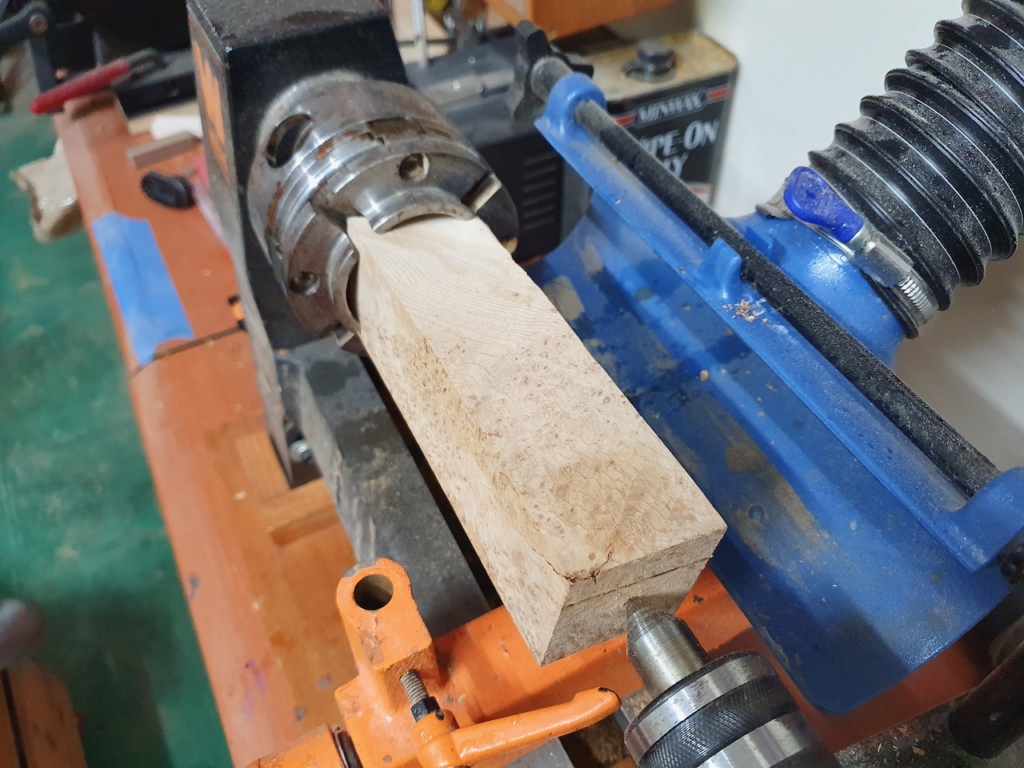
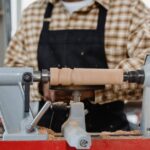
I used a nice box elder burl blank that was just the right size for the DIY scraper burnisher. Mounted on my WEN mini lathe, I used the Nova G3 chuck to rough it down to a cylinder.
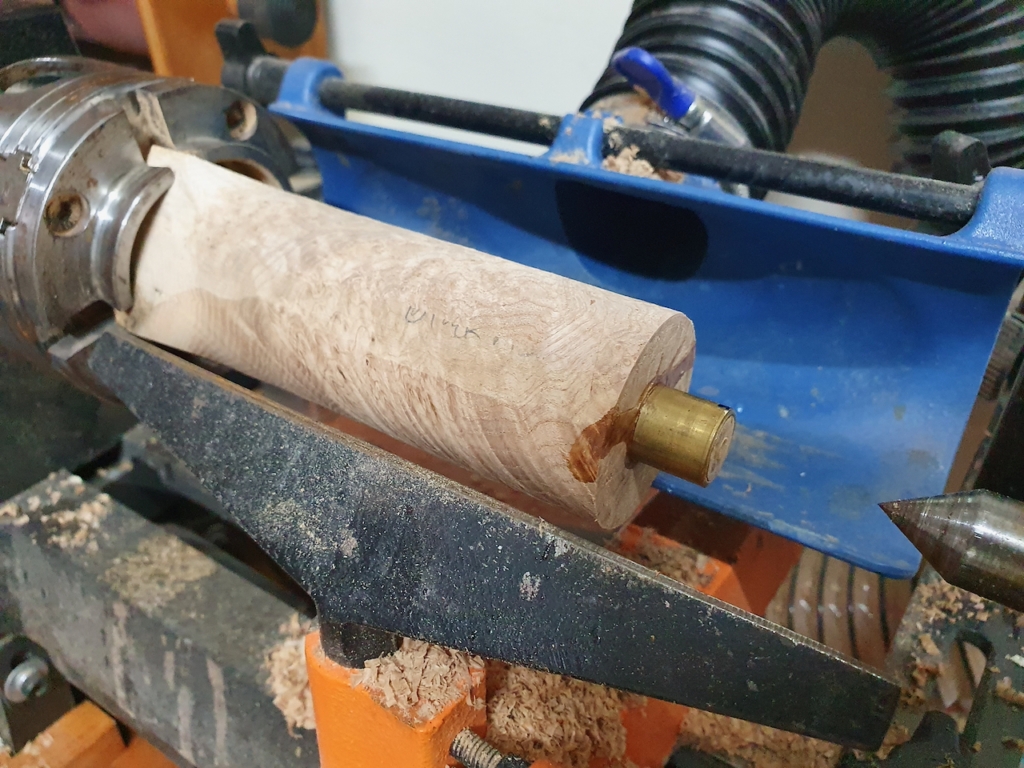
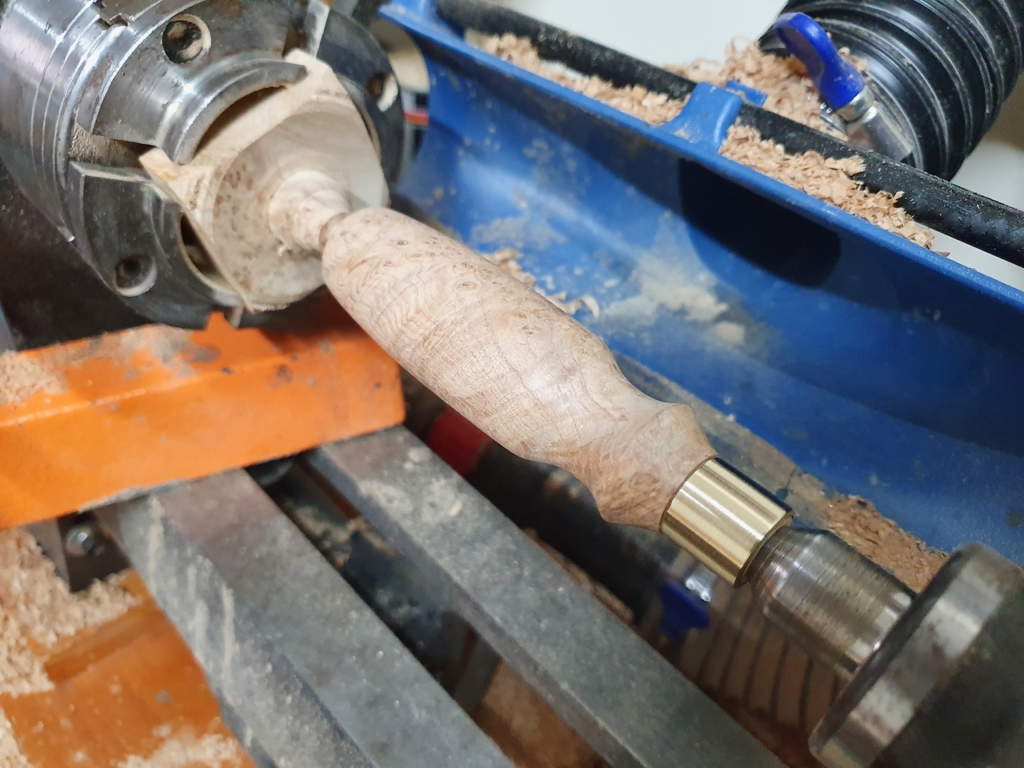
Next is the most important part; creating a tenon for the brass ferrule. Measure the inner diameter of your brass ferrule careful, and turn it overwise at first. Then, keep taking a bit off and test-fitting your ferrule.
I managed to get a tight fit, and secured the ferrule with CA glue. You may also use 15-minute epoxy if you want. I just prefer the speed of CA glue.
Then I shaped the handle and sanded it all the way to 600 grit. I stopped the lathe regularly to sand against the grain.
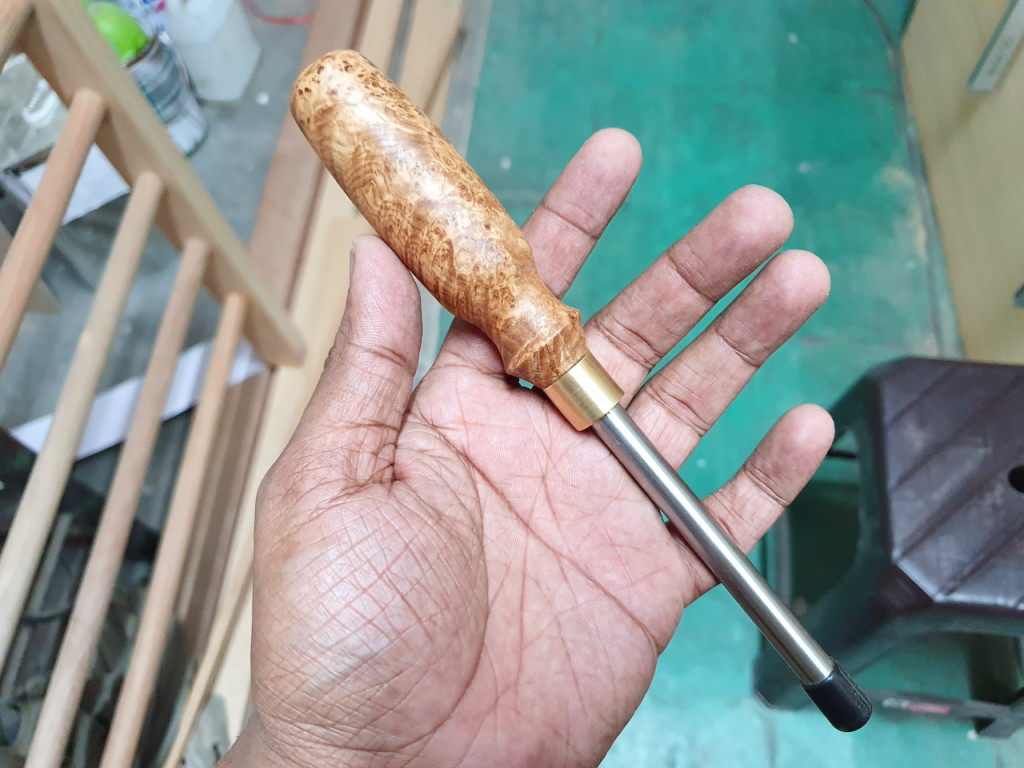
I applied a generous amount of Danish Oil, my favourite finish. The handle came out looking pretty sweet.
I put the scraper burnisher to the test and get my cabinet scrapers tuned up. It worked flawlessly and was just the right size for the cabinet scrapers that I purchased last month.
If you want to make your burnisher, I highly recommend trying the Narex cabinet scraper KIT.

