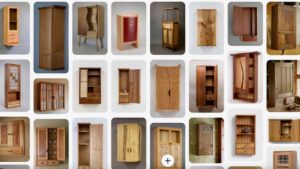
I created my first (and only) woodworking hand tools cabinet during the pandemic. Nobody knows why it took me four years to write about it. I kept putting it off. Call it writer’s block or just a lack of discipline. But here I am, painstakingly trying to recall every detail of the most intricate build in my woodworking workshop.
It was 2020, and I was stuck at home, just like the rest of the world. My old woodworking workshop was 20 miles away, and the lockdown rules in Malaysia restricted me from traveling outside the 3-mile radius of my home. I didn’t know how long the pandemic would last, so I wanted to build a smaller hand-tools-only workshop for my home.
And what better thing to build for it than a good woodworking hand tools cabinet? About a month before, I completed my DIY mini woodworking workbench, and there was still a lot of Southern Yellow Pine wood left to build a good-sized hand tools cabinet.
I entertained the idea of building a standing hand tool cabinet but very quickly realized a mounted cabinet made the most sense. After watching many videos and doing my research, I decided on the design for my cabinet.
My tools cabinet was modeled after Mike Pekovich’s famous hand tools cabinet. He has a library of videos explaining how to build one, and they’re available for free on YouTube.
Next, I set the dimensions of my build and ensured I had enough wood to finish the job and enough storage options for my chisels, saws, and planes. Getting a new stock of wood at the height of the pandemic was no easy task, so I had to make do with everything I had.
Full Woodworking Hand Tools Cabinet Video
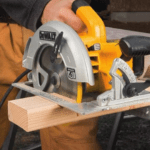
Watch my full build video above, to discover the process of building this hand tools cabinet. When the lockdowns were lifted, I was able to do most of the cuts using my table saw. Other times, I used my Japanese hand caw and a lot of patience.
My First Time Working with Dovetails
Dovetails have always scared me. When I had to make a joint, I’ve always used either dowels or mortise and tenon. I decided to try it since I had a lot of time in lockdown.
I quickly realized how tedious the entire process was and all the things that could go wrong, especially with my stock of old and sometimes fragile pine. Having a good magnetic guide really helped my cut the dovetails cleanly using the right angles.
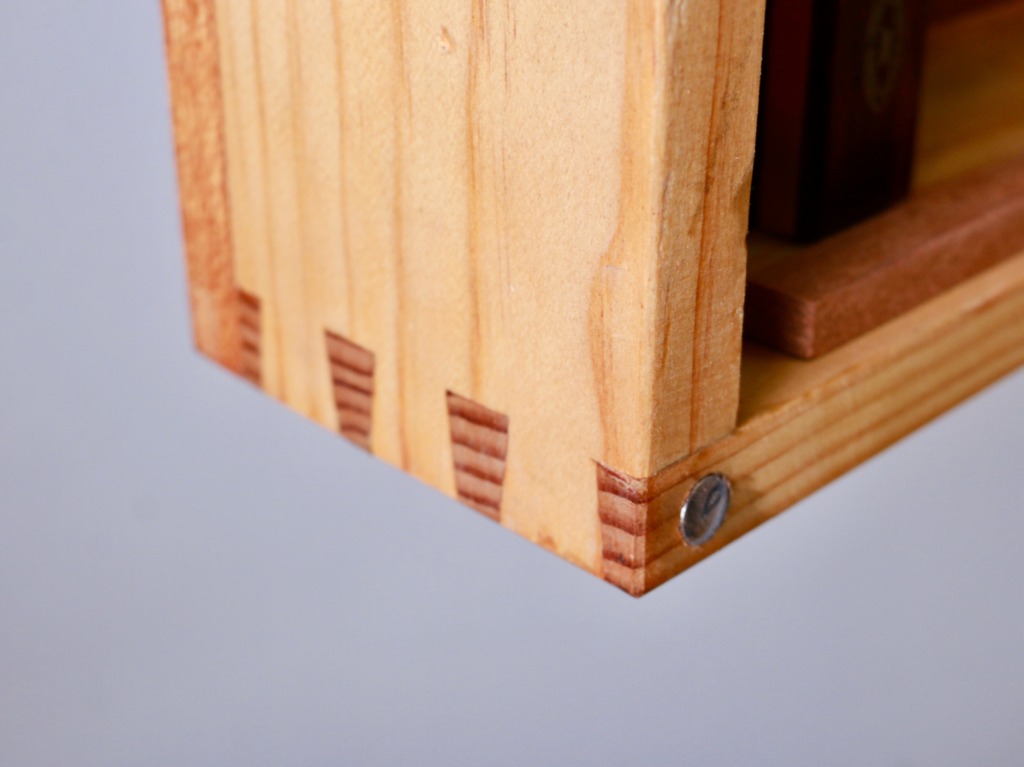
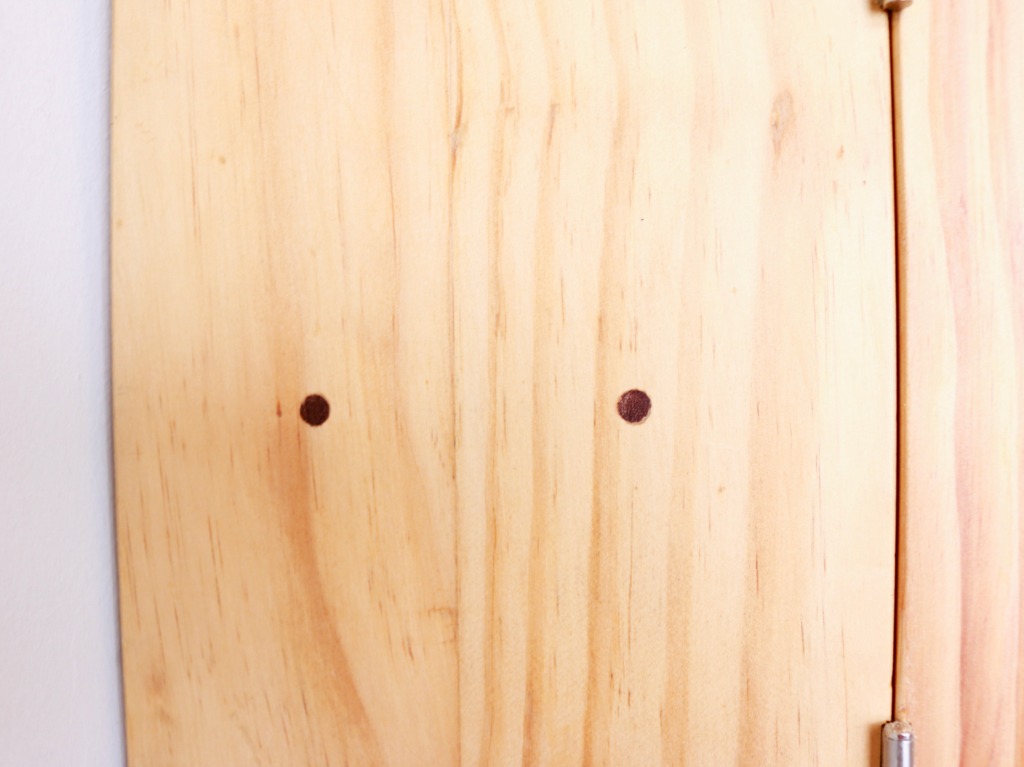
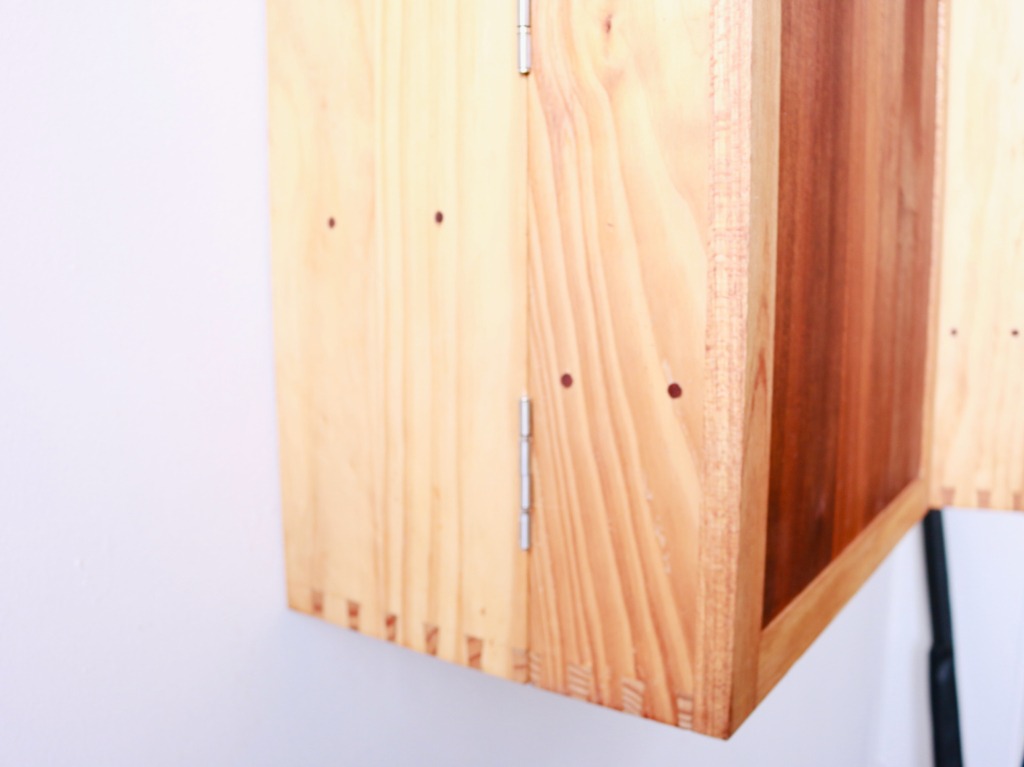
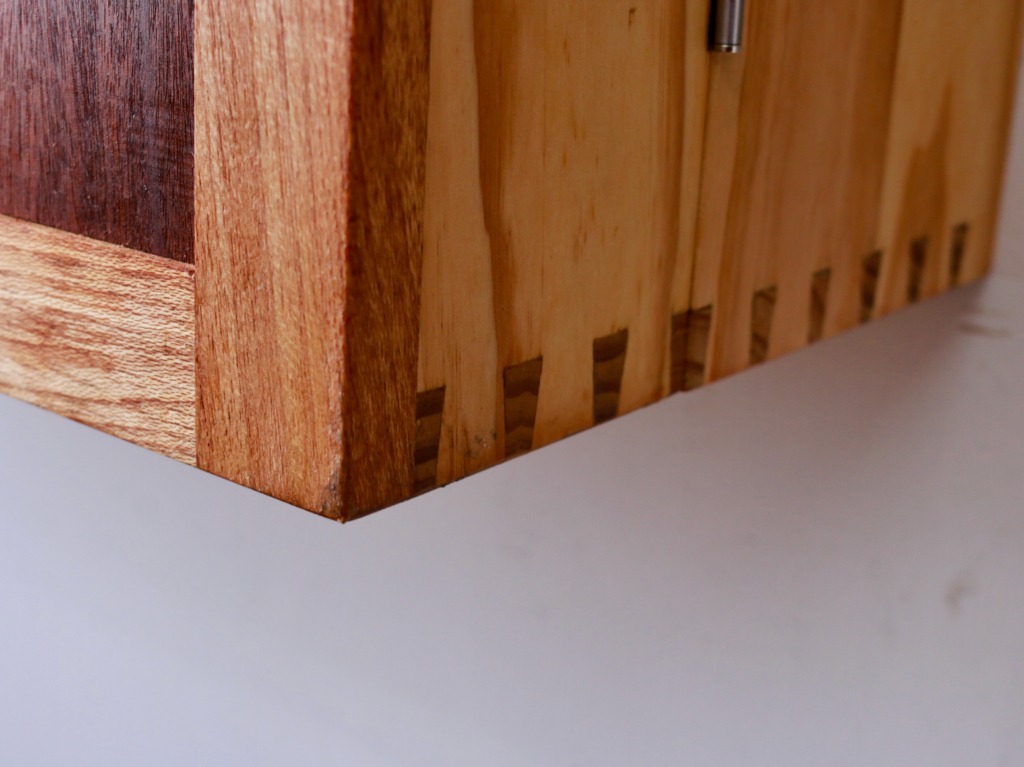
While it wasn’t perfect, I was satisfied with the result. A few tails broke, which I glued back on and made some adjustments. There were some gaps that I had to fill with sawdust and wood glue. Some dovetails turned out amazing.
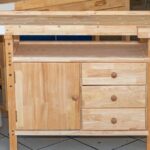
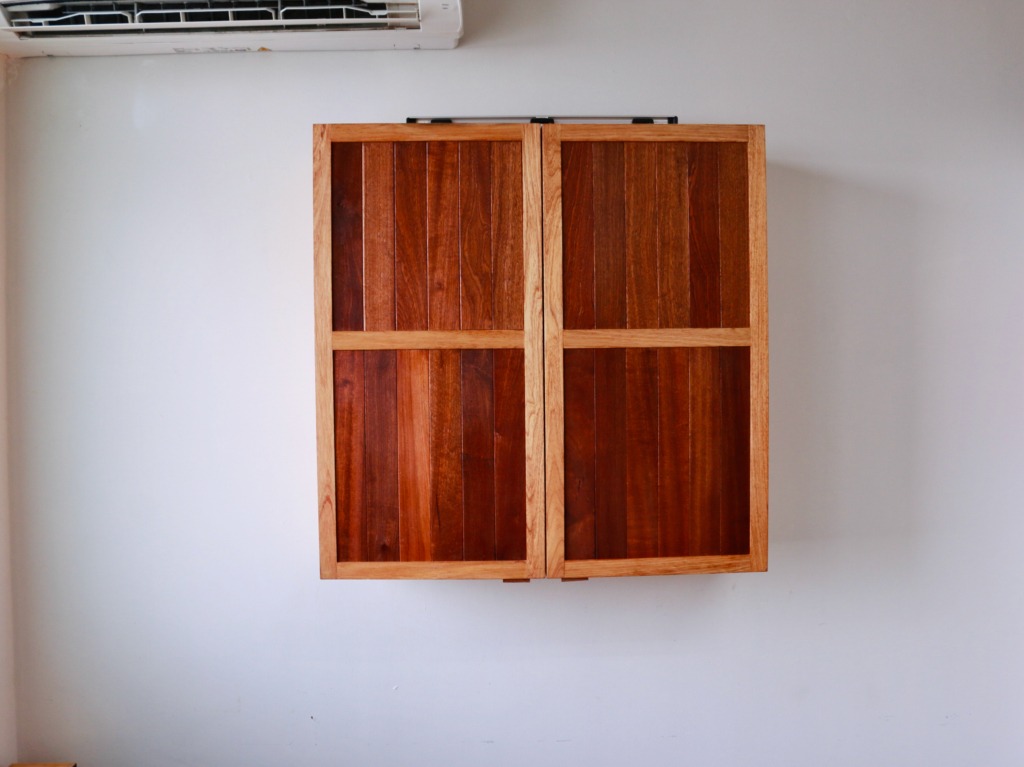
My Completed Woodworking Hand Tools Cabinet
After almost three weeks, I finally completed my hand tools cabinet. It was glorious, and I was amazed by how far I’ve come in my woodworking journey. Fixing it to the wall was challenging, so I had to improvise.
I fixed the main carcass first and attached each door afterward. This reduced the weight I had to bear while trying to screw in the back. While it was still missing some drawers, I accepted it as a job well done.
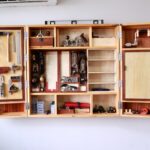
The most important part of my hand tools cabinet that I wanted to get right was the storage area for my hand planes and future planes that I planned to purchase.
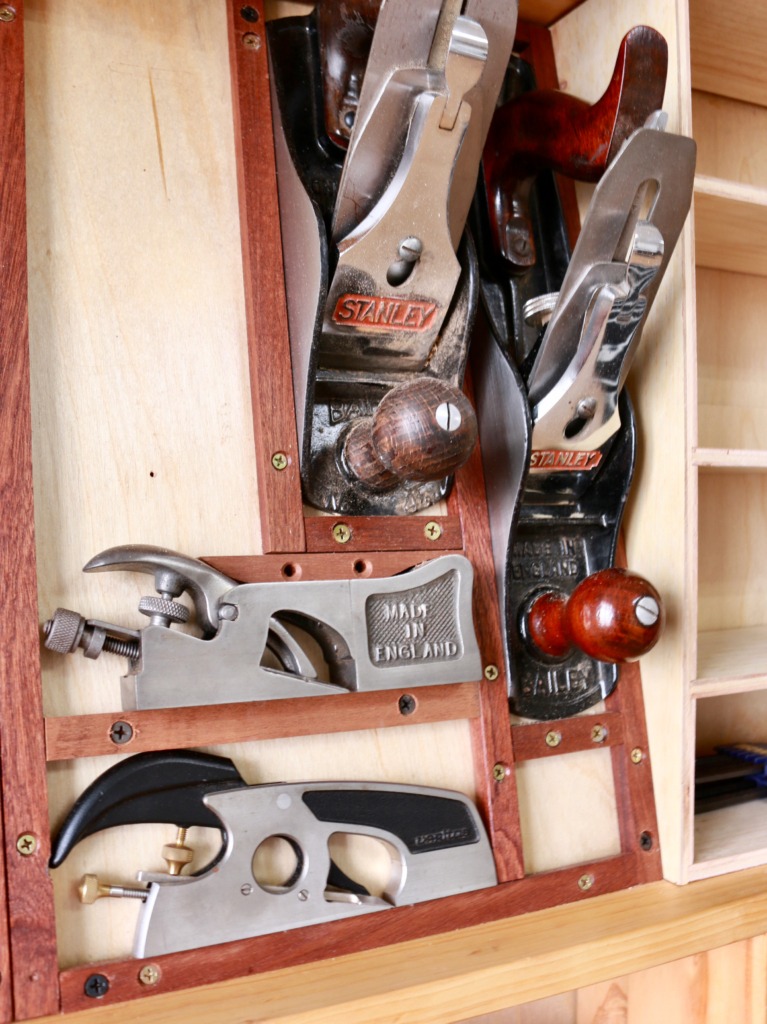
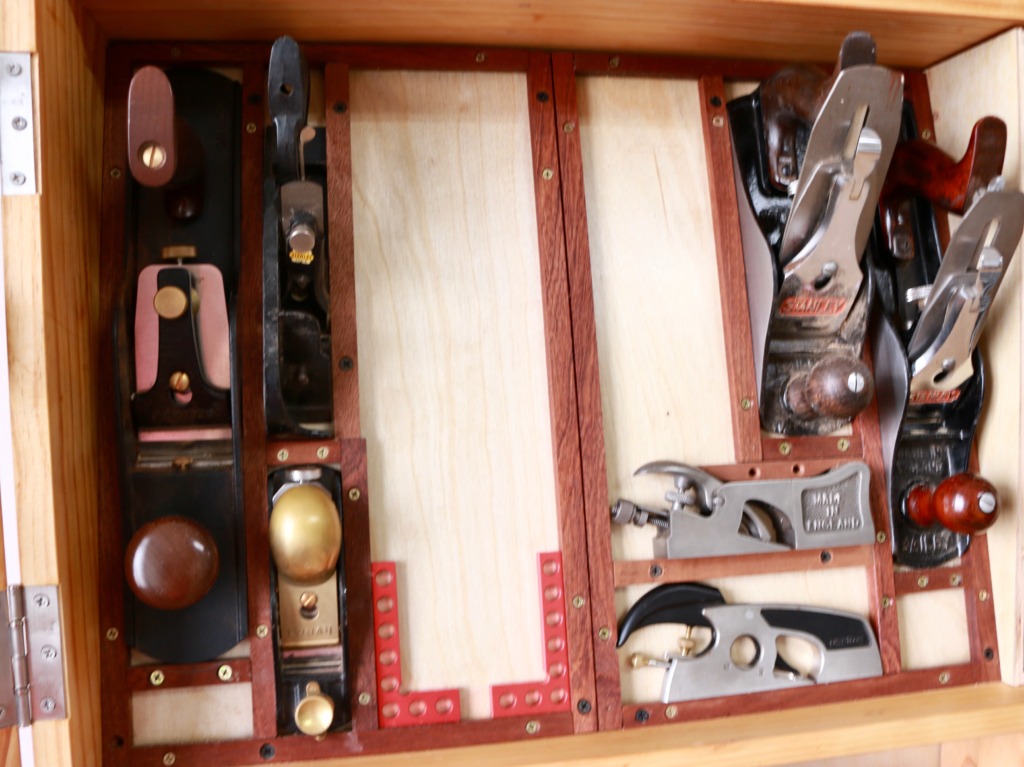
Some of these planes were pretty straightforward, while others required a little more tweaking due to the size and shape.

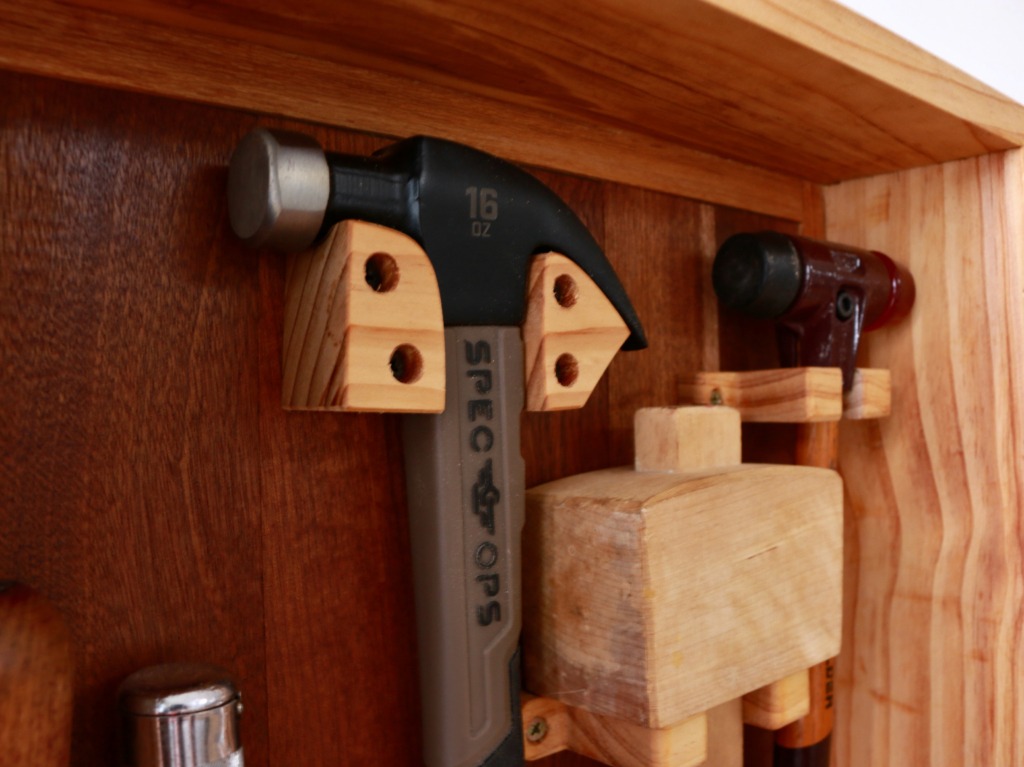
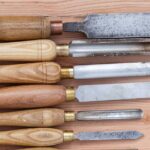
The left door housed all my woodworking chisels, including my complete set of Stanley Sweetheart chisels, displayed neatly in a row. I also shaped a few scrap Southern Yellow Pine pieces to hold my mallets and hammers perfectly.
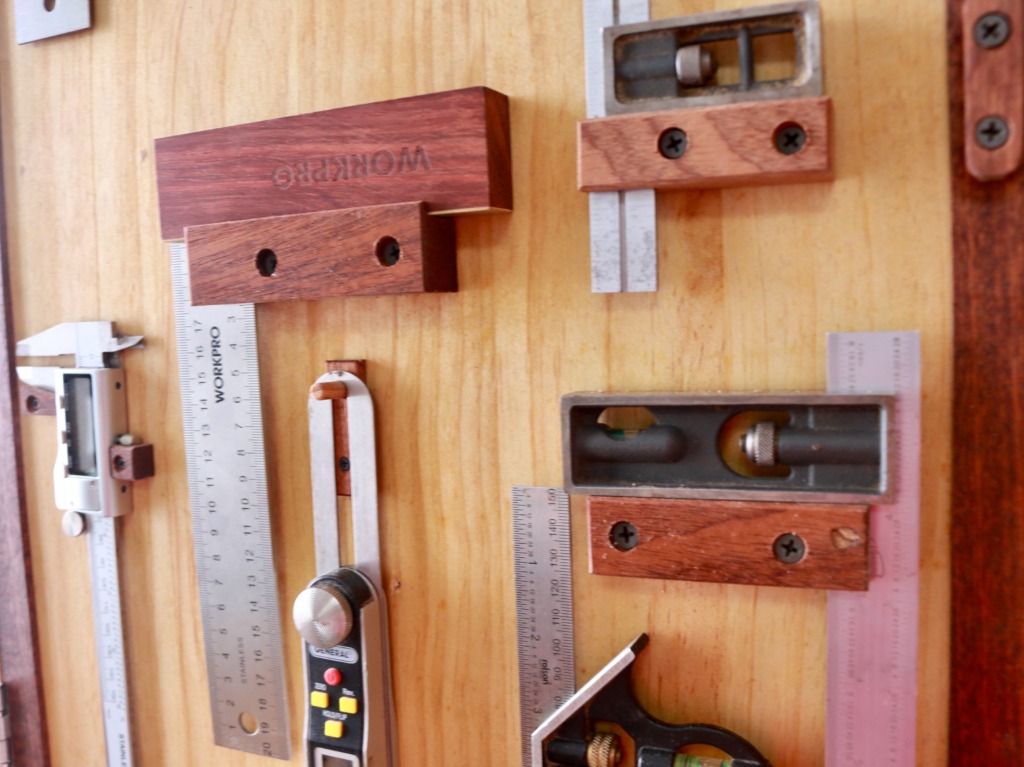
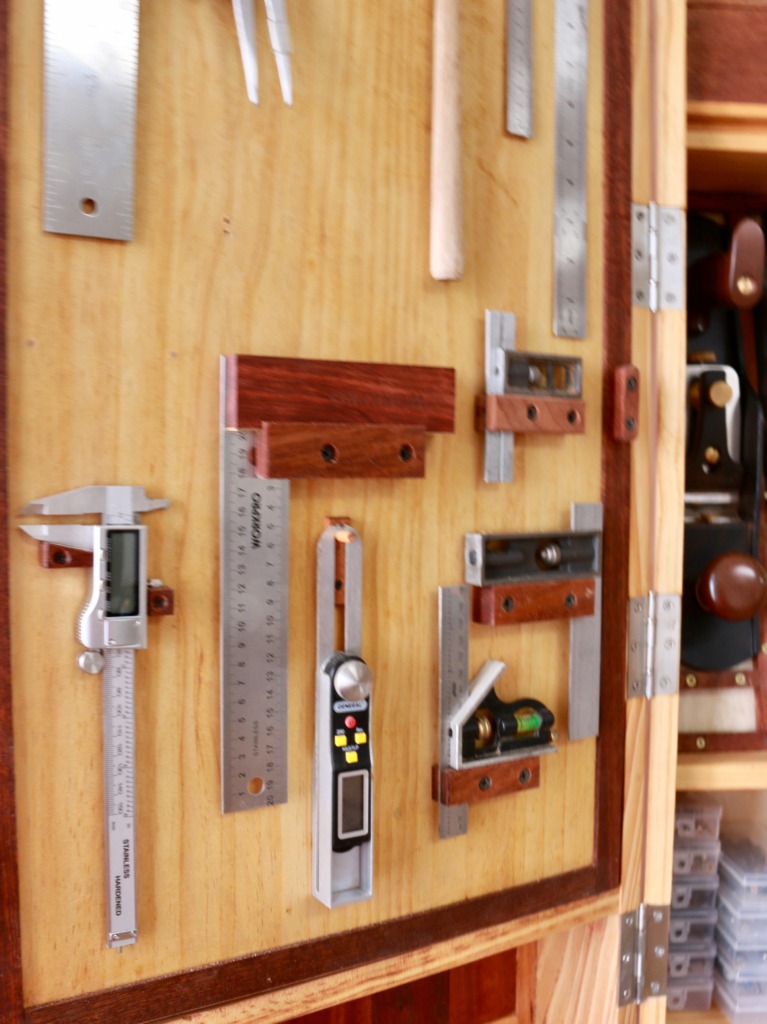
The front of the smaller left door houses my caliper, angle gauge, and other measurement tools. I shaped the mounts from Sapele and carefully screwed them onto the door panel. I could have optimized the placement more, but maybe that’s a task for another day when I have more tools to organize.
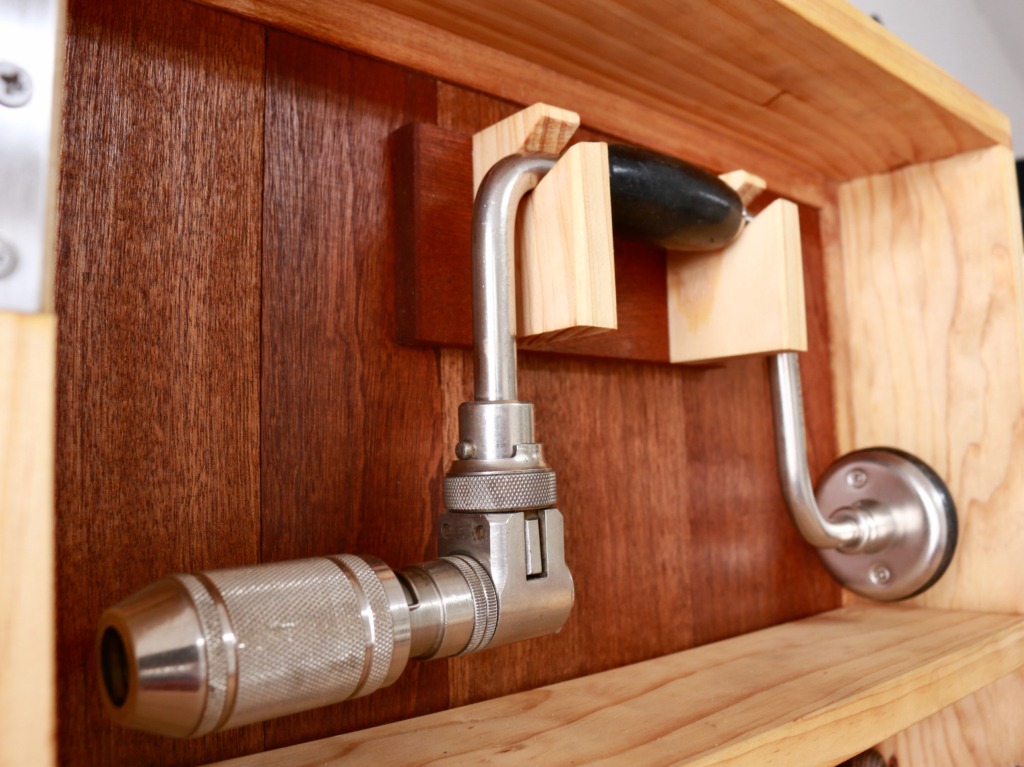

Storing my Ryoba Japanese hand saws, flush-cut saw, files, and hand drills required more custom months. I fiddled with a few ideas, but I finally got them down, and the result is excellent!
I’m unsure if I’ve optimized the space, as these come in all sizes. In the future, I might need to change the placement of these saws in my woodworking cabinet or figure out a better mount to store them more compactly.
A Woodworking Cabinet That Will Last For Decades
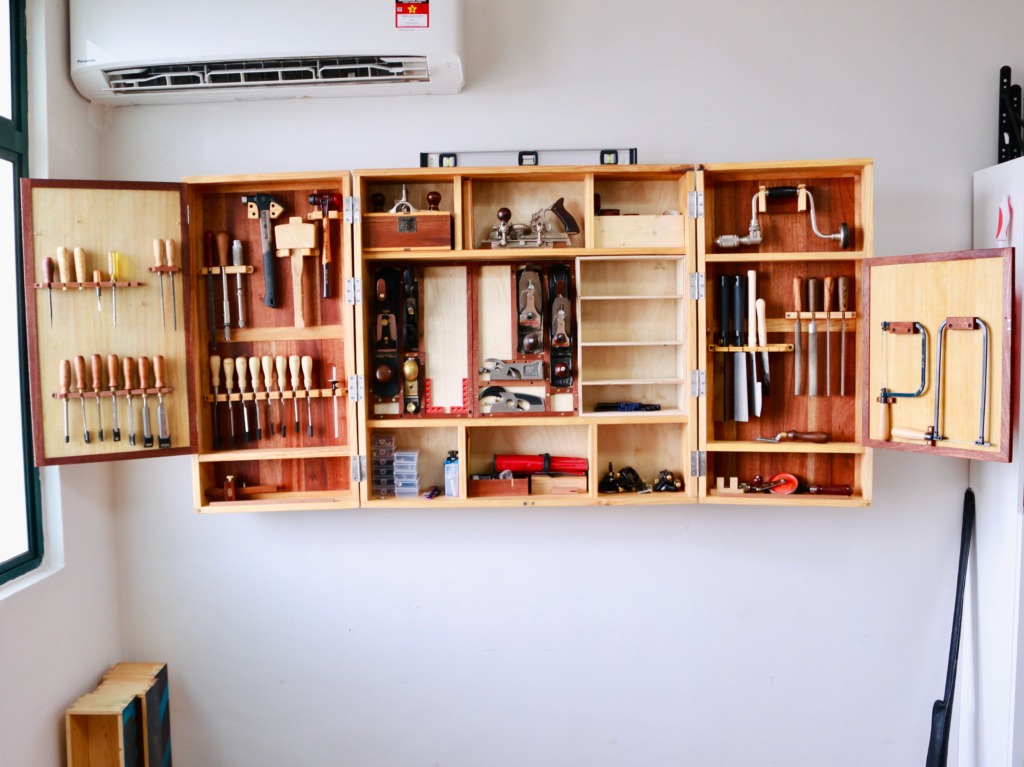
Now, I have enough room to store all my tools, with the ones I need within easy reach. The finished cabinet measures 3×3 feet and occupies a significant portion of the wall space in my room. However, making it a mounted woodworking hand tools cabinet instead of a standing one was the right call.
It looks future-proof and will probably be all I need for the next decade of woodworking. The build had a few alignment problems, which I corrected and compensated for. Only I know where to find the issues.
Building this woodworking cabinet helped me to get to the next level in my woodworking journey.
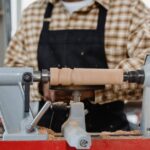
Firstly, I mostly use hand tools, besides planning the lumber down to the correct dimensions. Some of these hand tools were purchased quite some time ago and never saw much action, so I am happy to use them finally.
Secondly, I learned to improvise as my design deviated from the original Mike Pekovich tool cabinet design. Some of the deviations, such as the use of dowels, were necessary to cut down the build time. Others were simple out of necessity, as my collection of hand tools was different and needed slightly different storage options.
Ultimately, it all came out exactly as I was hoping for.