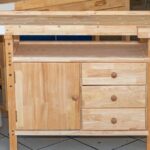
Recently I started my DIY woodworking workbench project, and on the top of my list was to try cutting mortise and tenon joints by hand. I have cut mortise and tenon joints using the table saw and drill press, which accounted for 80% of the work.
While planning my DIY workbench, however, I thought it would be a great idea to hone a few skills, or at least try it out and see how difficult it was.
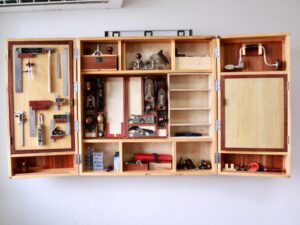
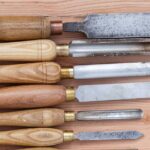
All I used was a pair of Irwin chisels, a rubber mallet, my Japanese Ryoba saw, a marking gauge, my Taytools #5 jack plane for smoothing and stock removal, my Stanley 60 1/2 block plane for end grain. Of course, I also added a lot of elbow grease.
Planing and Smoothing Lumber with Hand Planes
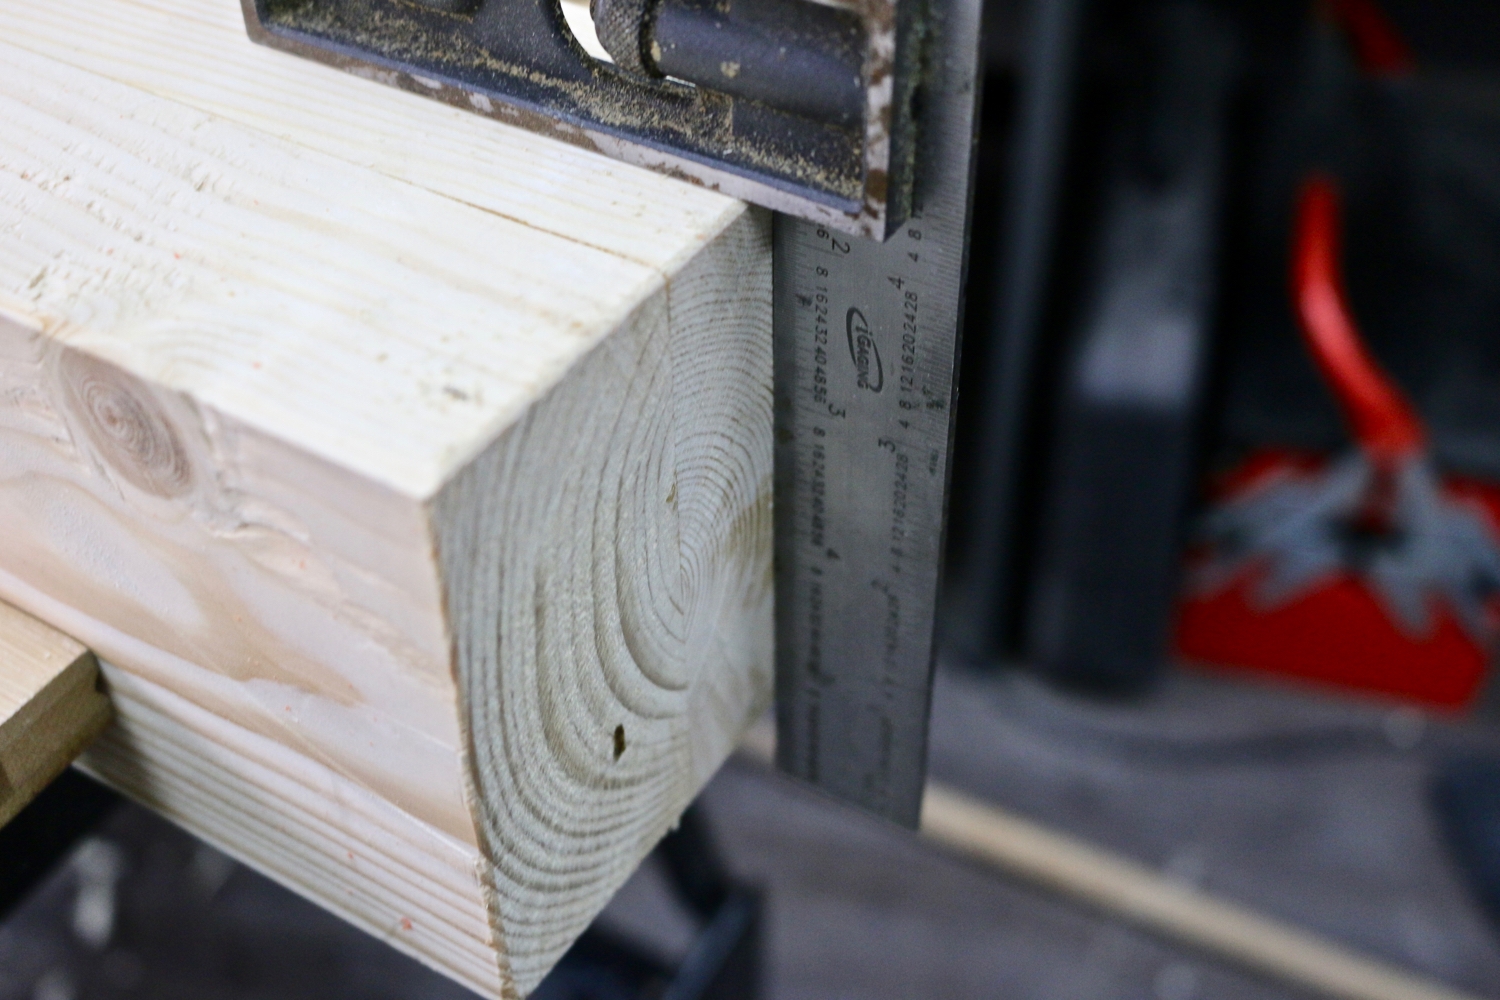
First, I had to dimension my rough-sawn lumber using my jack plane. I had previously made a pair of winding sticks to check for twists, but I hardly used it.
For someone who used the table saw and belt sander for almost all my previous work, I found it challenging to get all four legs to be perfectly square.
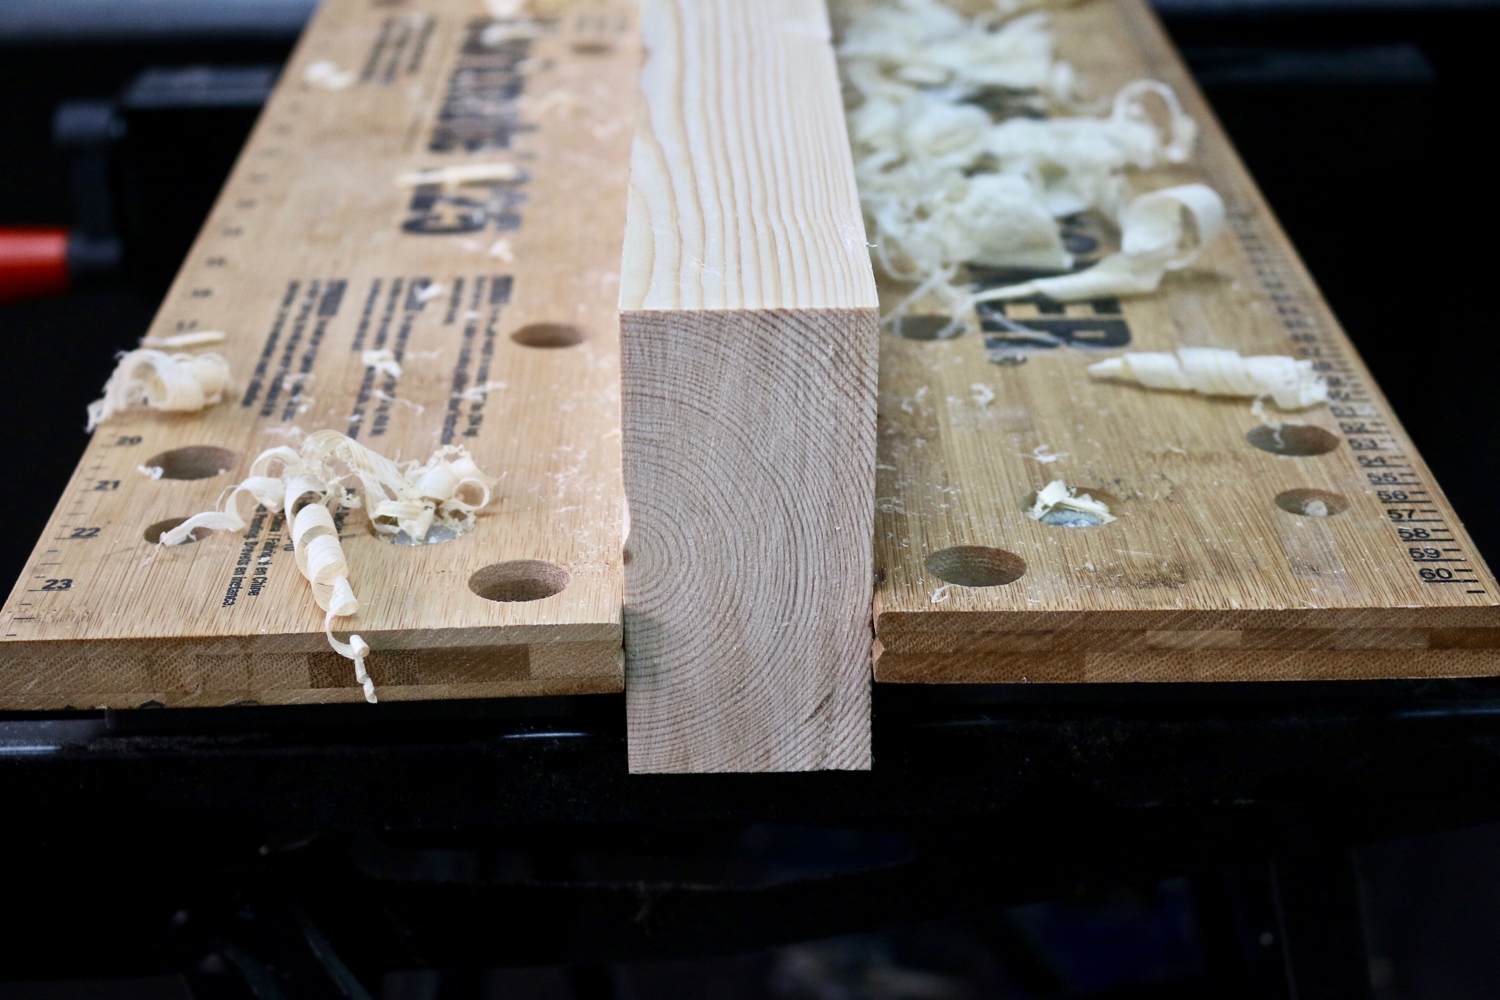
Somehow, I managed to get an acceptable (another way of saying I settled for less) result. I glued two 2×4 lumber to form a thicker, more solid leg. I wanted my workbench to be as stable and rigid as possible.
It was far from seamless, but I pat myself on the back for a decent result. Hey, at least I tried! Using the block plane on the end grain, I squared the ends.
As I only had about 3 hours every weekend, preparing all four legs and rails with hand planes took me two weeks. I started to realize that this is not going to be quick at all.
Then came the part that made me nervous – cutting mortise and tenon joints by hand.
I’ve made so many mistakes before when making mortise and tenon joints, and the #1 mistake was messing up my measurements. The #2 mistake was cutting the tenon before the mortise.
Cutting Mortise & Tenon Joints by Hand
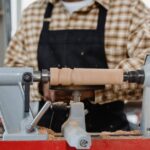
So, this time I started by cutting the mortises. I sharpened my chisels to a beautiful mirror finish using my DIY sharpening station. Starting with a 400 and 1,000 diamond plate, I moved on to my 5,000 and 10,000 grit waterstone and finished with a leather strop.
I used Paul Seller’s mortise and tenon method, although mine was a blind mortise, which was a bit harder to do. I kept reminding myself to double-check my measurements.
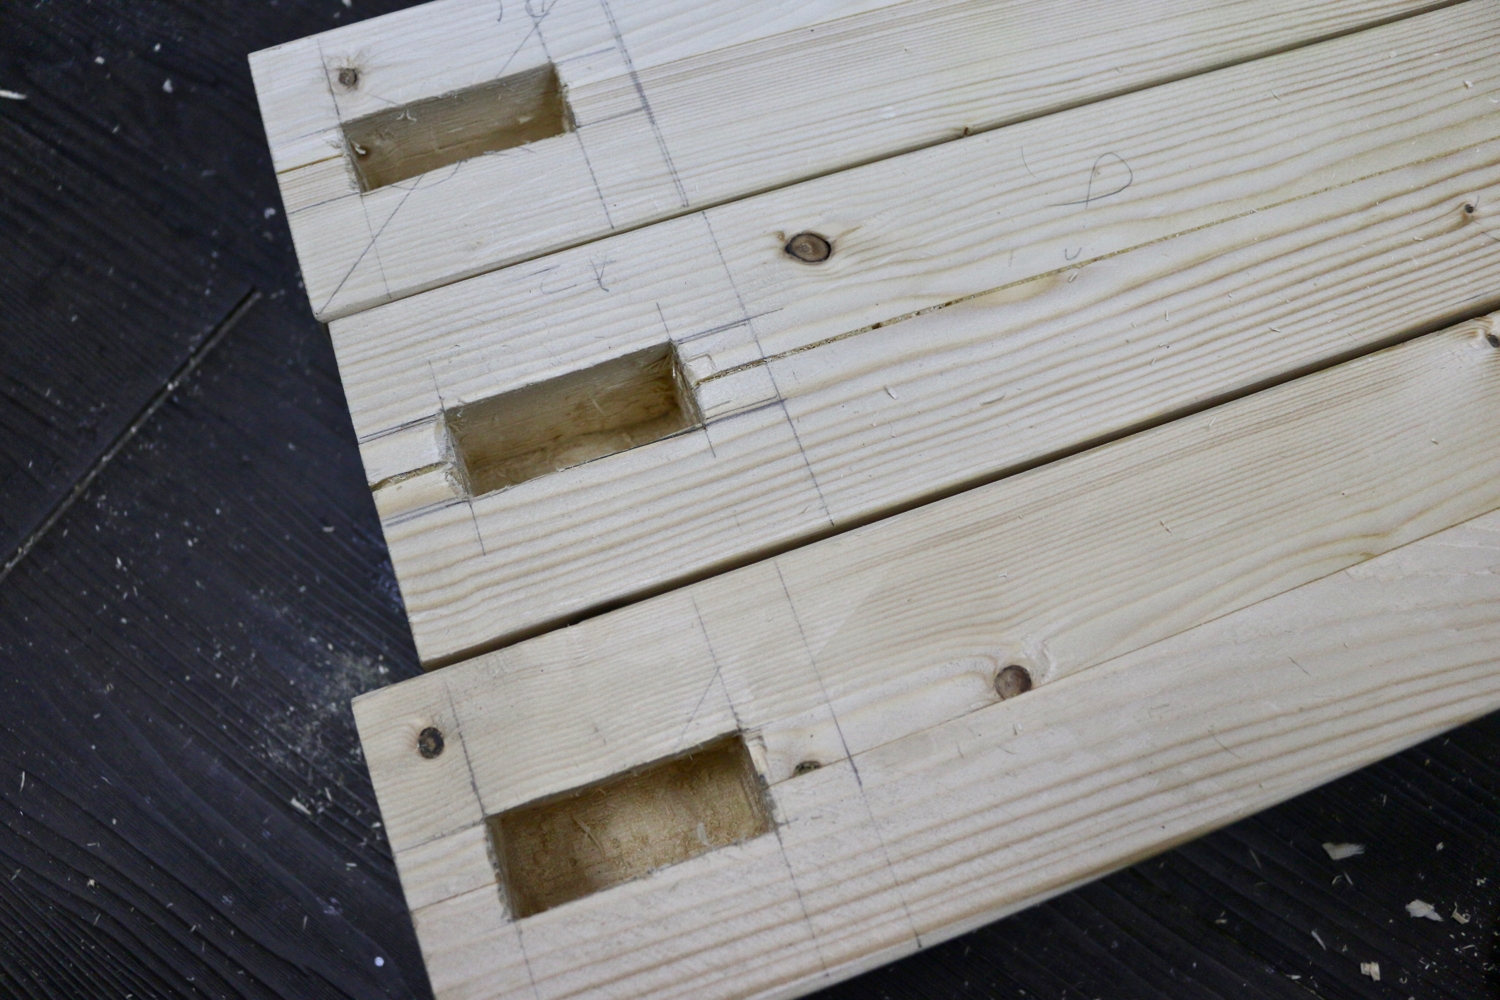
Sure enough, one of the measurement was way off. My first two mortises were the best, and the others felt rushed. I was trying to take off too much too quickly, which resulted in two pretty crappy looking mortises. The insides were compressed and rough.
Using My Ryoba Saw for Hand-Cut Tenons
It was a bit tricky trying to stop the Ryoba saw from wandering, but I eventually figured out how to do it. Using a piece of scrap or an angle guide, you can quickly solve 80% of the wandering problems. The other 20% will depend on your technique.
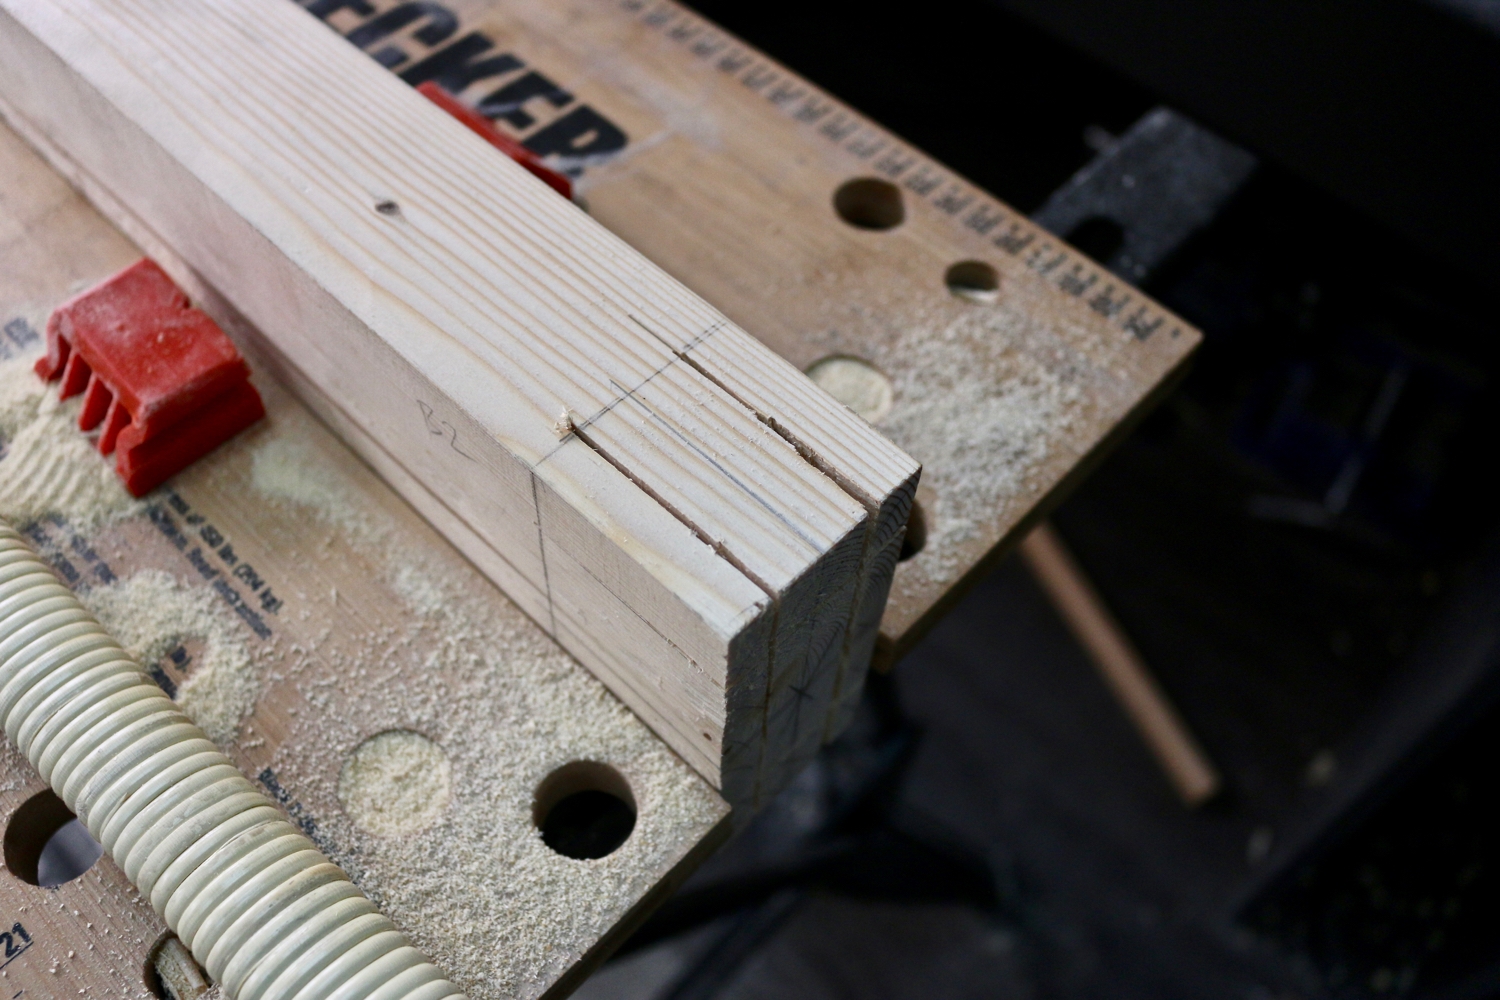
I cut the end grain parts first, by placing the leg at a 45-degree angle, clamped in my Black & Decker Workmate 225. I cut one side, then flipped it around and started cutting from the other side.
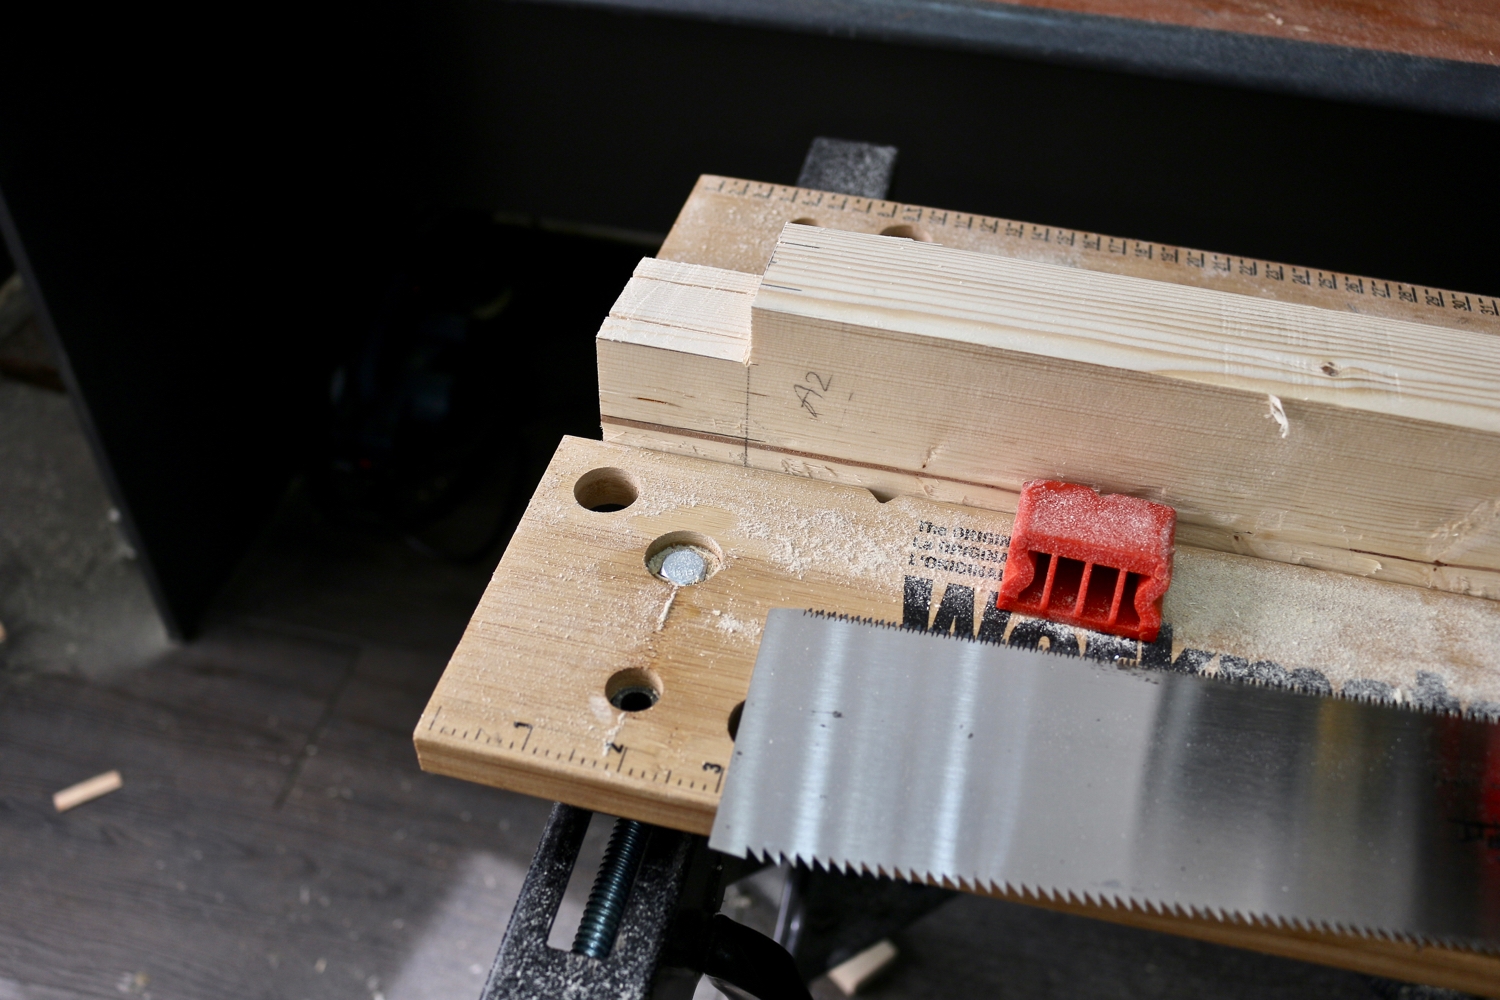
Next, I cut the side and face sides, which were much easier to do. I started to enjoy using my Ryoba saw for these cuts. I learned how to switch between the rip-cut and cross-cut teeth for the best cutting results.
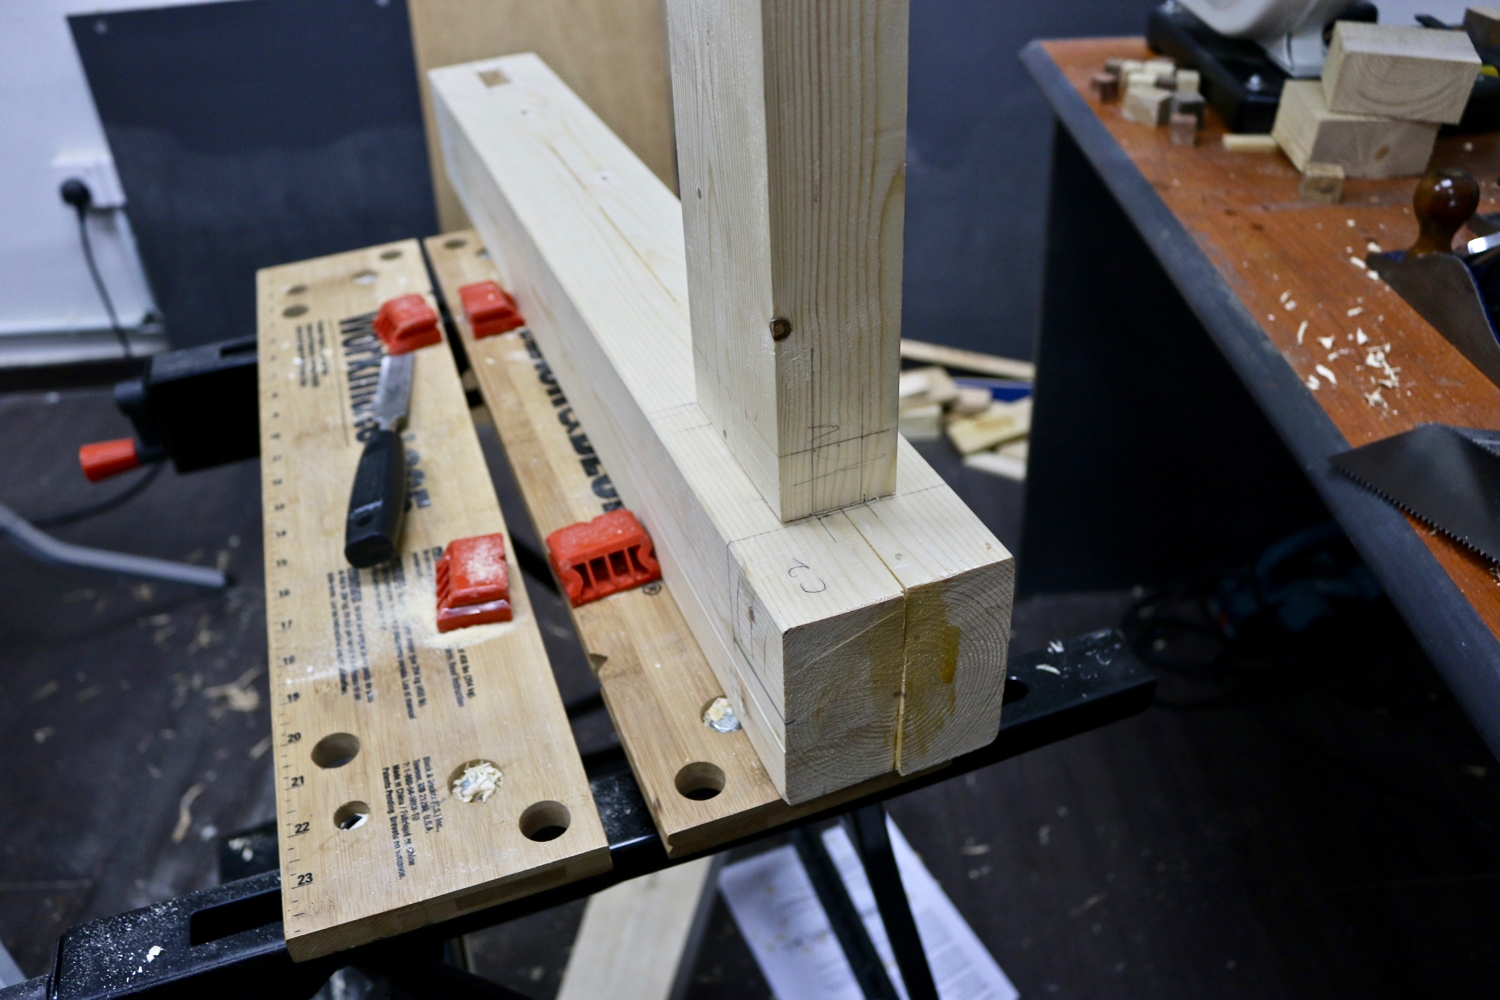
A quick test fit, and it was perfect! Beginner’s luck, of course. The other seven mortises were pretty rough, and some were loose. I think I was trying to get it done quickly to fit into my 3-hour-a-week woodworking schedule.
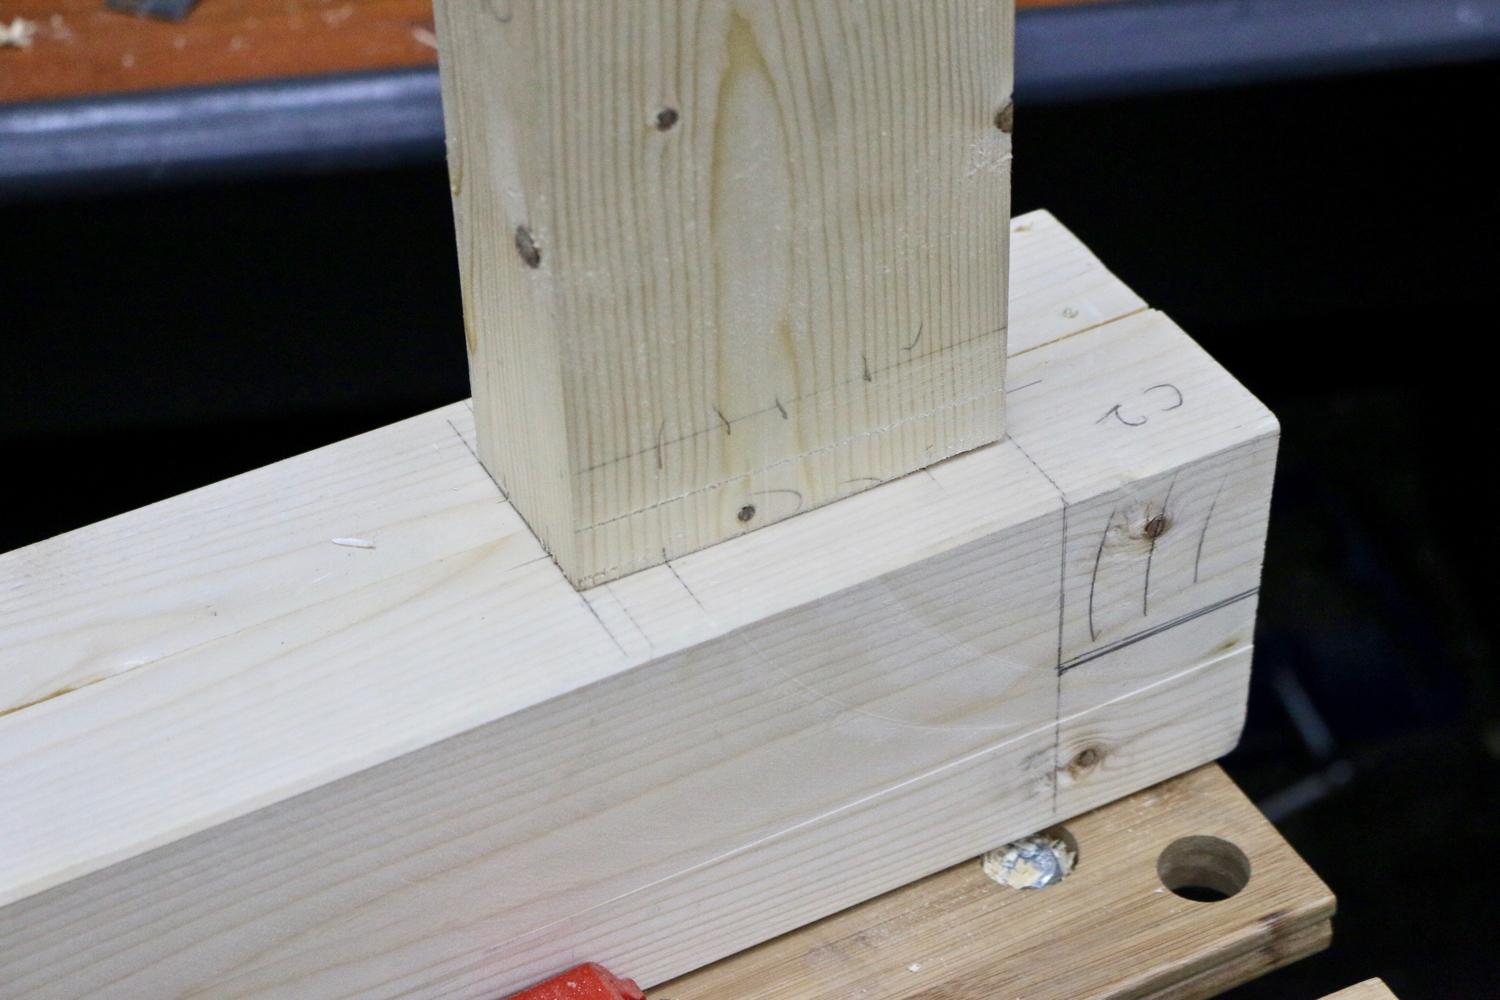
It took me a total of six hours to make the joints, and another two hours to make adjustments to ensure they all fit well. I didn’t have a shoulder plane, so I made do with my clock plane and a 1-inch chisel to pare down the tenons.
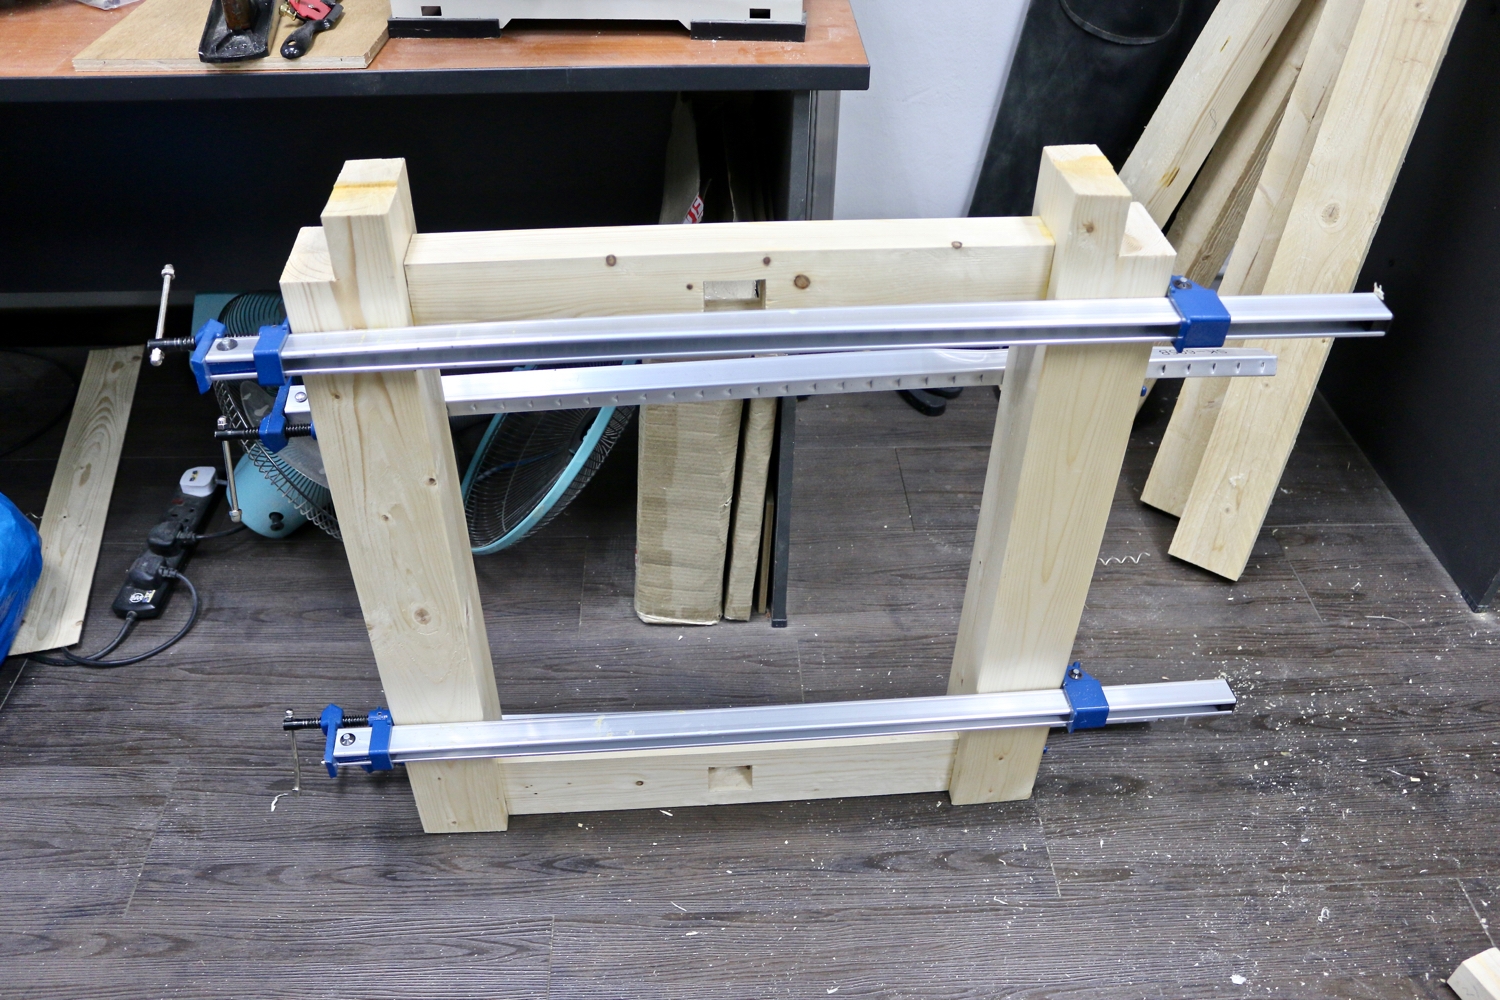
Next, I applied Titebond 2 wood glue to the mortise and tenon joints and clamped them together. It may look good in this picture, but I know how horrible at least two of these joints were. I had to insert a shim in one joint as I had accidentally pared off too much from my tenon.
What did I learn by cutting mortise and tenon joints by hand?
It is slow and tough. It was enjoyable at first, but it quickly became an issue of time (for me) to get all the joints done as soon as possible. That’s when I started making mistakes, chiseling off too hard, and shaving off too much.
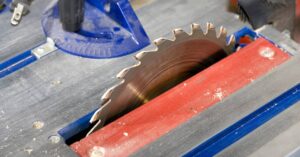
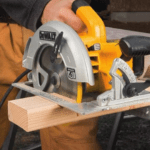
You need a lot of patience if you want to try cutting these by hand. I think everyone should try it. For future projects, I will most definitely be using my Bosch GTS10-J and drill press to make it a whole lot faster.


3 Responses
Hey there. Nice work. Are you Malaysian? I came across your blog by accident. I strongly suspect that there are not many woodworkers (the non pro types) here in Malaysia. Anyway, just wanted to say hello there. I just started woodworking and I am at the stage where I ve got most of the basic tools one needs to make things wood related and I’ve just finished my woodworking bench, well, almost – I tried to make a front vise (and even with a quick release mechanism) and after spending almost two weeks on it, I gave up and bought one at fine-tools.com. Oh and I’ve never worked with my hands before this, and I am very happy with my hand made bench where except for a power drill, it was all done “unplugged”. Cheers!
Great to know that, yes there are many hobby woodworkers in Malaysia..
Oh ya, many hobby woodworkers in Malaysia. Definitely many which is why its so easy to find hand tools, various type of lumber (especially local wood) including the numerous woodworking clubs in every state.