Hand Tool
Power Tool
Hand Tool
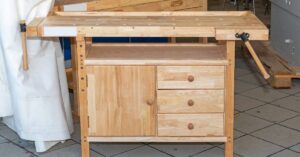
Hand Tool Workbench
The most important features of a hand-tools DIY workbench:
- Solid wood top – This type of workbench needs to absorb the impact of hammers and chisel work. Soft or hardwoods can be used.
- Weight & mass – Heavy and built with sturdy joinery to prevent racking and movement when planing wood.
- Workholding options – Vises, clamps, bench dogs and fixtures help you work better with hand planes and saws.
Roubo & Nicholson workbenches are the dream of all hand-tool woodworkers. However, there are other styles of DIY workbenches that cater to hand tools, and are simpler to build.
Here are a few hand-tools DIY workbench examples to get you inspired. You can also see our list of best budget & premium workbenches to get an idea of commercially-made hand-tool workbenches.
Here are some examples:


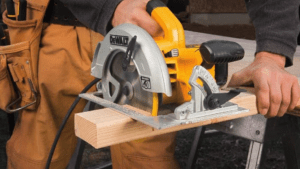
Power Tool
Power Tool Workbench
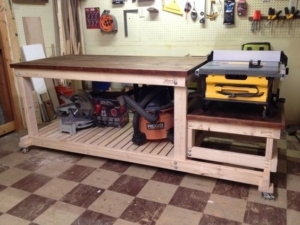
Powertool users have different needs. Their workbenches (or workstations) tend to reflect that but with some minor elements from a hand-tool workbench.
The most important aspects:
- Large surface area – These workbenches tend to house one primary power tool such as a table saw or miter saw. The bench height and size tends to complement the tool
- Plywood & screws – They tend to make use of plywood for the tops, and pocket-hole screw construction for reasonable solid but extremely future-proof joints.
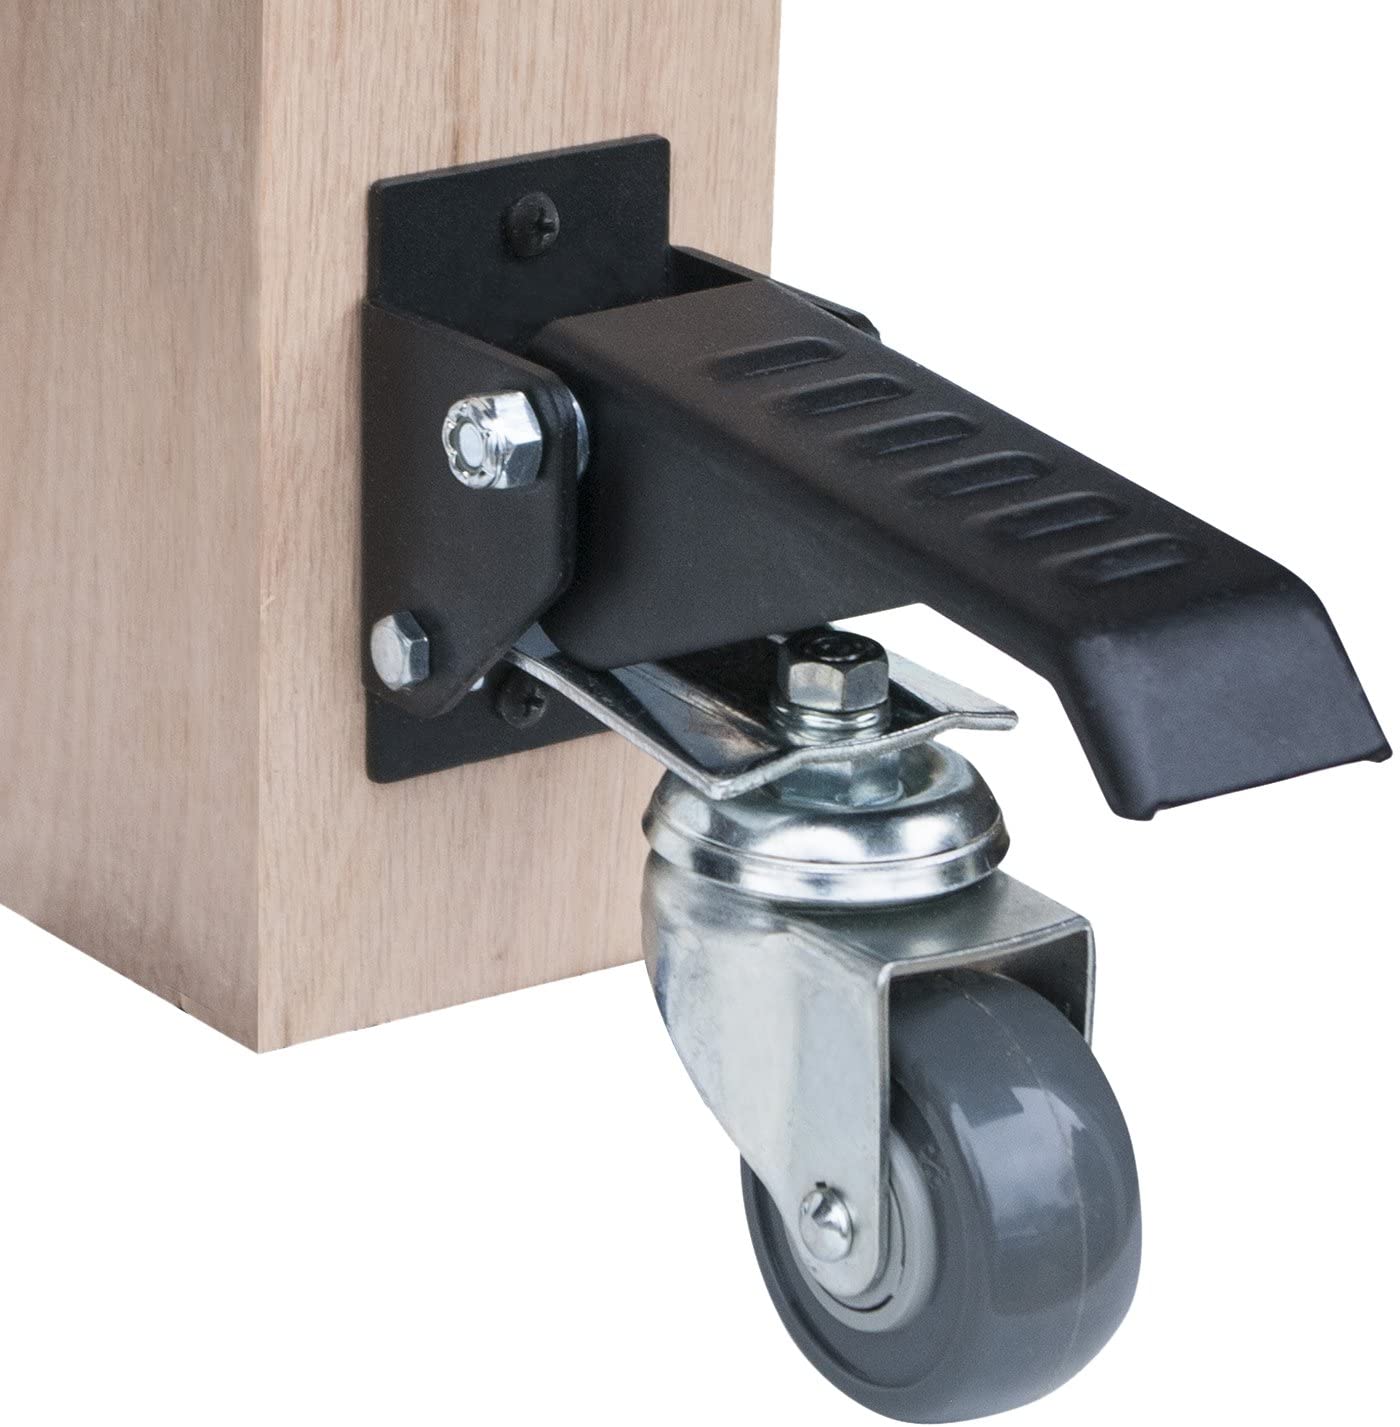
- Mobility and storage – A lot of these DIY workbench with storage have casters or rollers, because they are typically stored indoors but moved outdoors
- Power & dust collection – Design for power outlets and dust collection, as power tools produce lots of high-velocity dust.
Here are a few DIY workbench examples for power tool users.