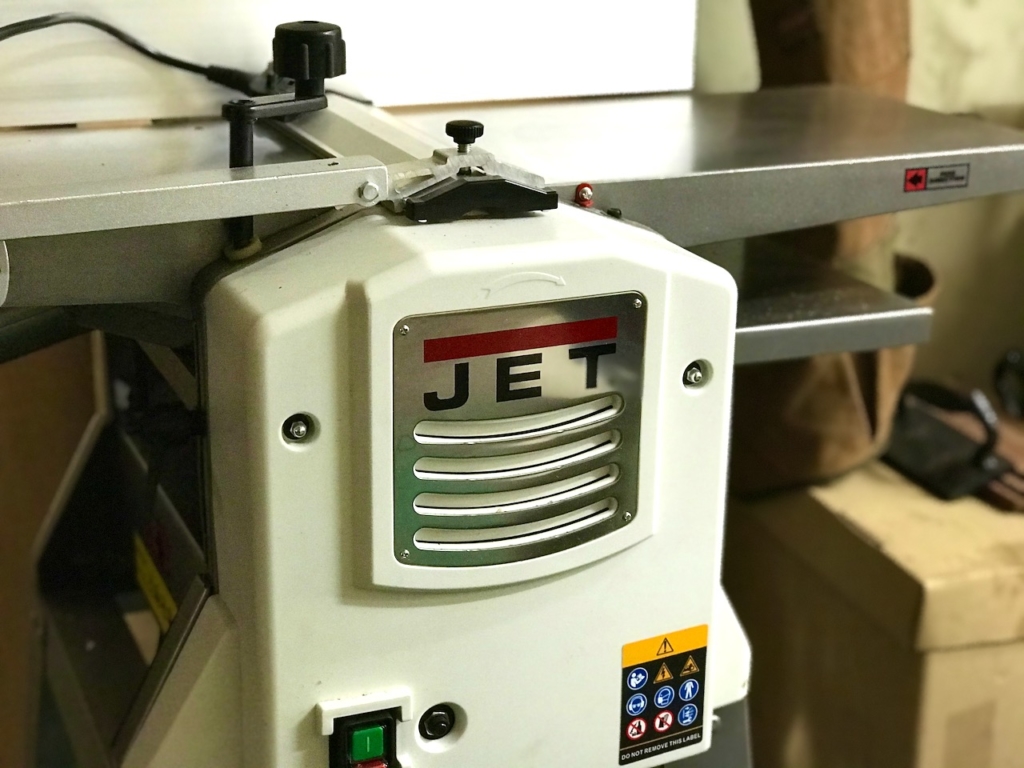
If you’re looking for an affordable jointer planer that takes up minimal space in your workshop, the Jet 10″ JPT-10B jointer planer fits the description nicely.
While researching for this jointer planer, I found literally no information online and only a handful of Youtube videos that were mostly about the 8″ version.
JET’s own website doesn’t list any details about the JPT-10B. However, there seems to be a model called JJP-10BTOS, which is also 10″ model. The only difference I can see from the version I have is the jointer blade cover. It’s quite common for a company to have different model names with variations for different markets.
Here are the specs for the JPT10B:
- Power Input 230V: 1.5 kW
- Cutterblock Speed: 9000 rpm
- Cutterblock Diameter: 45 mm
- Knives: 2pcs HSS Resharpenable
- Feed Speed: 6 m / min.
- Max. Removal Planing: 3 mm
- Max. Removal Thicknessing: 2 mm
- Max. Surfacing Width: 254 mm
- Workpiece Thickness: 5-120 mm
- Table Length: 498 mm
- Dust Extraction Outlet : 57 & 100 mm
- Dimensions (LxWxH): 980 x 470 x 1120 mm
- Weight: 34 kg
Jet JPT-10B Jointer Planer Combo
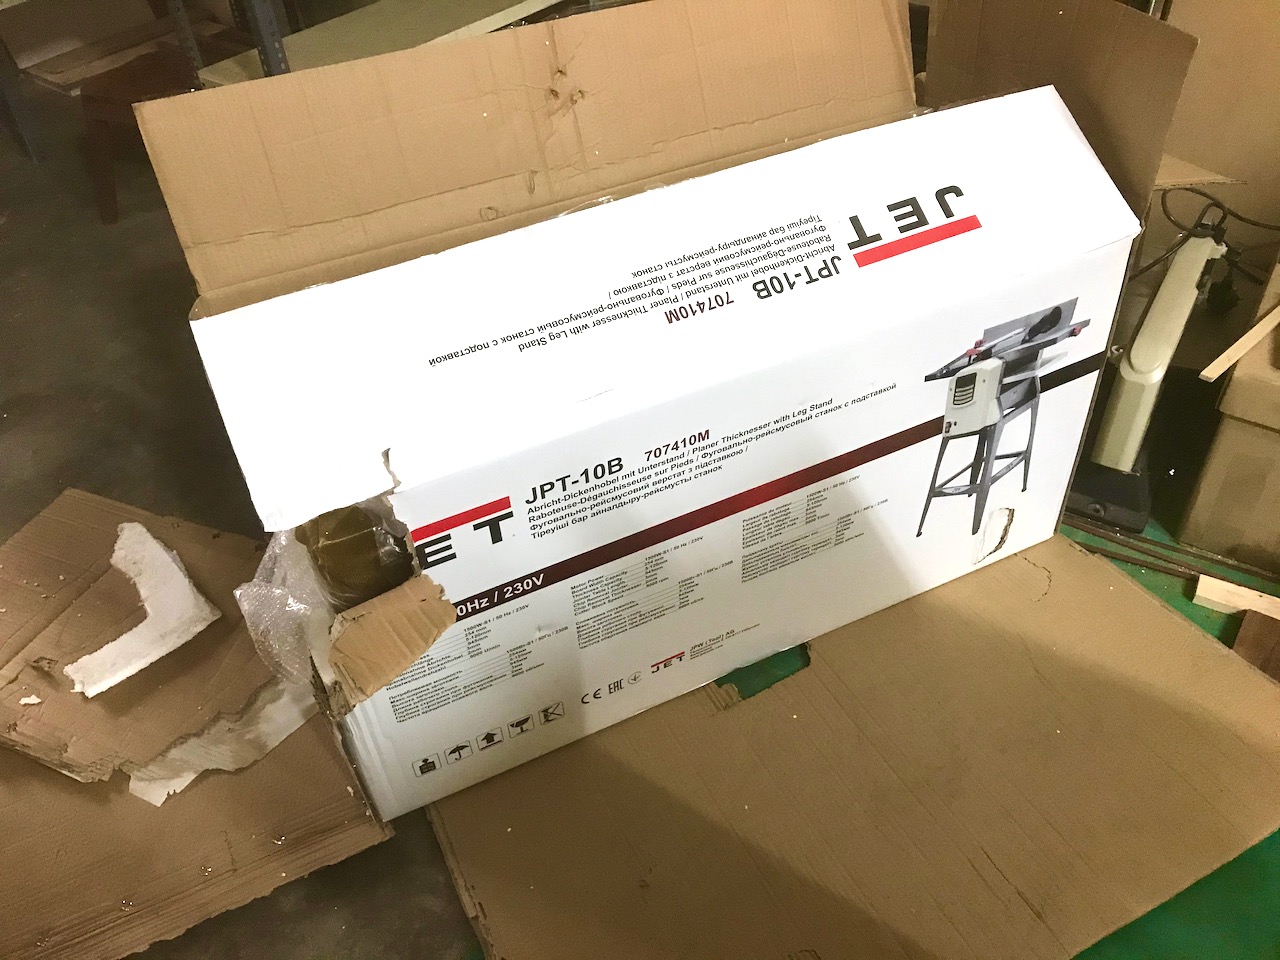
I ordered the Jet jointer planer combo online, and it arrived quickly considering the semi-lockdown due to COVID.
The machine was packed nicely with styrofoam, and was easy enough to remove from the box.
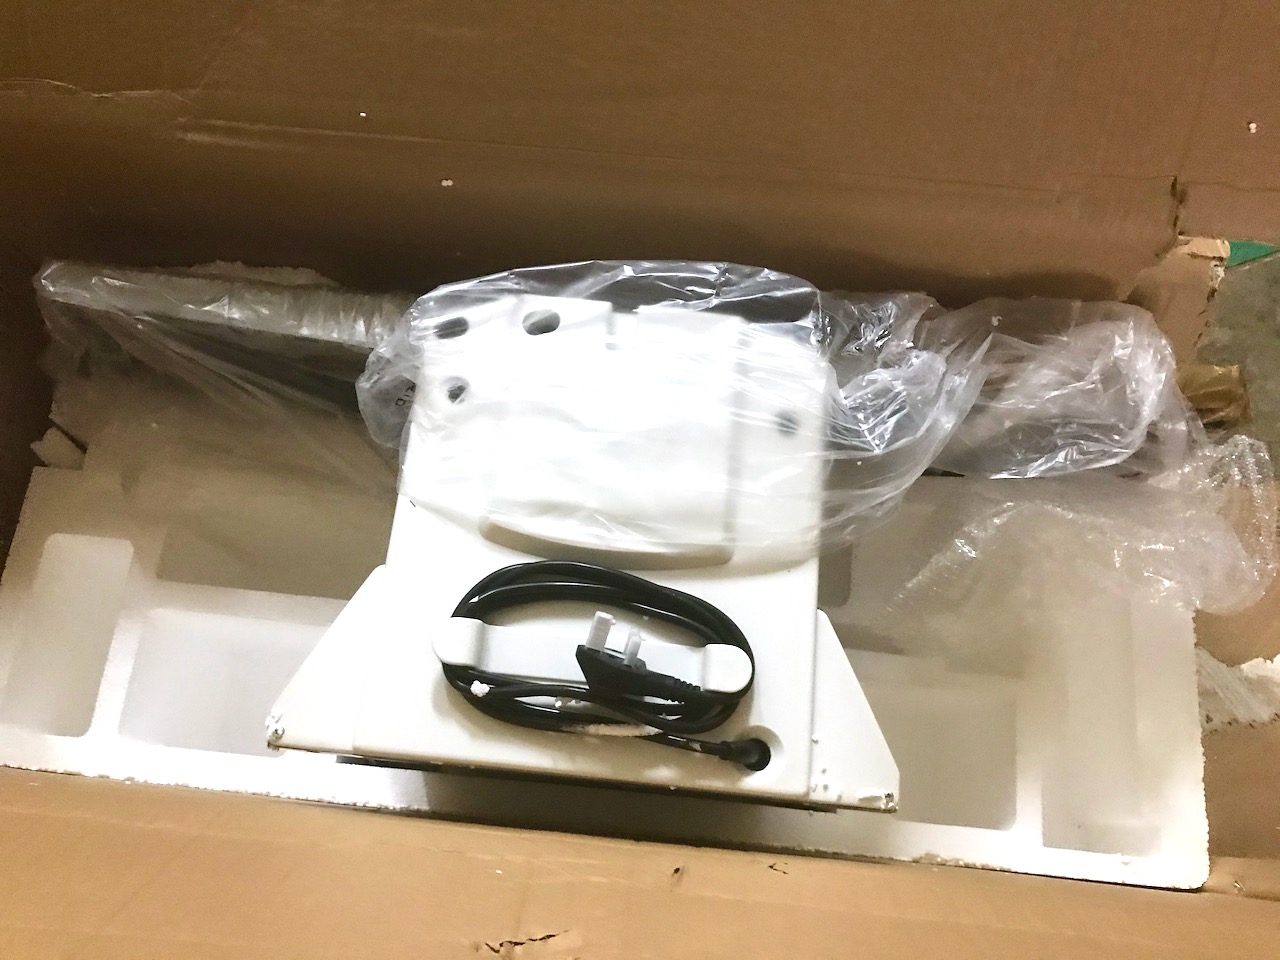
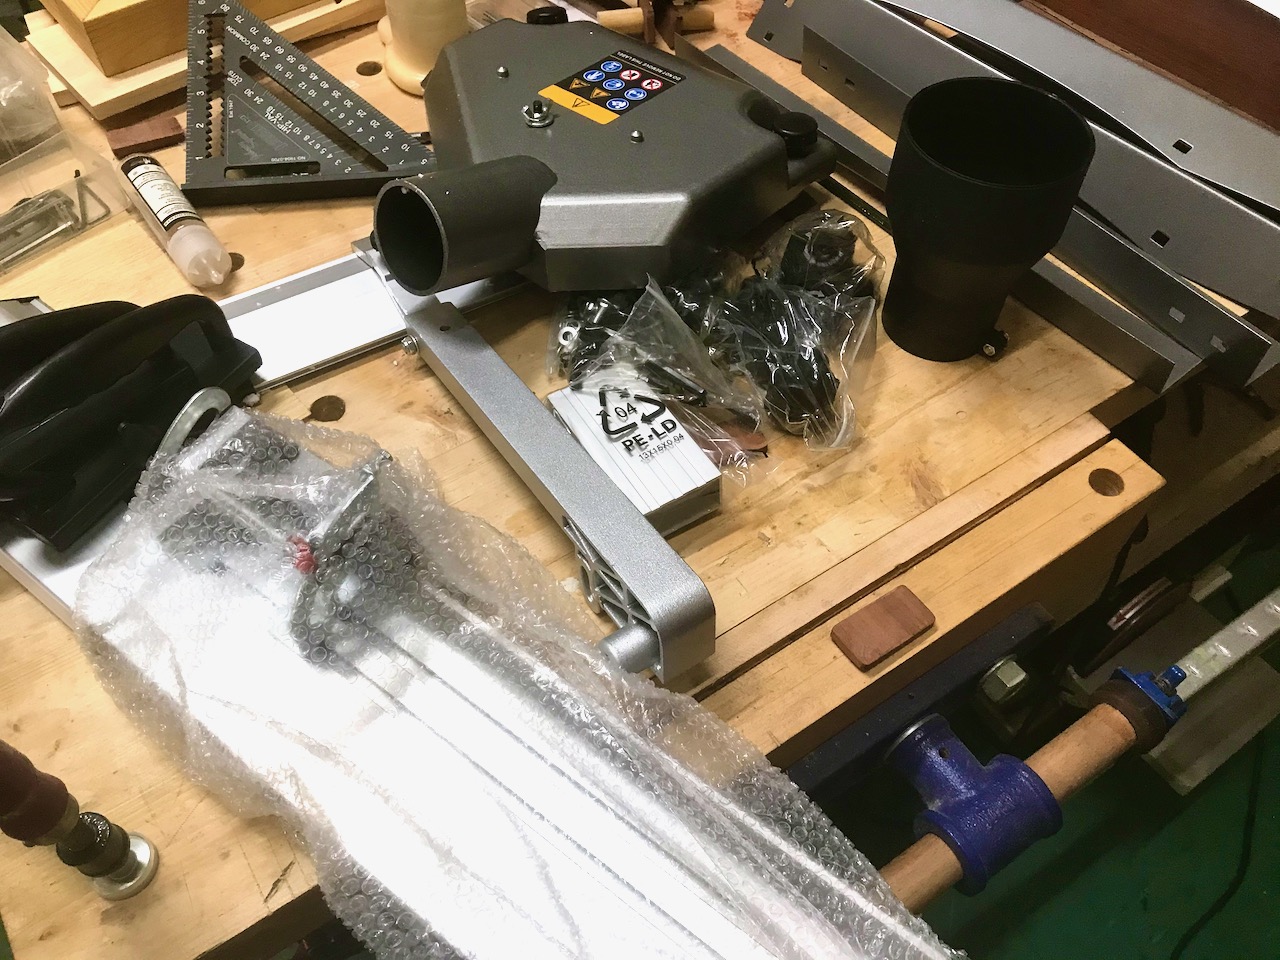
The Jet JPT-10B came with a dust collection chute, a 4″ dust port adapter, stand, and two plastic push blocks.
The user manual was well-written with precise instructions and a list of parts. All the screws and knobs were included, but there were almost no extras. In fact, I remember having one extra locking washer after installing everything.
JET includes a simple jig for gauging the blade height. It’s basically a block of aluminum, and you’ll need this when changing the knives.
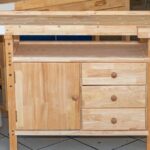
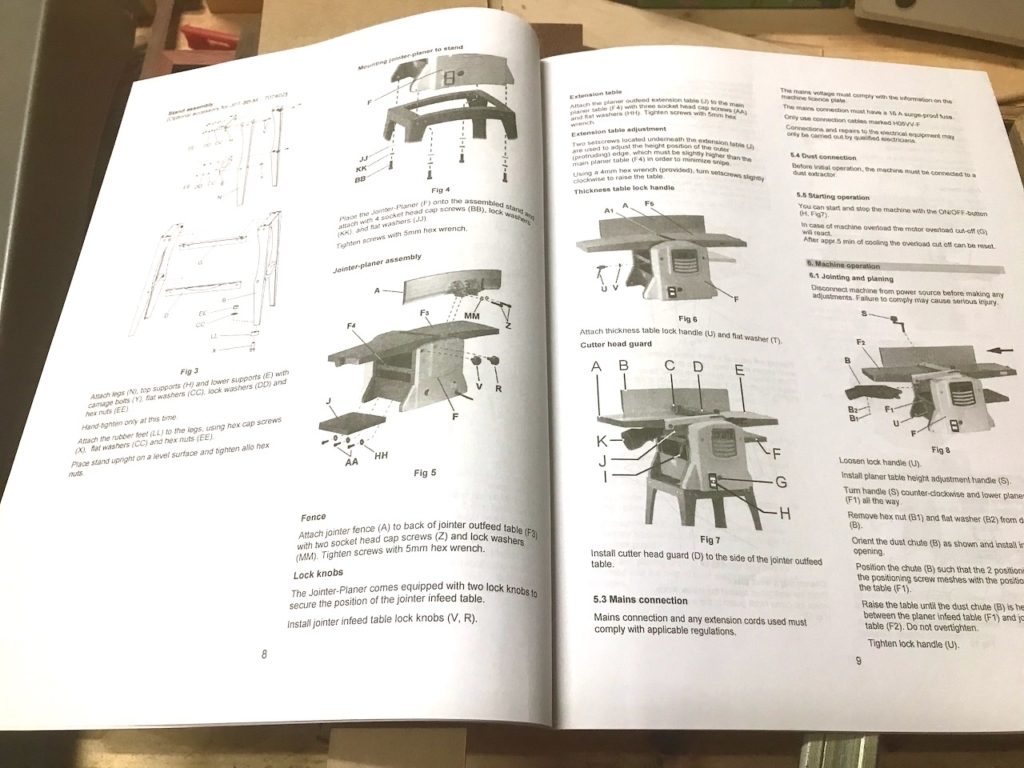
Jet JPT-10B Assembly & Mounting
When it came to putting everything together, you have to start with the included stand. The instructions were very clear on how to do this, and I was able to assemble the stand / base in a short time.
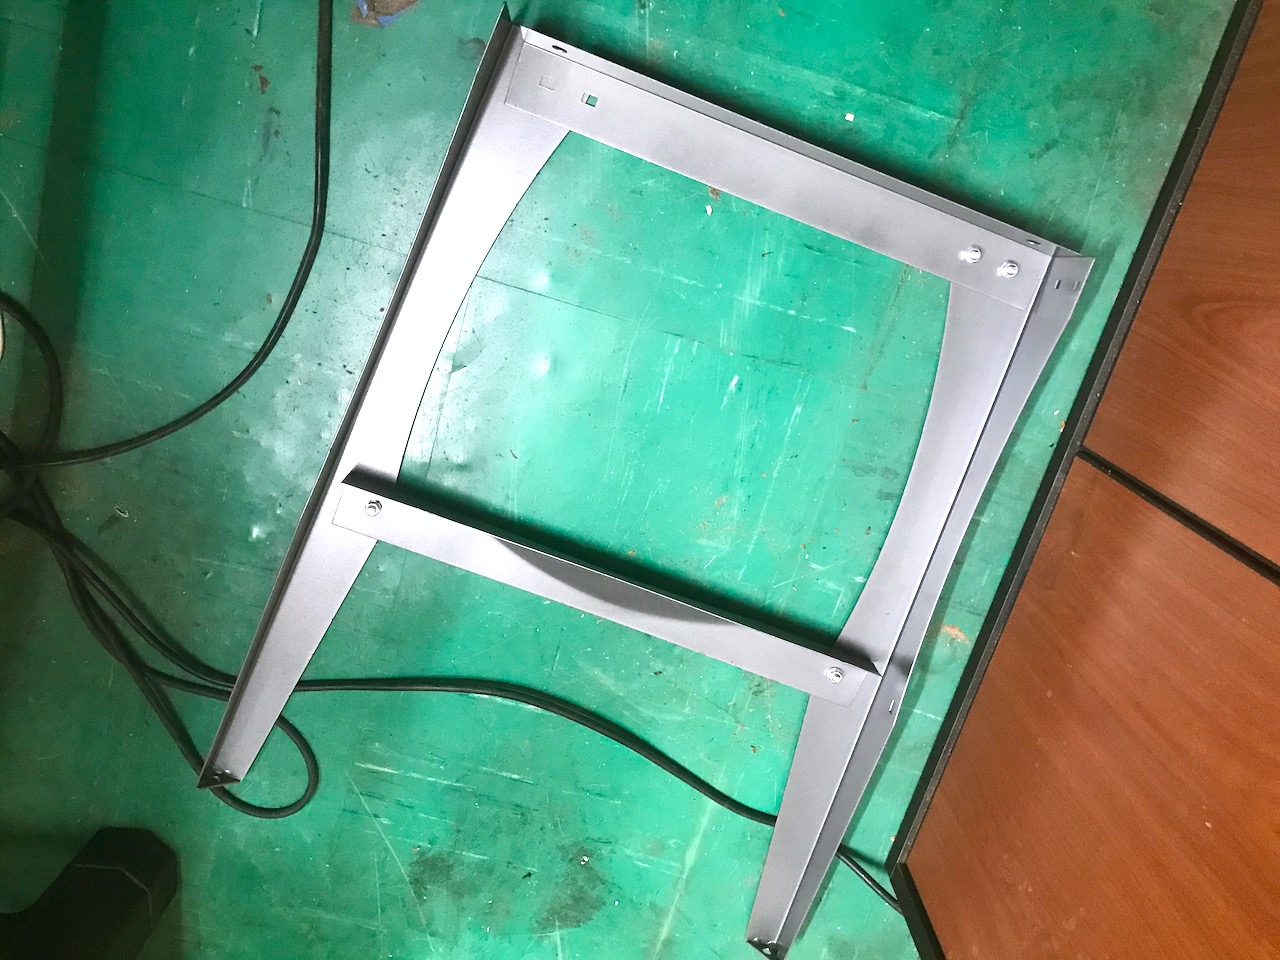
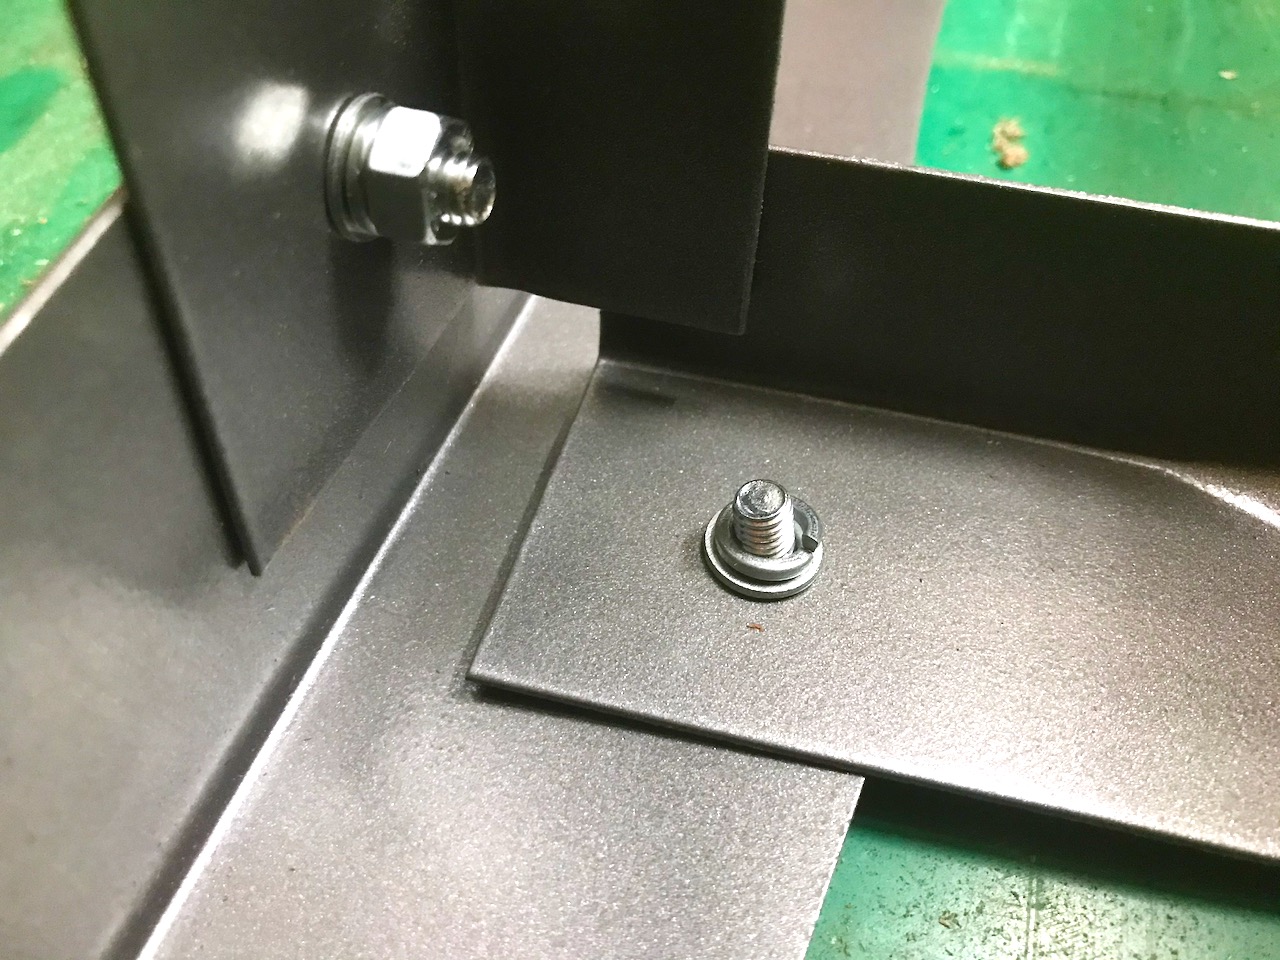
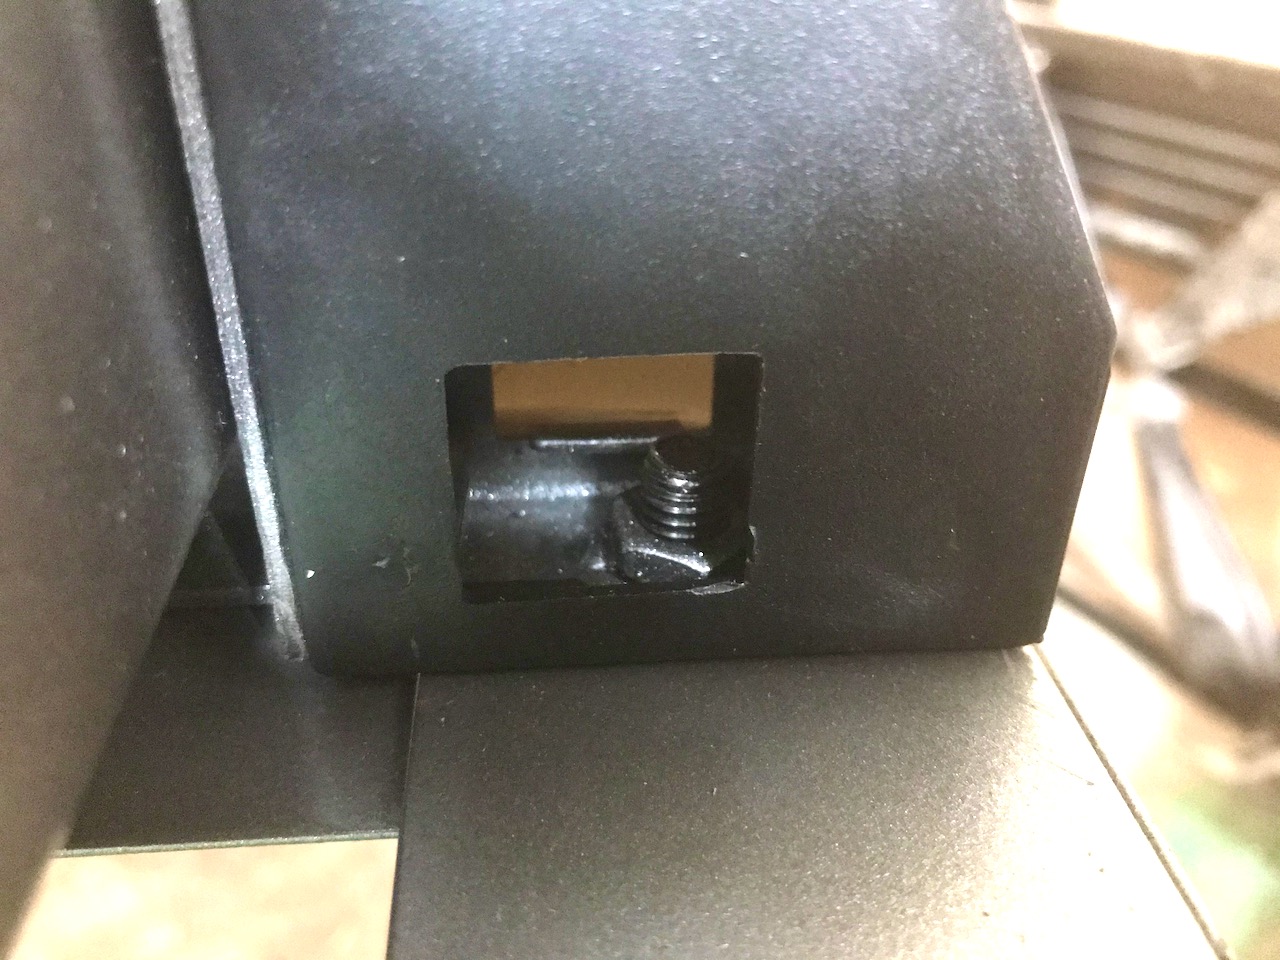
Four sets of nuts and bolts secure the jointer planer onto the stand.
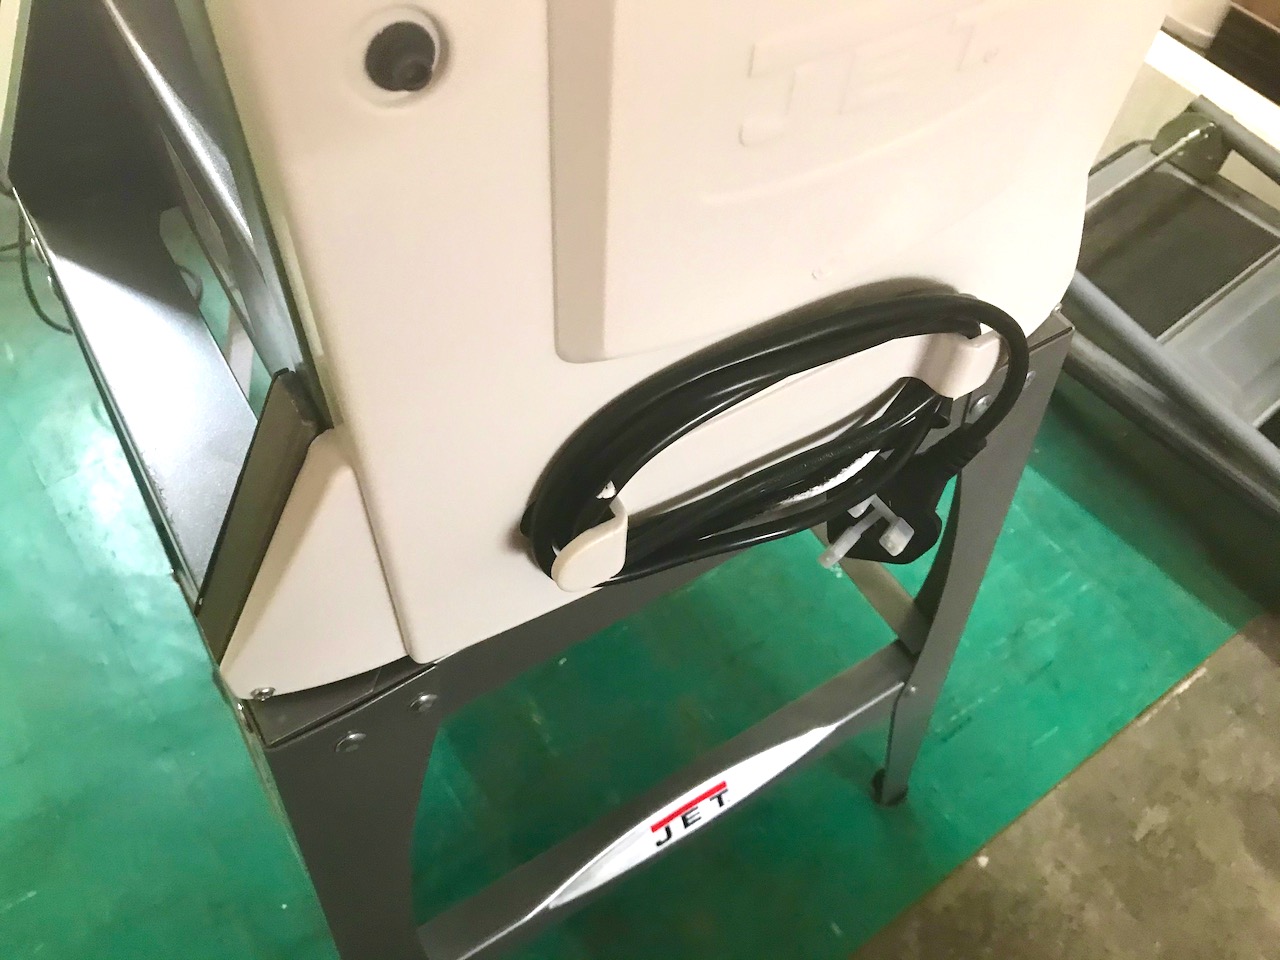
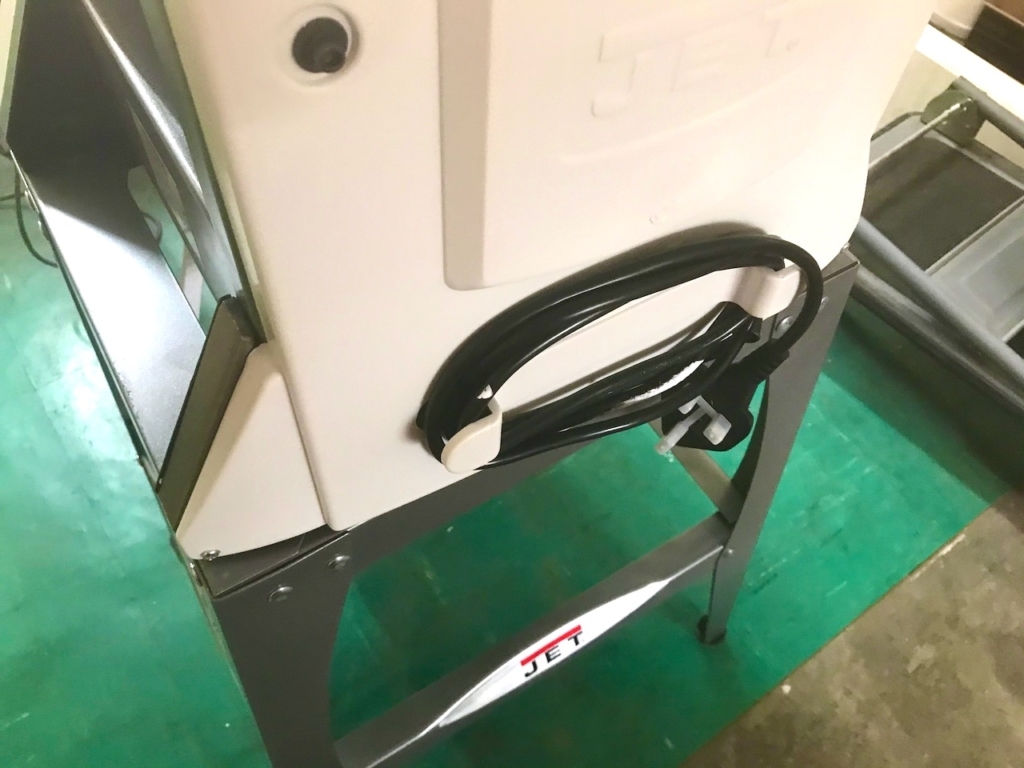
The power cable is wrapped neatly at the back, and as you can see I’m using a European plug rated for 220V. Perhaps this also explains the differences in model names for Jet’s range of jointer planer combos.
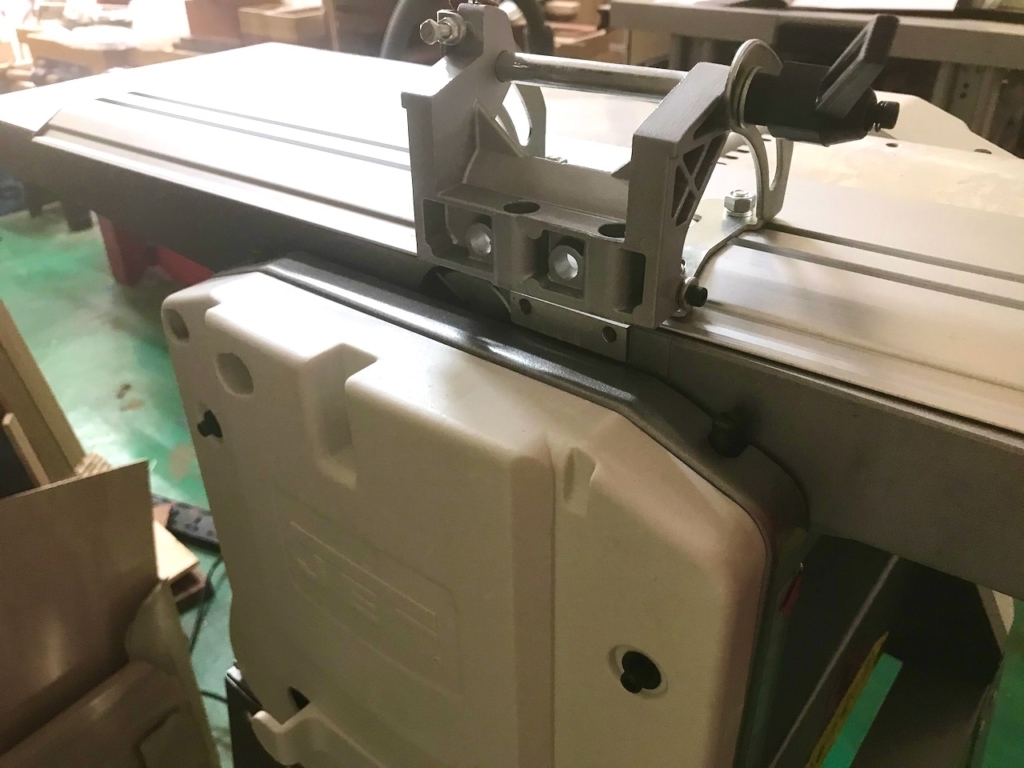
The jointer fence, which is made from aluminium, is held in place with more hex screws. A quick release lever allows you to position the fence anywhere between 45 and 90 degreees.
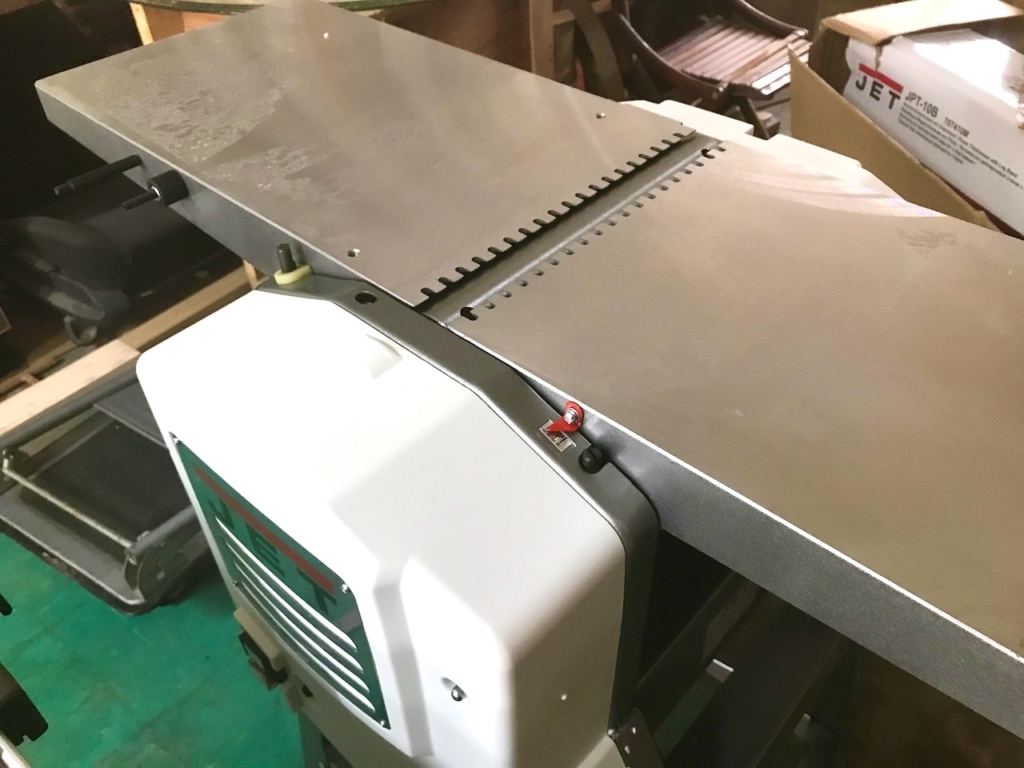
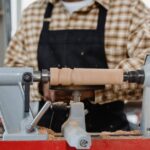
The jointer table is machined very well but could use a little cleaning up with some denatured alcohol. the infeed and outfeed tables appear to be co-planer with each other, but there’s a catch.
To adjust the table height, you’ll need to loosen the two clamping screws at the back, then use the adjustment screw at the end of the lower table. The problem is that there is quite a bit of slack during adjustment.
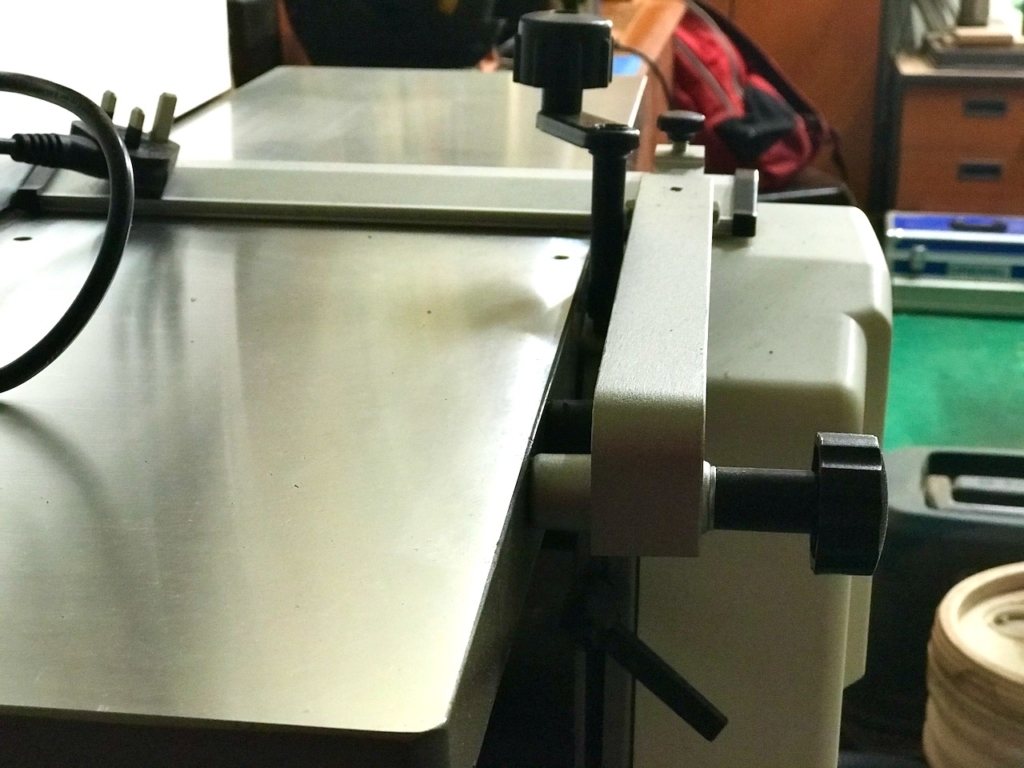
When you tighten the two clamping screws, the bed could be misaligned and will no longer be coplanar. To solve this, I double check with a straightedge every time i adjust the height of the bed.
This may seem like a hassle, but in reality, I’ve set the height adjustment to cut 0.5mm with every pass and have pretty much left it at that setting.
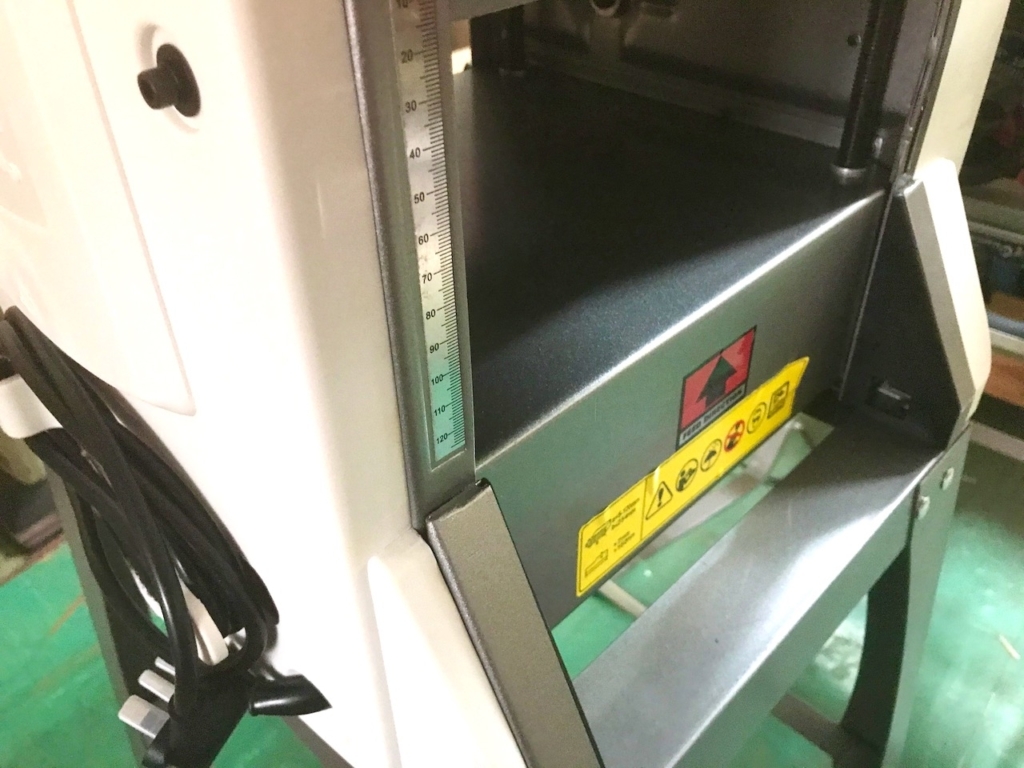
There’s a thickness indicator on the left side of the planer, and the four lead screws that control the movement of the planer bed.
Jet JPT10B Dust Collection
The included dust chute is the most disappointing part of the Jet jointer planer combo. It’s made from cheap plastic with very visible seam lines.
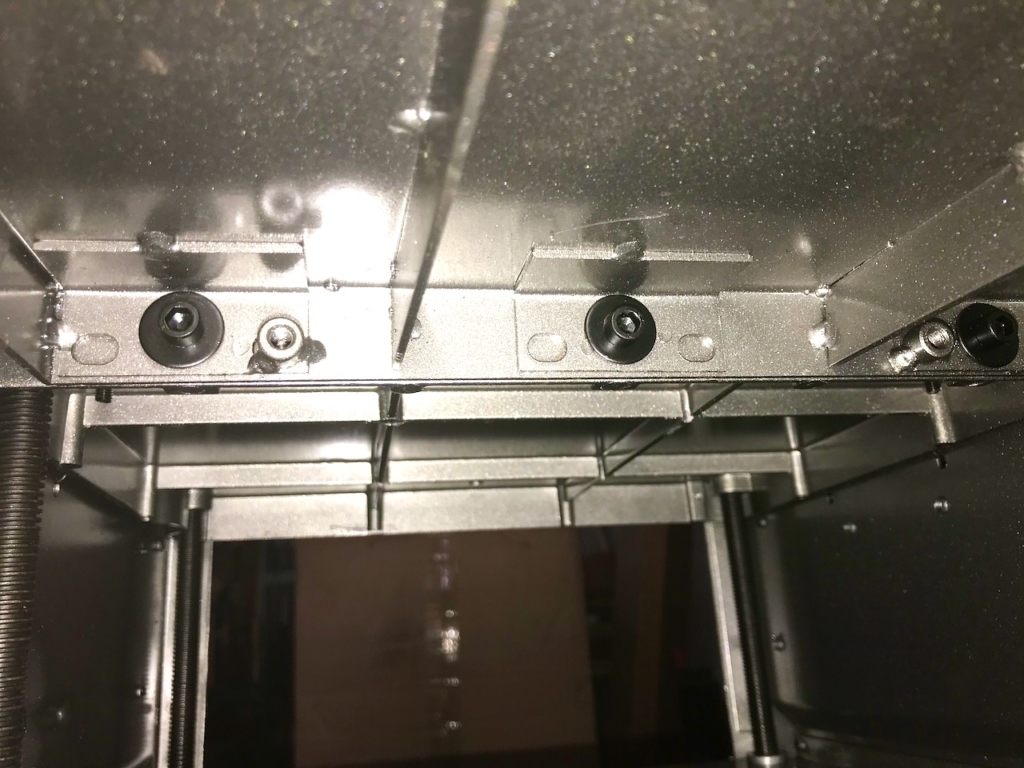
However, the dust chute is the key component in using this machine. Without the dust chute installed properly, the machine will not turn on in either the jointer or planer mode.
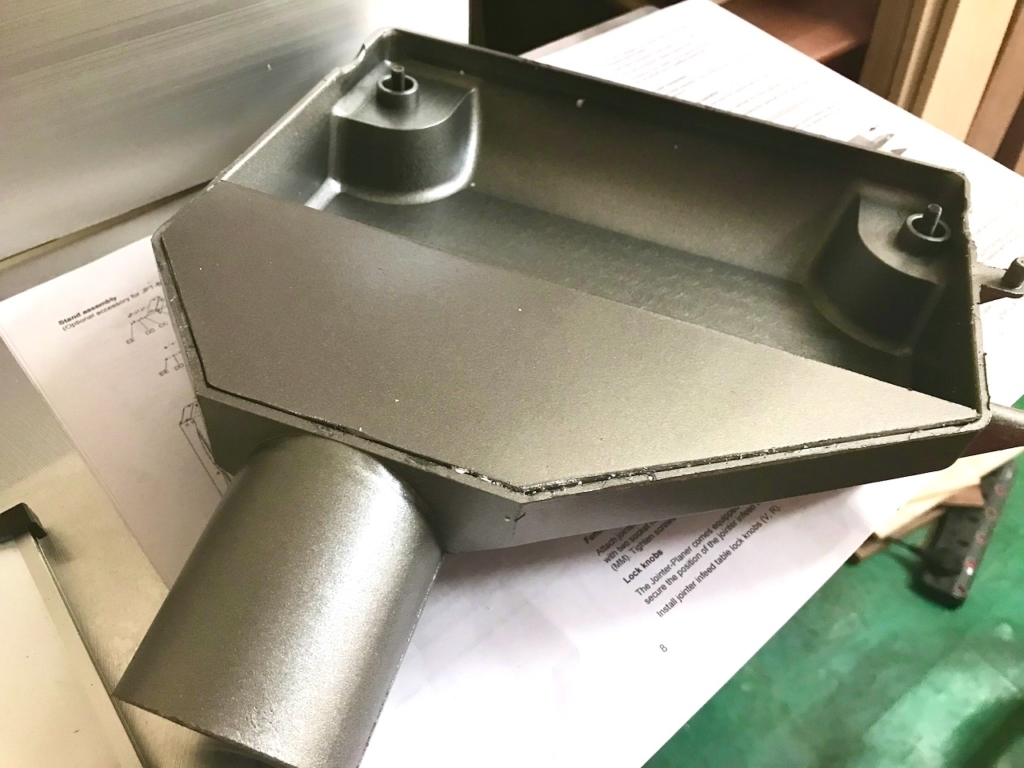

This is because of the small pins that unlock the safety mechanism on the planer head. To switch between the jointer and planer, you’ll have to reposition the dust chute until the pins trigger the safety lock either from the top or bottom.
The dust chute does a decent job in chip removal, but the efficiency depends on how powerful your shop vacuum or dust collection system is. In my case, the dust chute removes only about 70% of the chips.
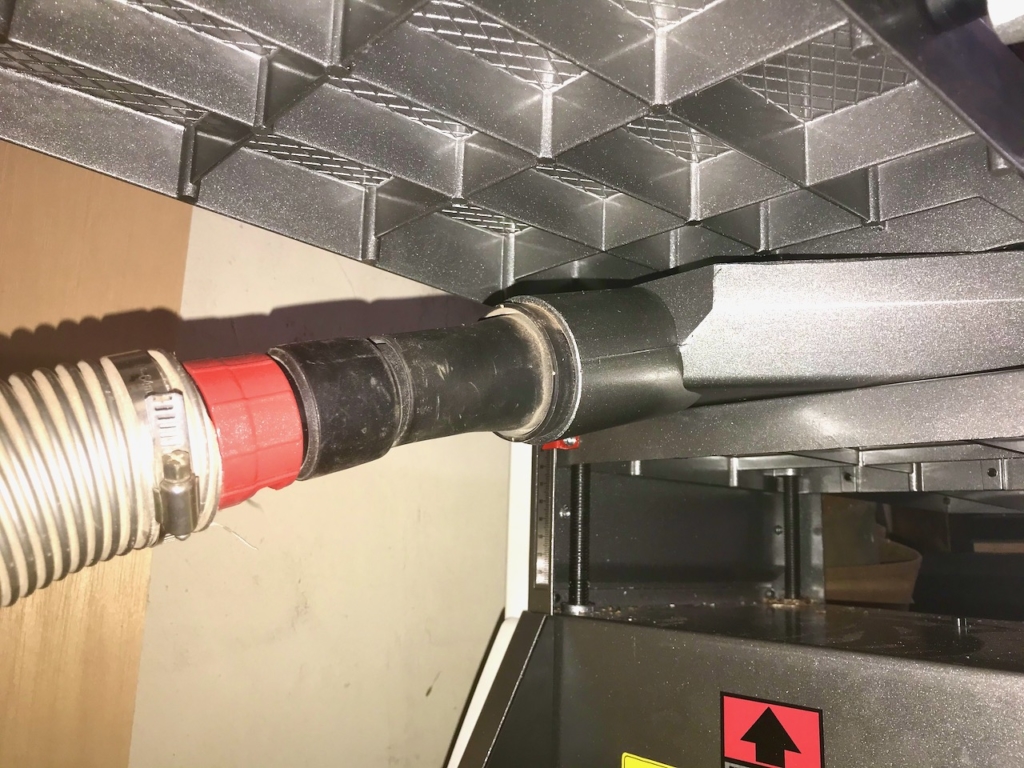
You’ll also notice that I am using a narrow adapter for the dust outlet instead of the one provided. This is because I use the same cyclone dust separator system, rolled around in a cart, for all my power tools.
This universal adapter happens to fit all of them, including the Jet jointer planer. If you can have a dedicated cyclone system, that would be ideal, and you can use a larger 4″ hose.
Using a narrow adapter like I do can result in blockage, and I’ve experienced that a few times when taking heavy passes while planing or jointing.
Jointer Planer Snipe Issues
I remember reading somewhere that all planers, no matter how much they cost, have snipe issues. The only way to reduce snipe is to fine-tune the height and angle of your planer’s extension bed.
I experienced a lot of snipe using the Jet JPT10B in jointer and planer mode. As I began adjusting the planer tables and the jointer bed, I managed to greatly reduce the amount of snipe.
There are two adjustment screws on the planer’s extension table, which control the angle or pitch. As you tighten them, you’ll notice the planer extension bed moving up.
To reduce snipe, the extension table has to be slightly higher than the main bed. You really have to keep tweaking and testing until you get it right.
That being said, this jointer planer is only capable of handling medium length wood, nothing longer than 4′ in my opinion.
The longer the wood is, the more pressure it puts on the extension bed when it exits the planer, pushing it down and increasing the chances of snipe.
My Jet Jointer Planer Review
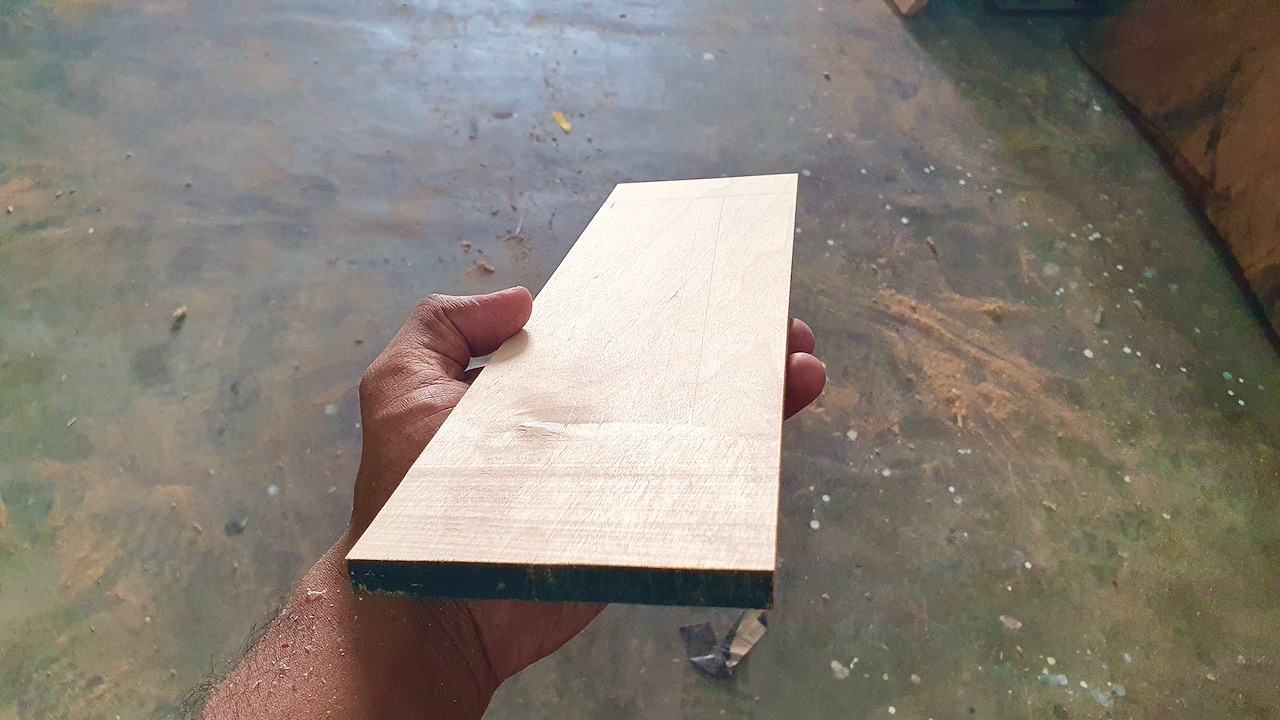
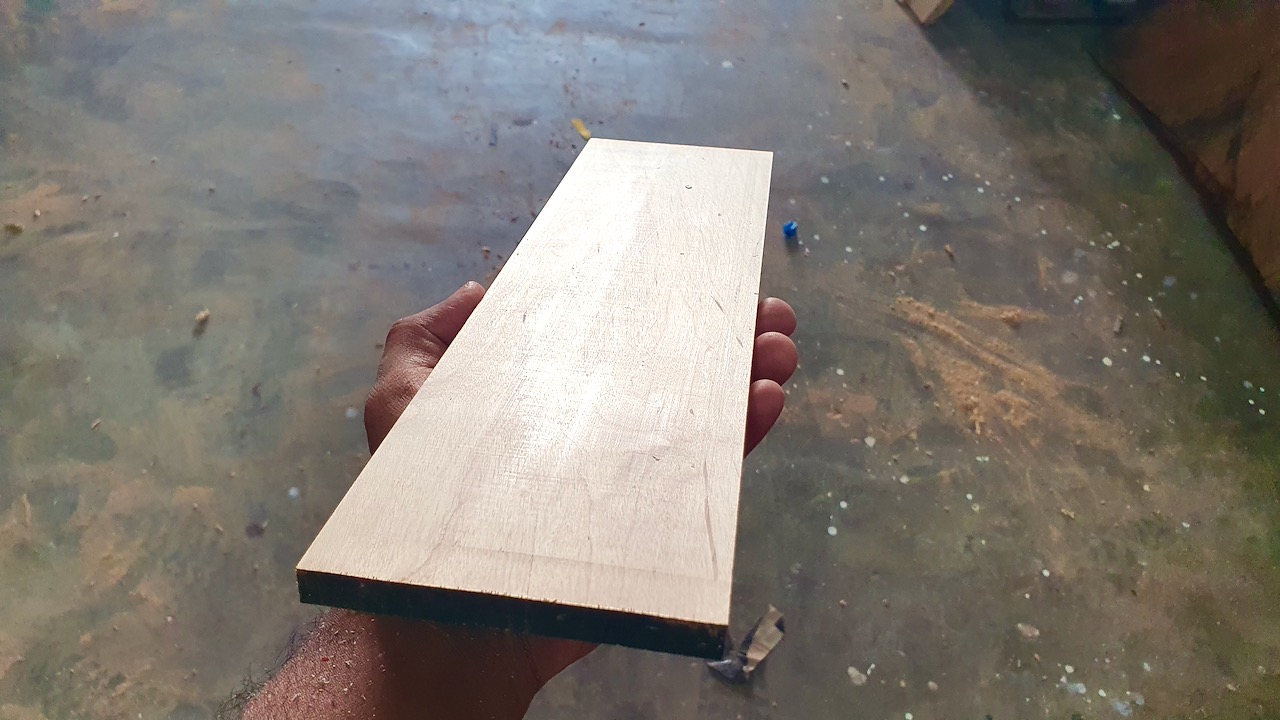
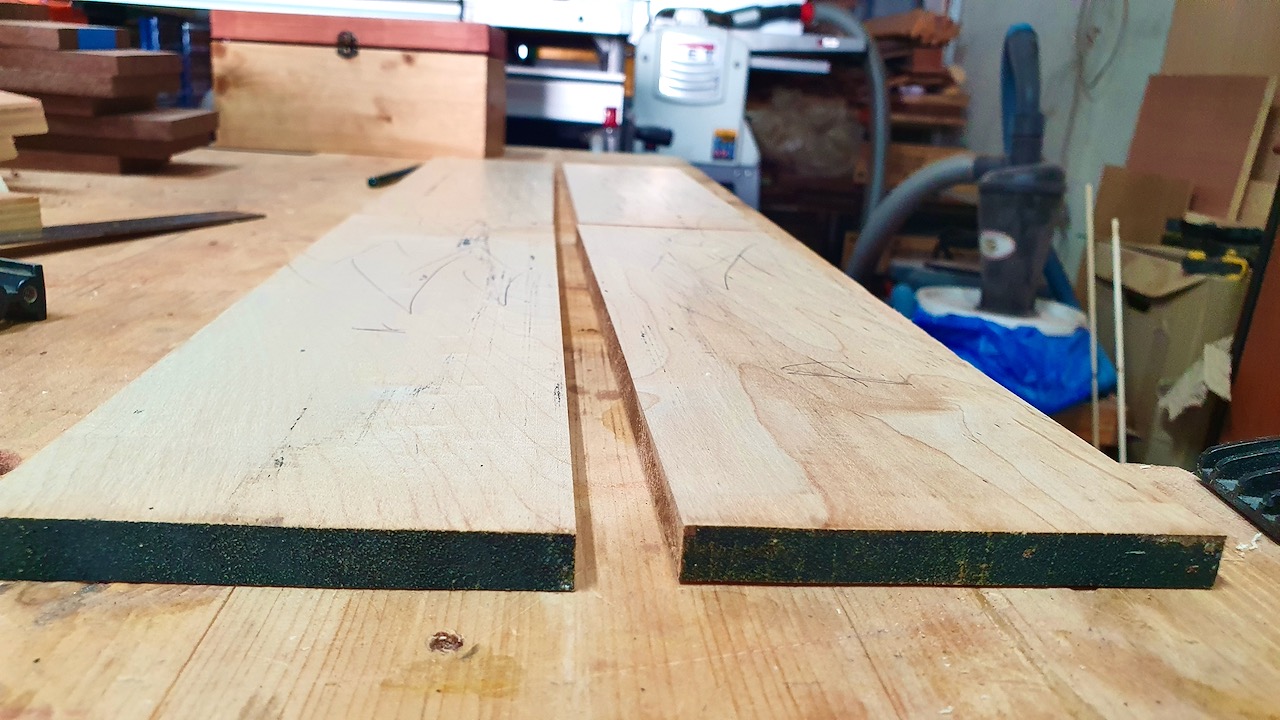
I’ve been using this jointer planer for over six months now, using it with both softwoods like pine and hardwood like Maple. Here’s what I honestly think about it.

Jet JPT-10B Pros:
- Great value for money – Getting a good jointer in this part of the world can be challenging, especially a small benchtop jointer. For the price I paid, I got two machines and used up very little space in my small workshop.
- Good build quality – With the exception of the dust chute, I feel like I got my money’s worth. The machine was sturdy and well built. Most of the non. At this price, you should expect that.
- Accurate enough – If you make sure sure the gauges are correct when you set up the machine, it will produce results that are accurate enough. A machinist may find the tolerances unacceptable, but when working with wood I find that you can always fine-tune later.
- Uses a small space – I don’t have much space in my workshop. The fact that I can have a jointer and planer place in the same small corner is good news.
- 10″ jointing – Most benchtop jointers can do a maximum of 6′.
Jet JPT-10B Cons:
- Switching modes is tedious – To switch between jointer and planer mode, you simply have to reposition the dust chute until the pins engage the safety lock. While this is true, you’ll also have to remove the jointer blade guard and the planer adjustment knob every time you do it.
- 10′ planing – Other dedicated benchtop planers and thicknessers can handle up to 12″.
- Poor quality dust chute – I honestly think they should have made this much better quality since it’s the key to making the machine work.
- Replacement blades are hard to find – For whatever reason, the Jet JPT-10B is not as popular as dedicated planers from Makita and Dewalt. After intensive searching, I found suppliers in China and ordered five replacement sets for the future.
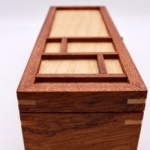
Overall, I am 100% satisfied with the JET JPT-10B jointer planer combo. It helped me reduce the time needed to dimension wood. Now I can focus on my actual craft, like making jewelry boxes or wooden watch boxes.
Since I do not usually work on large projects, the 10″ limitation on the planer doesn’t bother me. I researched this machine for months before deciding to get it, and I’m glad I did.