Ever since I saw the Stanley 71 router plane on Paul Seller’s channel, I knew I had to get one. However, even rusted and worn-down Stanley 71 routers planes cost a chunk of change on eBay.
I’ve purchased used Stanley planes from eBay before, but these router planes cost a whole lot more. After a few missed opportunities (I blame snipers!), I finally got my hands on a No. 71 in pretty decent condition.
Unfortunately, I have no pictures of what it used to look like. I assumed I could get them from eBay when I finally got to writing this blog post. However, the post seems to have been removed on eBay.
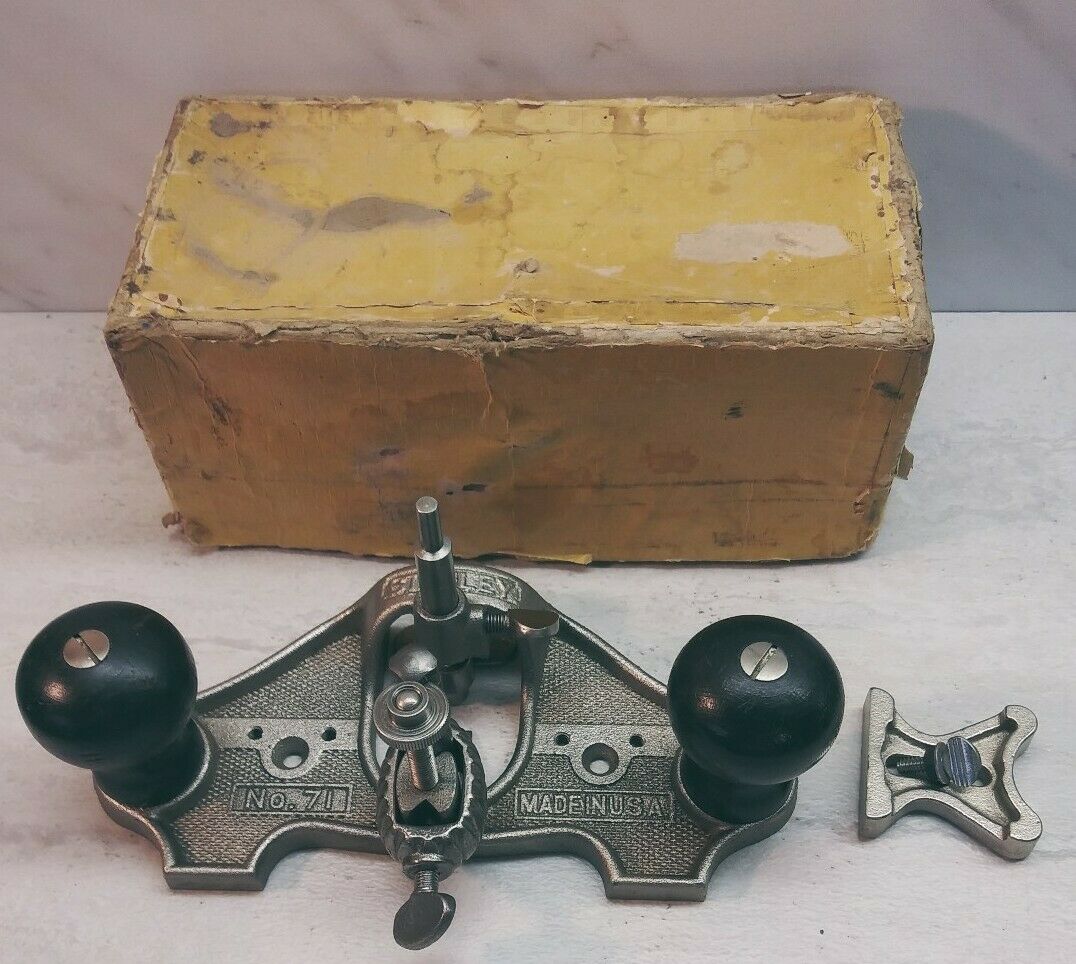
It looked pretty much like this other picture I got from eBay, except with more cutters and more rust:
Restoring the Stanley 71 Router Plane
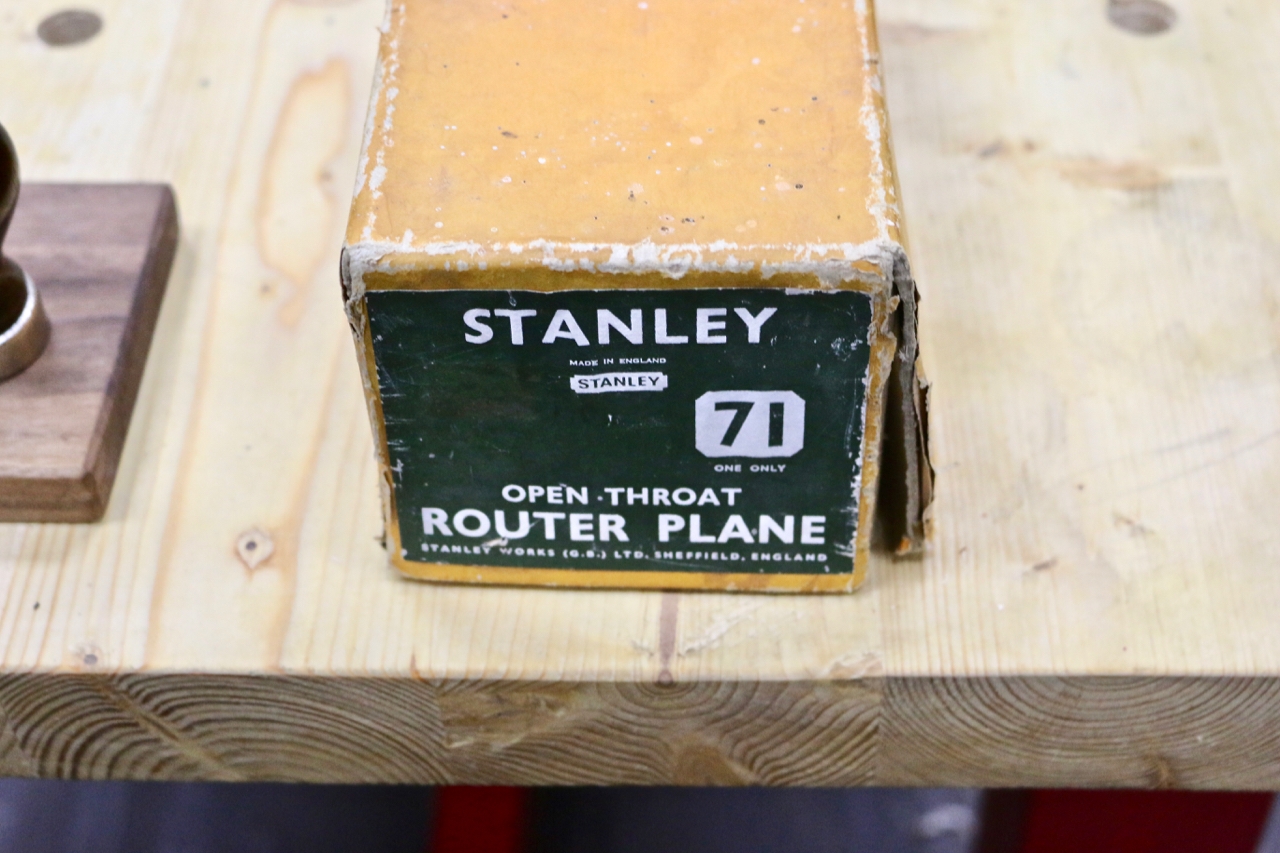
It came in this beat-up (but valuable, I’ve heard) cardboard box with the words Stanley 71 Open-Throat Router Plane on the side.
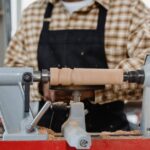
One of the main areas I worked on were the two knobs. These seem to have been painted, and the paint has chipped in many spots. I removed all the paint by mounting the knobs on my wood lathe, then sanding with 240 grit sandpaper.
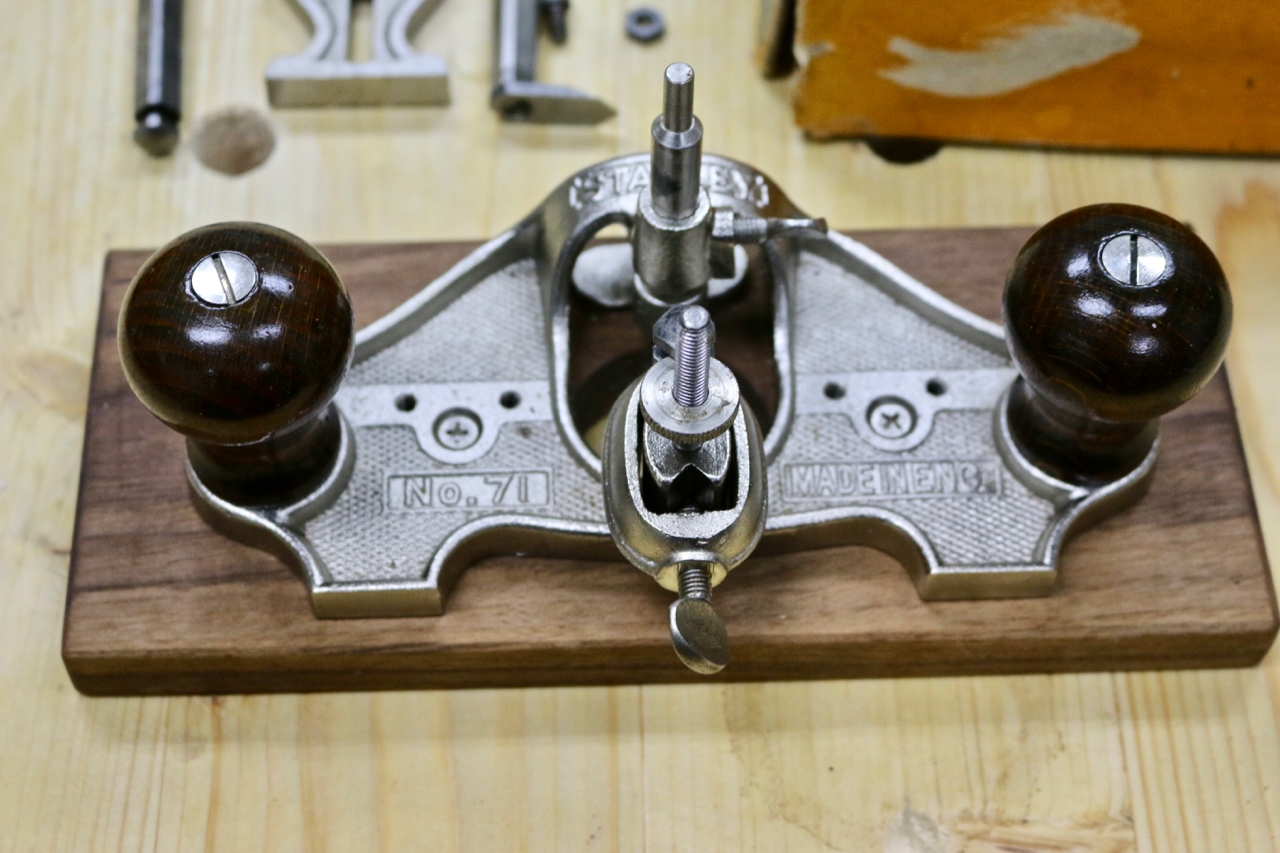
I then varnished them with about four coats of dark shellac mix. I remove all the surface rust using my WEN variable speed grinder with an 8″ Dewalt wire wheel. Using a small file, I removed rust from smaller areas and deburred as much as I could.
I then washed the entire router base with WD-40 and wiped it clean.
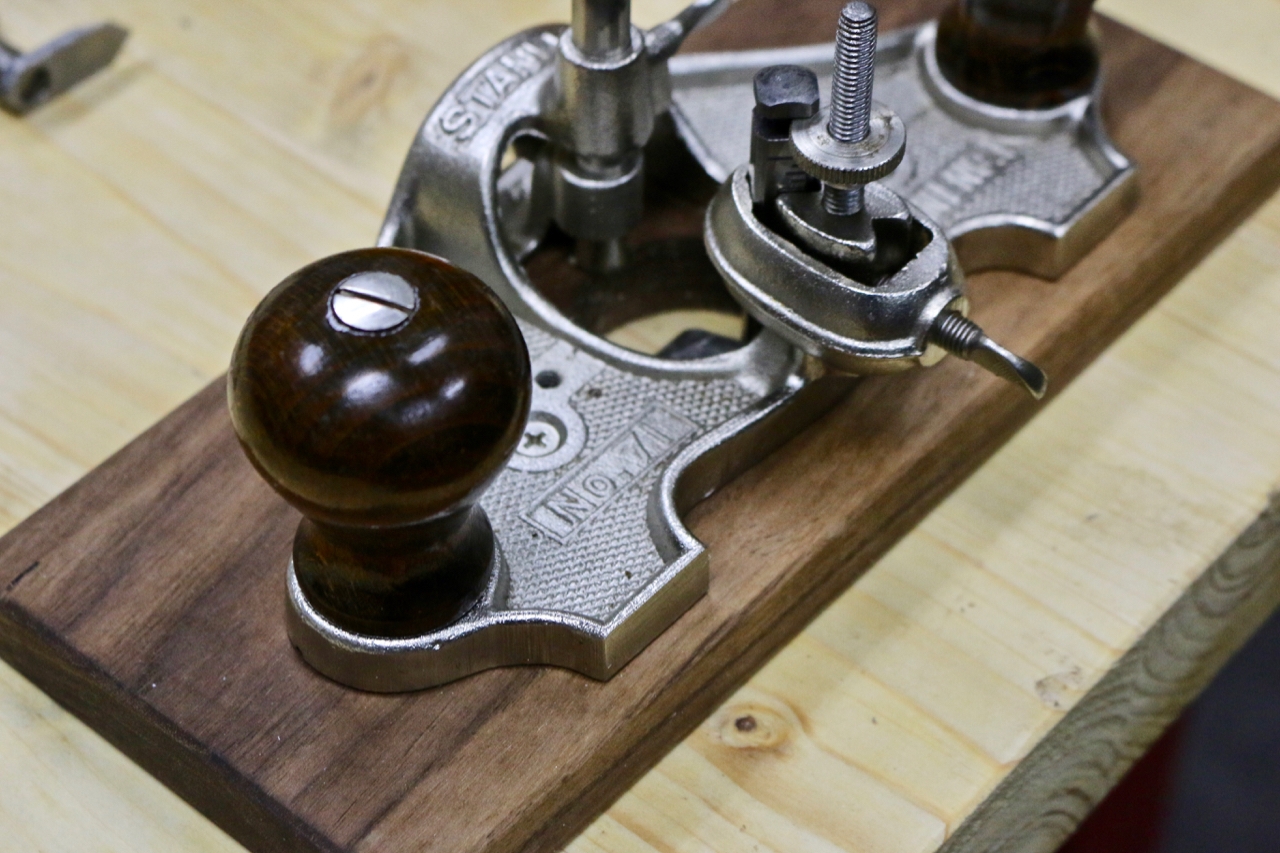
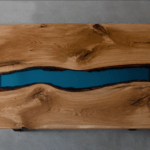
I cut a scrap piece of leftover walnut from my walnut & maple coffee table and attached it to the base of my Stanley 71 router. As cool as it looks, I quickly realized how much this reduced the cutting depth of the router plane.
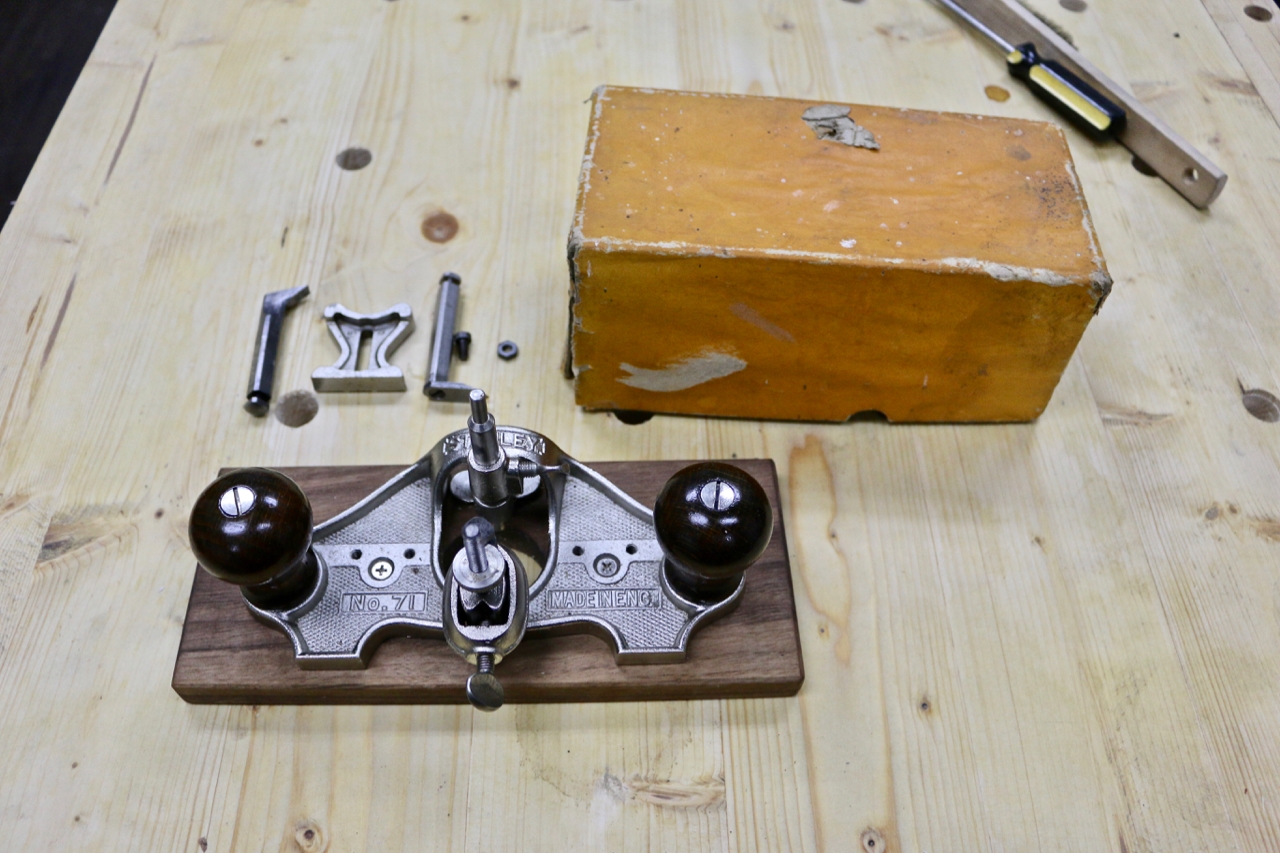
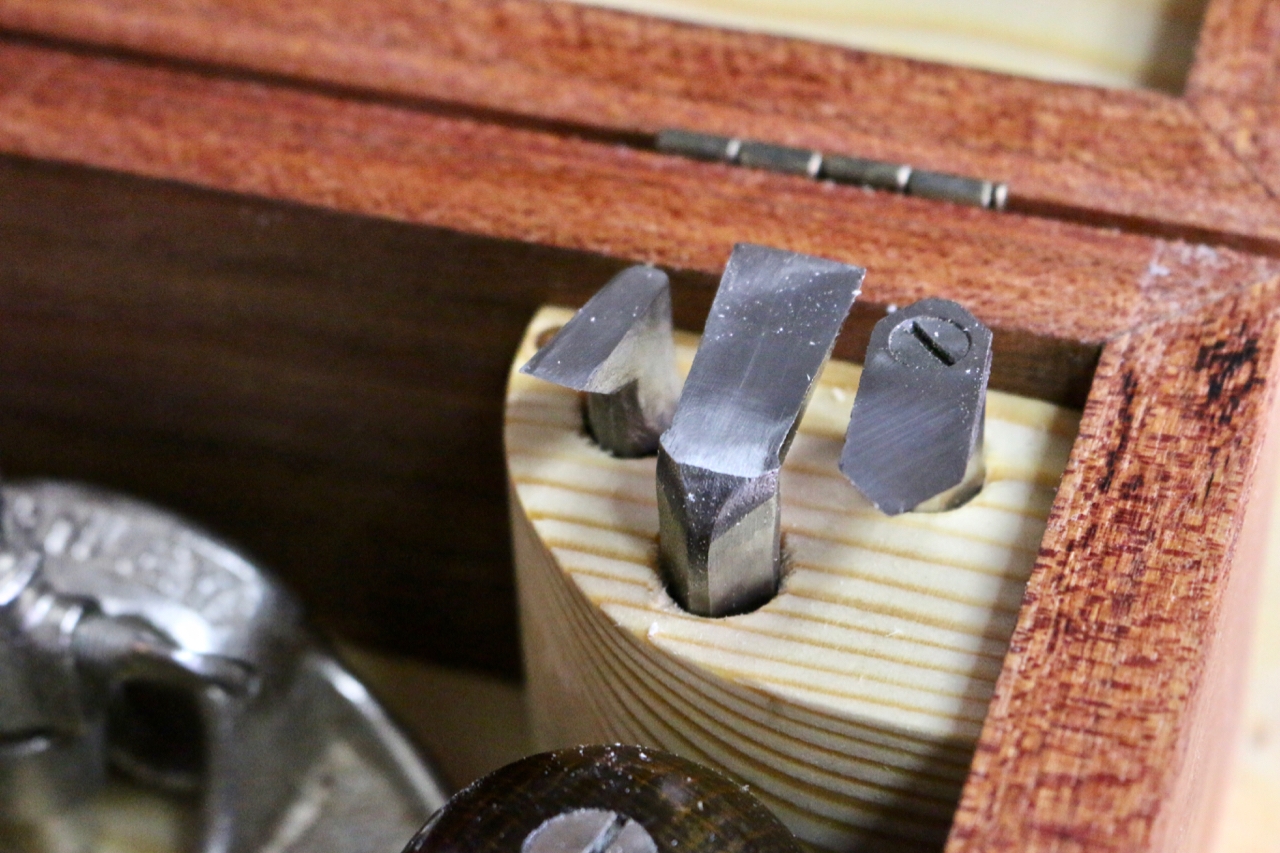
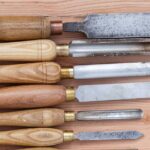
The Stanley 71 I bought came with three cutters, and I had to sharpen them all carefully using a file, and my DIY sharpening station.
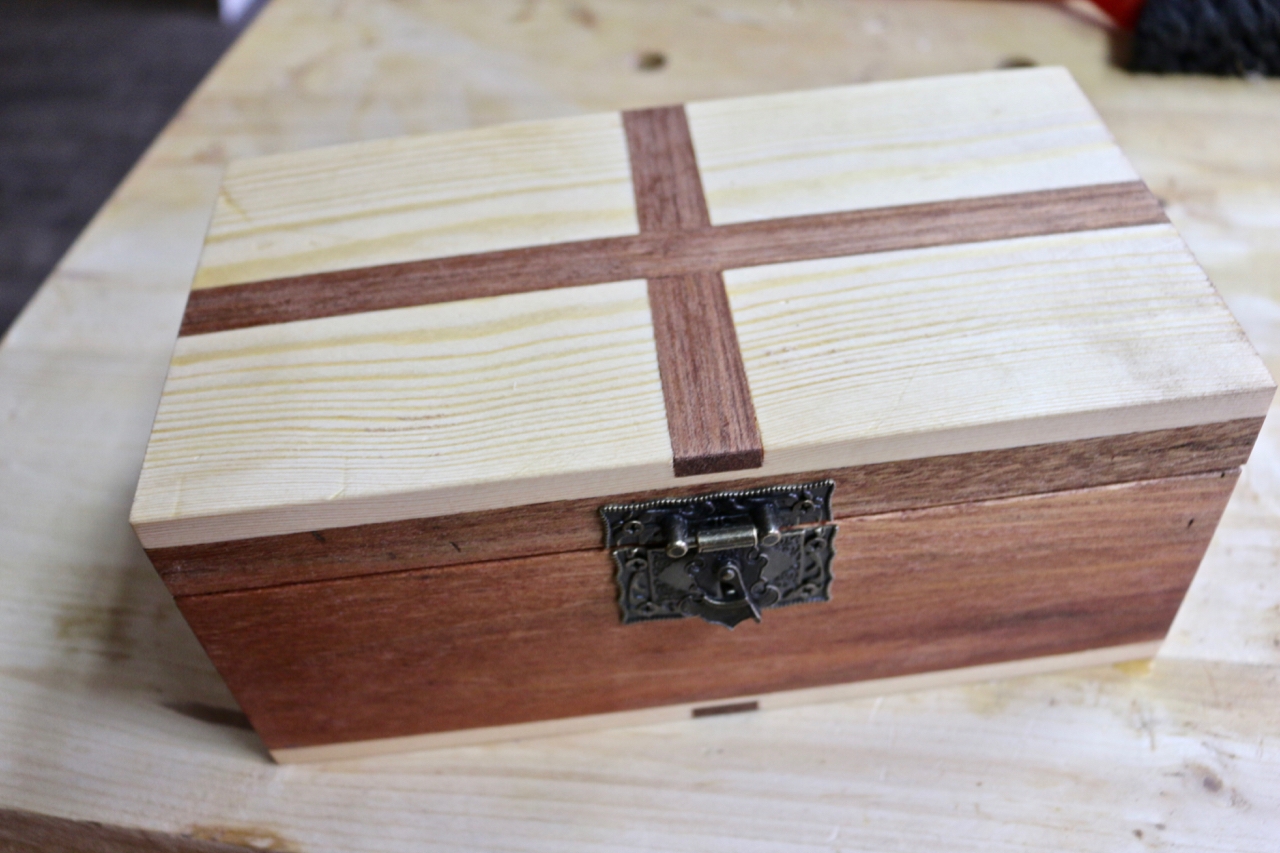
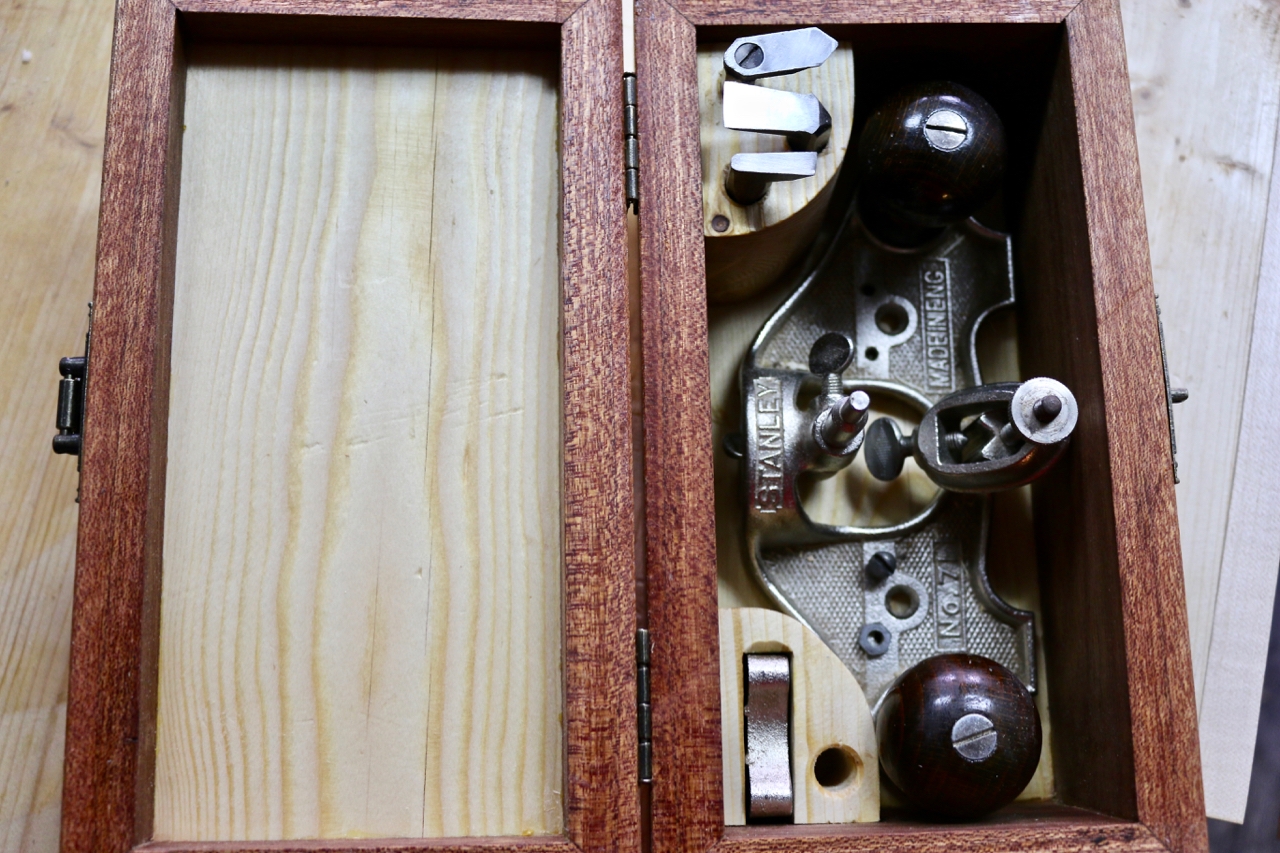
Making The Router Plane Storage Box
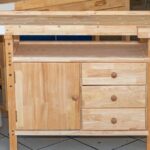
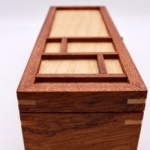
After using the Stanley #71 hand router for a while, I decided to make a box for it. With some leftover Pine and Meranti wood. I’m more than happy with the way it turned out!
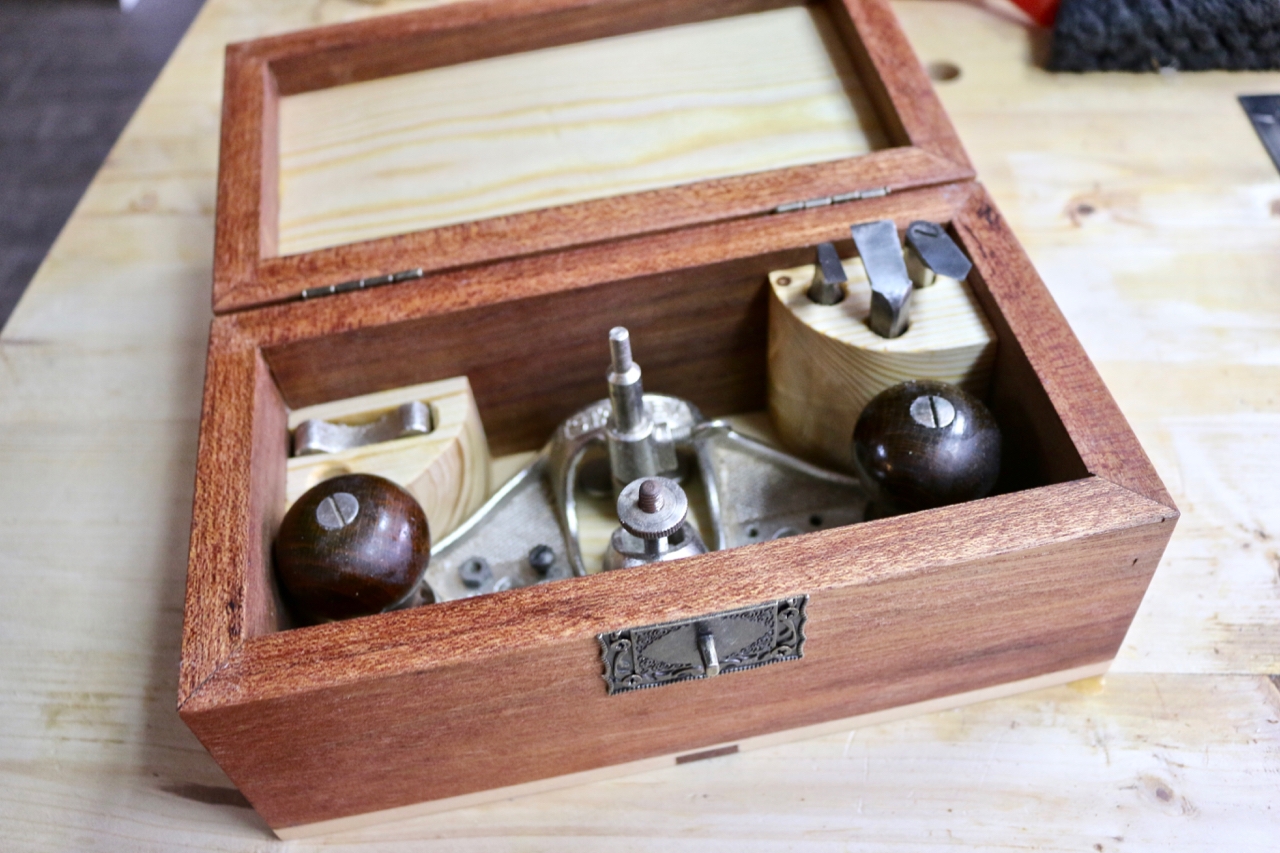
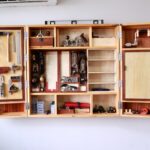
The most challenging part of this box is the internals. I wanted it to store the Stanley hand router plane, all three router plane blades, and the parallel fence. The first box I build was off by 9mm, but that was enough to ruin it.
In my second attempt, I got it just right. Although I cannot give you a step-by-step guide or plan on how to make one yourself, I’m permitting you to copy this design if you want.
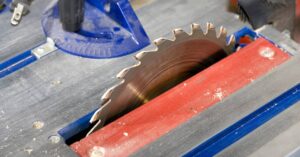
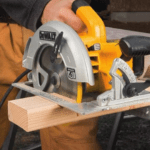
I used a 7/16 bit to drill out the holes and gave it a slight chamfer with a countersink bit. I cut out two sections at a 45-degree angle on the table taw, then rounded it using a disc sander.
In reality, even this box is a tad to narrow to fit the Stanley router plane. I have to remove the cutter to make it fit, but I can live with that.
Buying and restoring this router plane from eBay was one of the most fun projects I’ve done recently. The hand router plane is a handy tool to have.
It does certain things that no other tool can do, at least as far as fine woodworking is concerned. Although this box does not use mortise hinges, I’ve used the router plane to make lots of them by the time I got to making this particular router box.
I highly recommend getting a router plane – Stanley or Record – and learning how to use it. You can check out Paul Sellers’ video, which I still think is the best tutorial on using a router plane.


2 Responses
Good to see your restoration, and well done on the box. It’s inspiring.
Thank you very much!