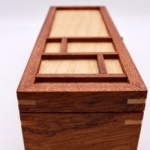
I’ve been working on this walnut and maple coffee table for almost two months now.
Why did it take me so long? Well, woodworking is just a hobby for me. I do it in my free time, and lately, I’ve not been having much of that. After receiving a big order of 20 wood pens, everything else got put on the backburner.
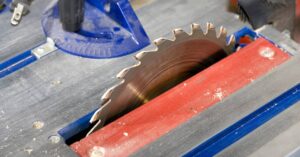
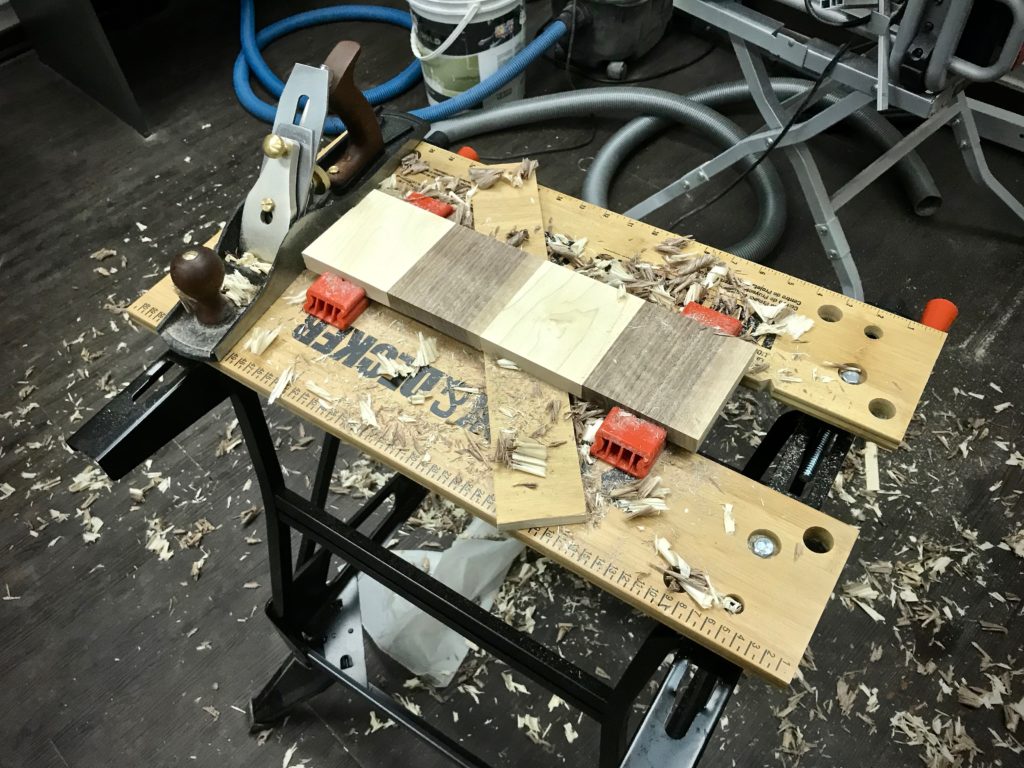
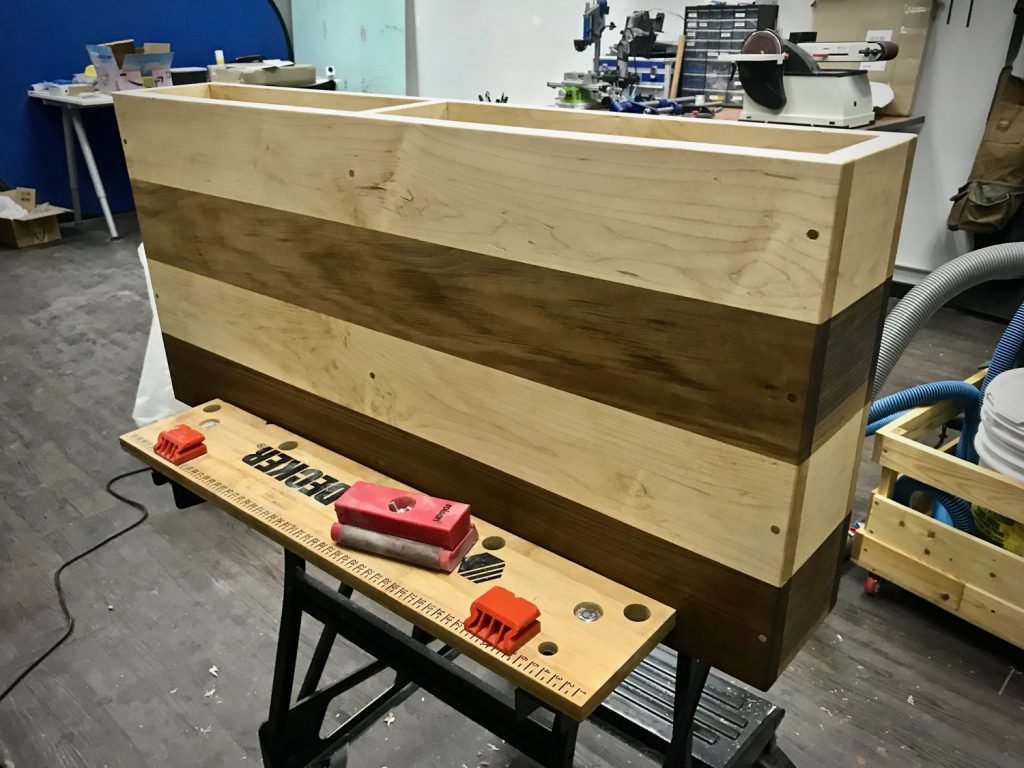
To make this table, I bought a few 1×4 pieces of American walnut and hard maple. I edge joined them with wood glue, and planes the surfaces smooth. Although I had a table saw, the joined tabletop was way too large to handle on it.
Instead, I used mostly my Japanese Ryoba saw to make all the cuts. I love that thing!
At the time, I only had my Taytools #5 jack plane, so it was pretty challenging to get past this stage. Planing the knots of the maple was a challenge. I probably burned 6,000 calories while planing.
Also, since I have yet to build myself a proper workbench, I had to cope with the Black & Decker Workmate 225, which was not ideal for planing. It kept moving about, even when I had it up against the wall and made planing all the more difficult.
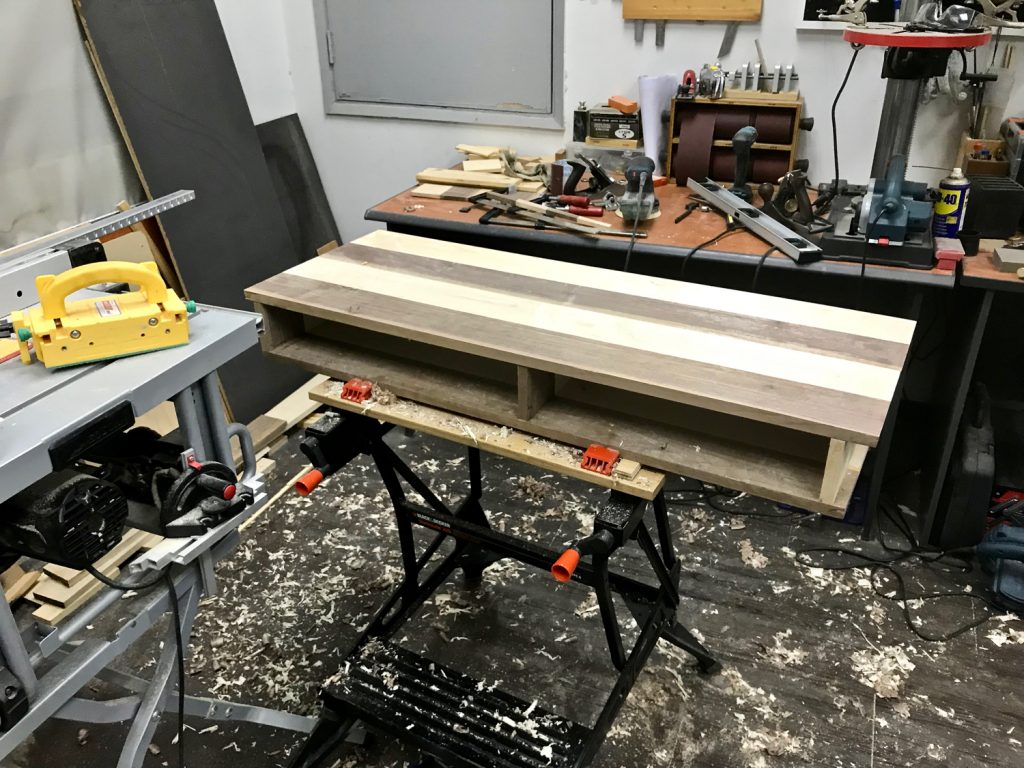
Eventually, I got the tabletop and sides as even and as smooth as I possibly could. I realized that I would probably need to add a jointer plane to my collection soon. I’ve started scouting eBay for used Stanley planes, and I think I can get one for a great deal.
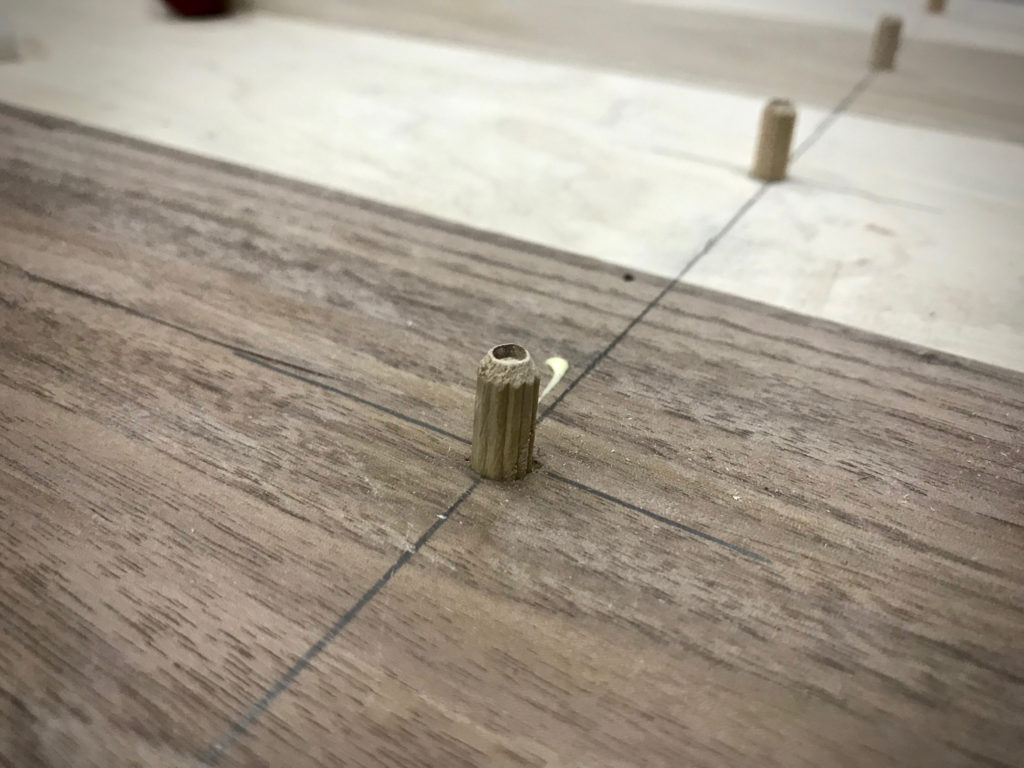
I joined the pieces using dowels, and the cheap dowel jig I bought from Aliexpress. Yet another new experience, as I made quite a few mistakes with the alignment of the dowel holes.
However, they can hardly be noticed unless you use a straight edge to check the alignment.

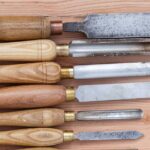
I trimmed the edges with my Ryoba saw and clean everything up with my Stanley block plane. I think I did a pretty good job on this, as it hardly needed any sanding afterward.
But I did sand the table, from 120 grit to 600 grit. Then, I applied boiled linseed oil to bring out the beauty of the maple and walnut.
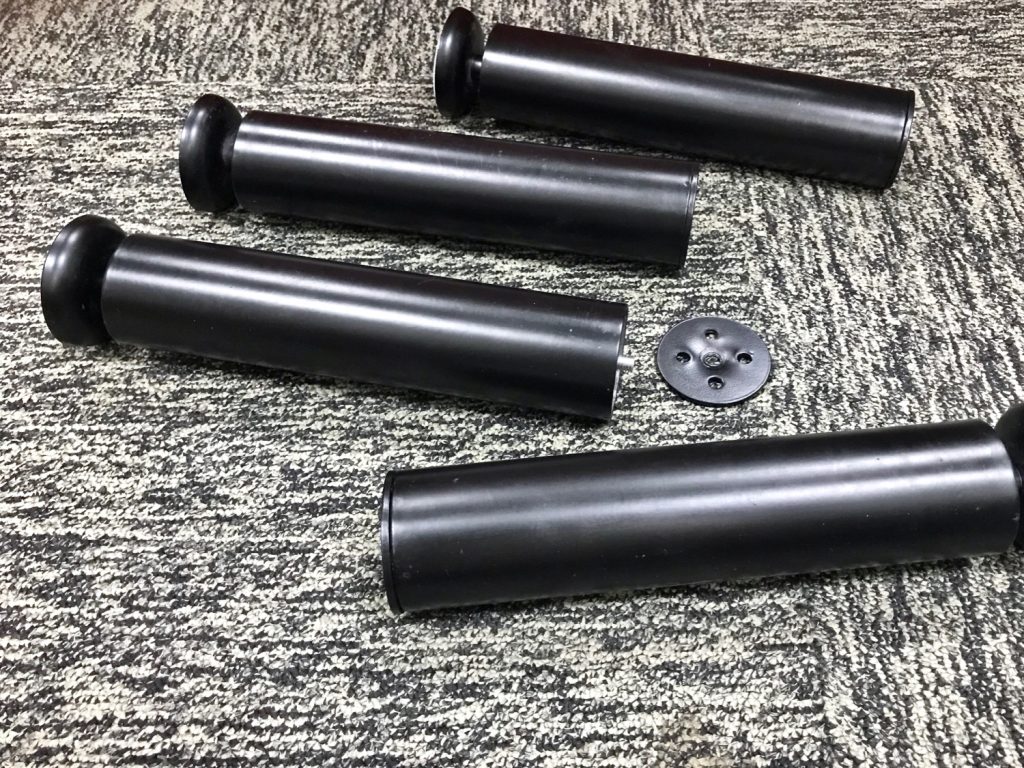
I purchased these adjustable table legs from Aliexpress to get the kind of look I was going for. These were pretty good quality.
After applying several coats of Minwax Polyurethane, I managed to get a beautiful shine. That’s not to say it was easy.
Working with Polyurethane is difficult. I hate having to clean up all my brushes, and the fact that it takes very long (in my humid weather) to apply multiple coats. I will probably not work with Polyurethane again, especially for larger DIY projects.
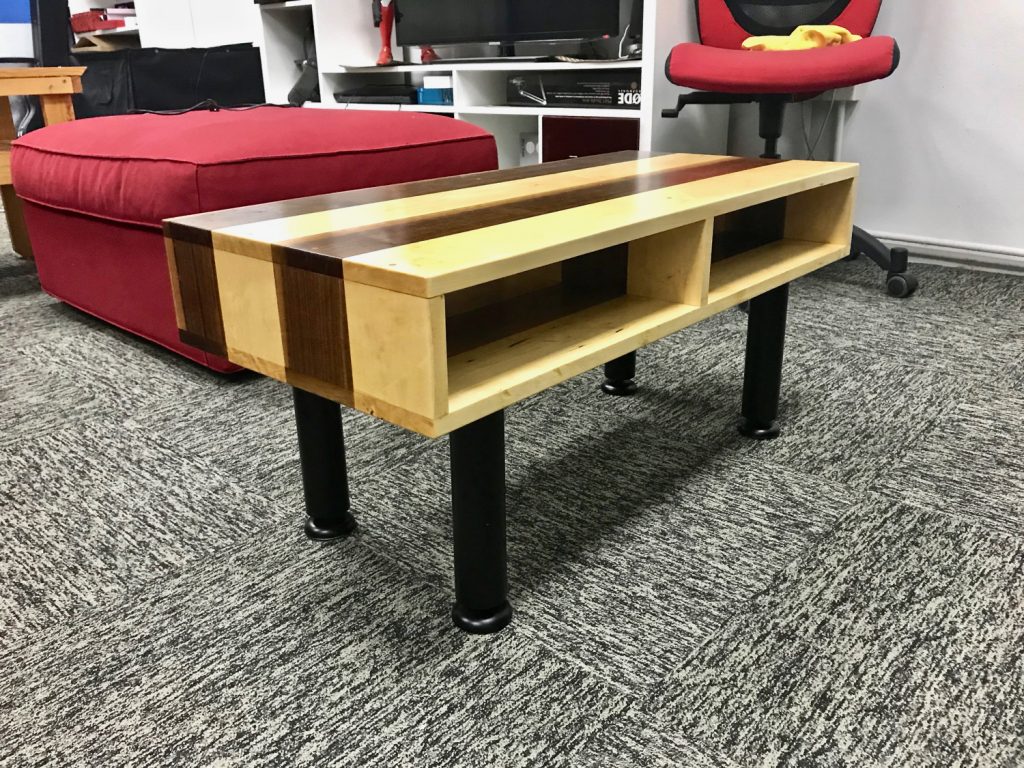
And finally, my walnut and maple coffee table was completed. Although there are quite a few mistakes I made with this table, including overestimating how long I wanted it to be, I feel quite proud of it.
I am not quite sure about the decision to use the adjustable steel legs instead of making some from wood. I could have, but then again, I didn’t have any extra walnut.
The beauty of DIY is that you can make a unique walnut and maple coffee table like this that no one else has. I learned a ton of new techniques and tricks, and I look forward to creating my next coffee table.