I bought the 10″ Yost woodworking vise for about $65 when planning to make my DIY woodworking bench. As soon as I had it in my hands, I could tell that it was high-quality and was excited to see it in action.
However, it sat on the floor of my workshop for almost three months while I sourced for rough-sawn lumber, and spent more than four weeks making the actual workbench to the point where I could mount my Yost woodworking vise.
This week, I finally got to it. I had to watch this video to make sure I didn’t make mistakes. Here are the 7 steps involved in mounting a 10″ Yost front vise to your workbench:
- Disassemble it to understand how it works
- Mark the position on your workbench and drill out the holes
- Cut and prepare hardwood panels as the clamp face
- Mount and screw the woodworking vise onto your workbench
- Plane the vise top flush with your workbench top & apply a finish
- Turn or make a handle for your vise with dowels and scrap wood
- Drill holes for bench dogs, and make some bench dogs from dowels
I didn’t manage to take pictures of every single step, but I do believe this guide will help you get 90% there. Although this example is for the Yost 10′ front vise, the process is pretty much the same for mounting other types of woodworking vise.
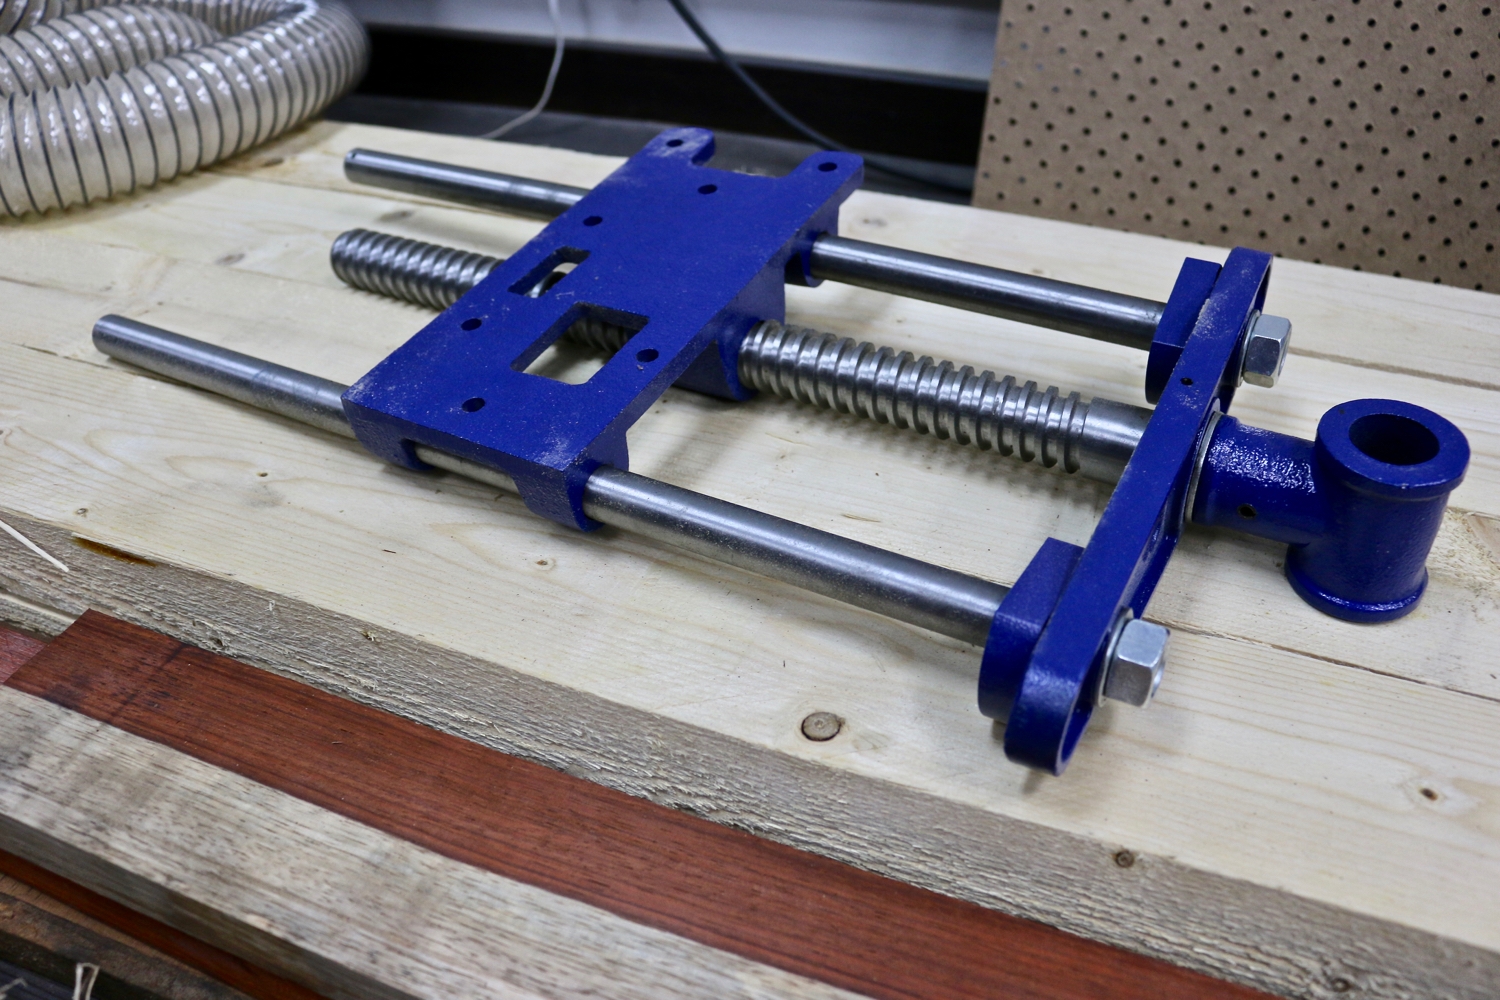
Disassembling & Marking The 10″ Yost Front Vise
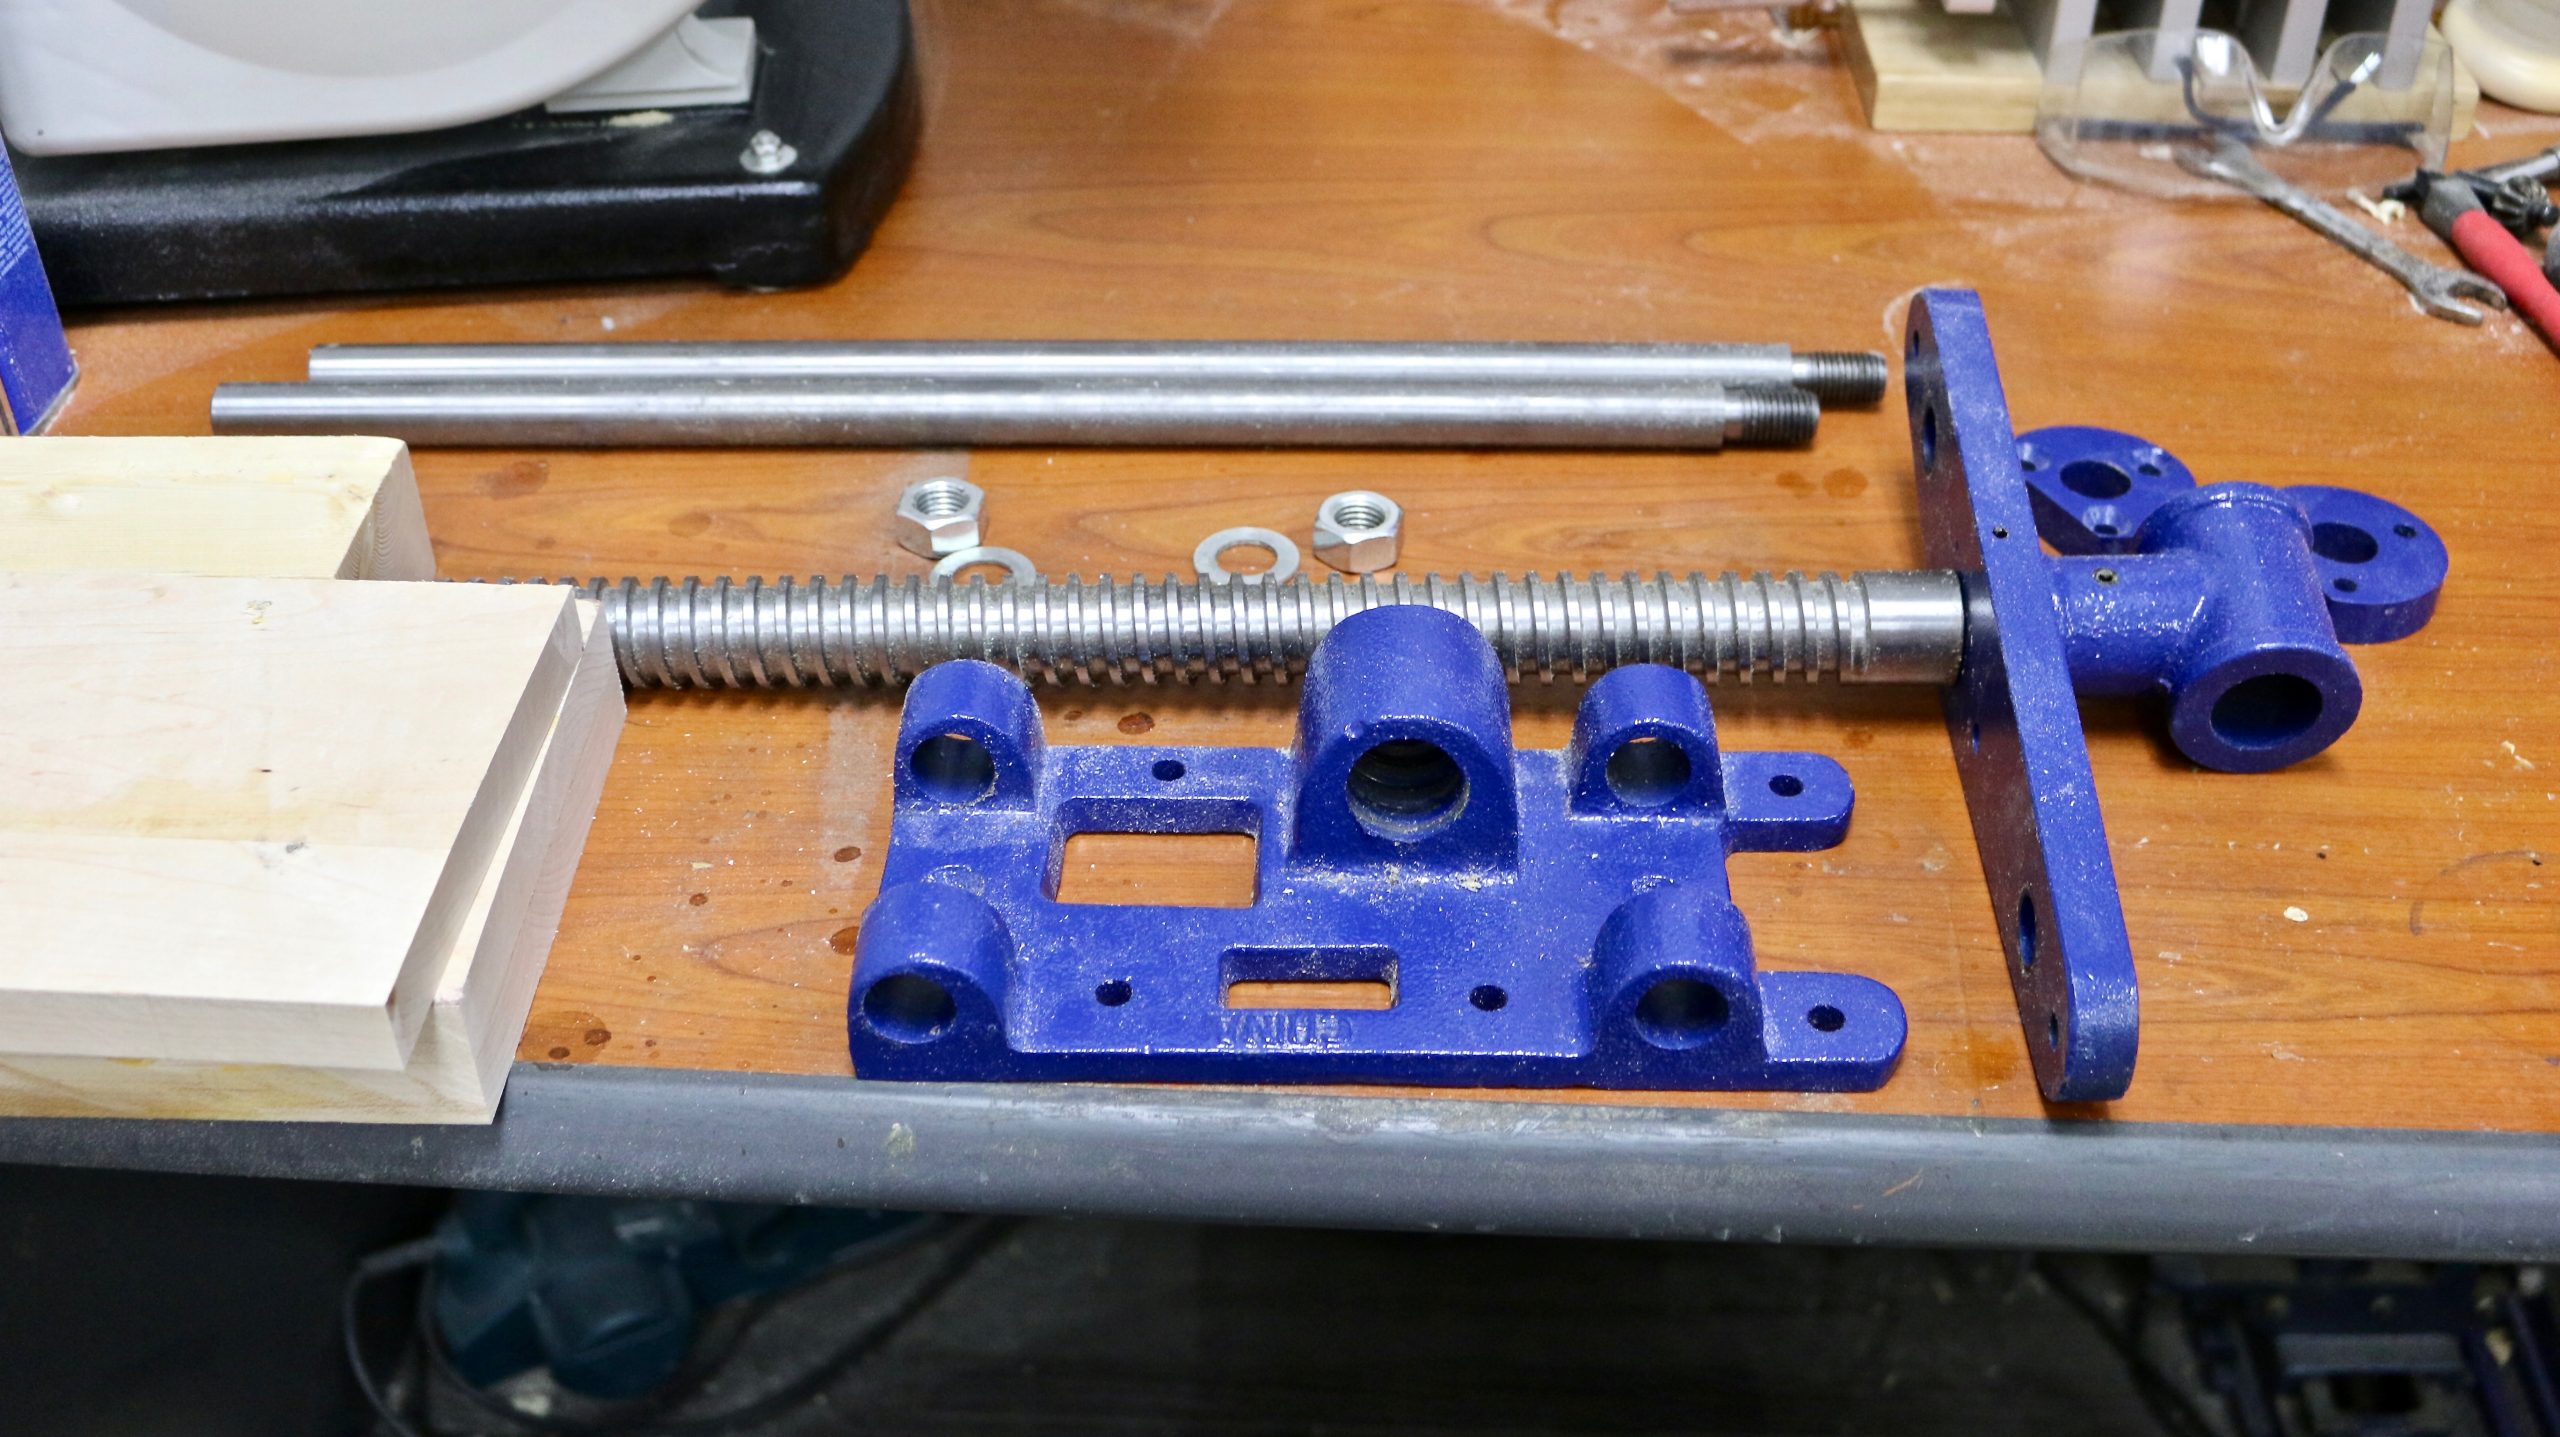
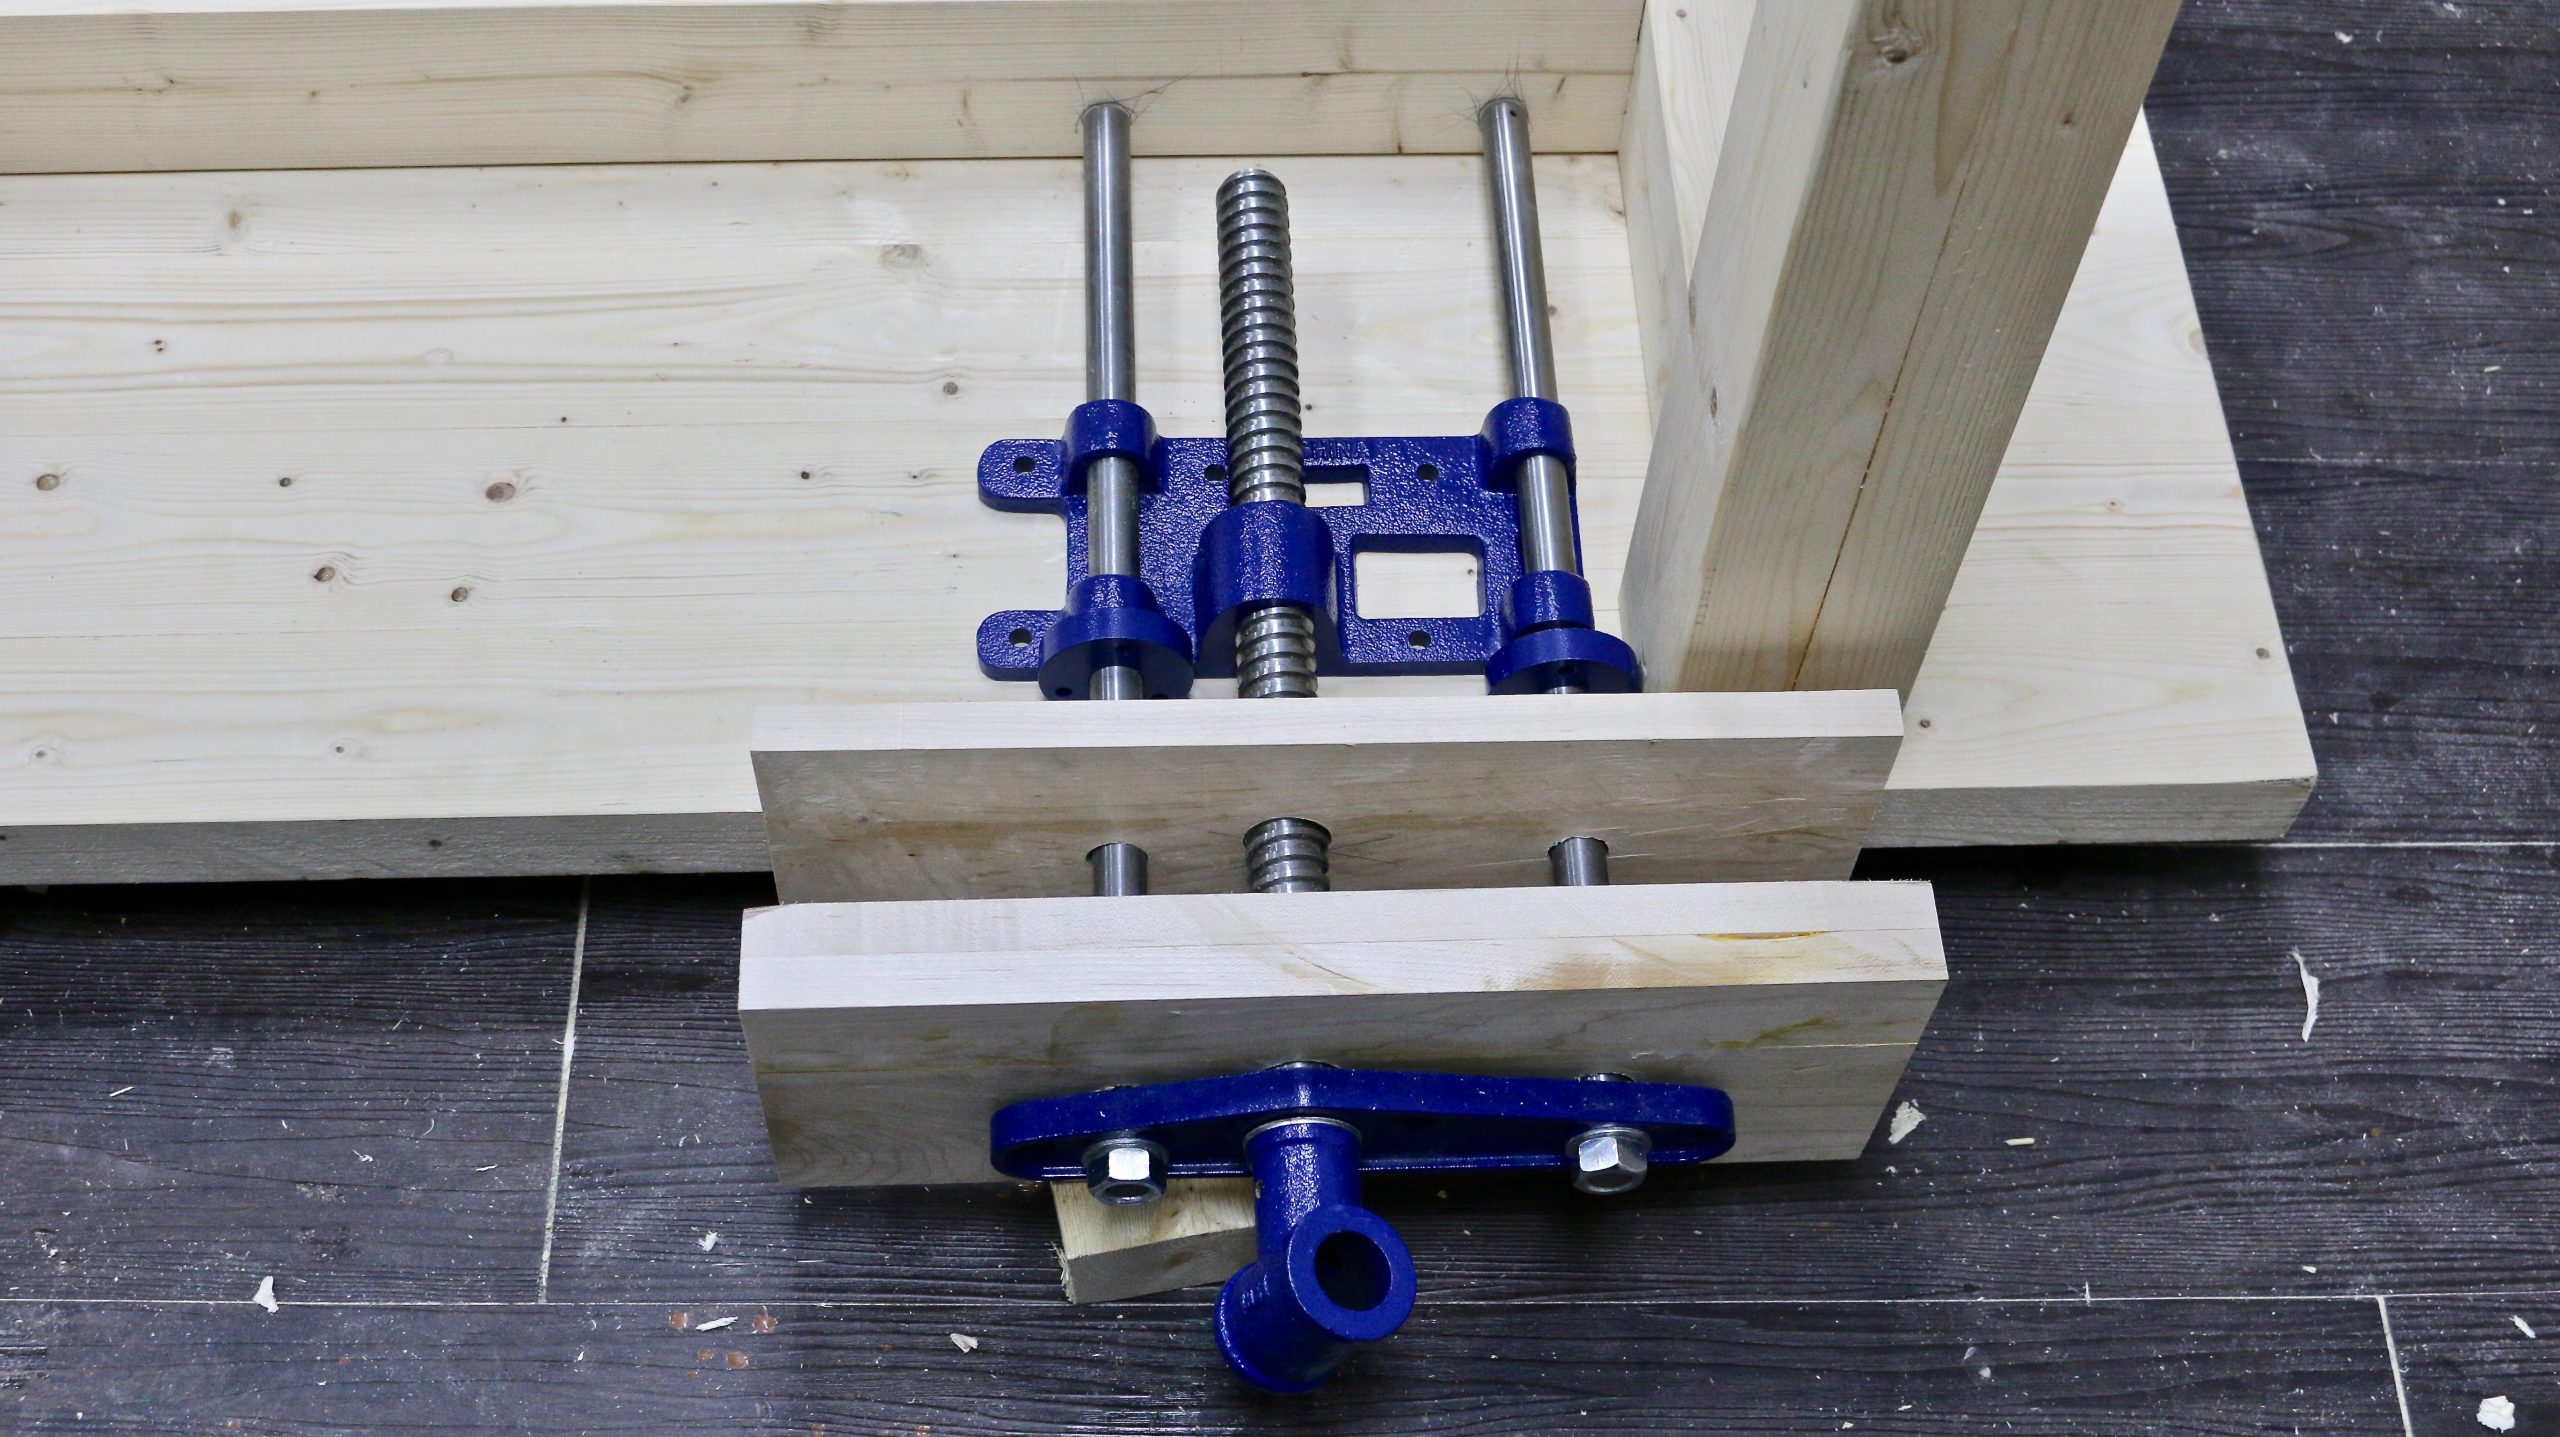
The first step is to take apart the vise to make it easier to plan, mark, and measure the place where you will end up installing the vice. Keep turning the lead screw counter-clockwise to remove it.
The front portion will eventually separate, along with the two guide rods. There are two nuts and washers that hold the guide bars in place.
I disassembled and reassembled it twice to make sure I understood how it works, and figure out which parts are assembled first for the most efficient mounting to my workbench.
Try to visualize the finished vise in your mind, and understand which part goes where for the final assembly.
Making & Drilling Holes for Mounting
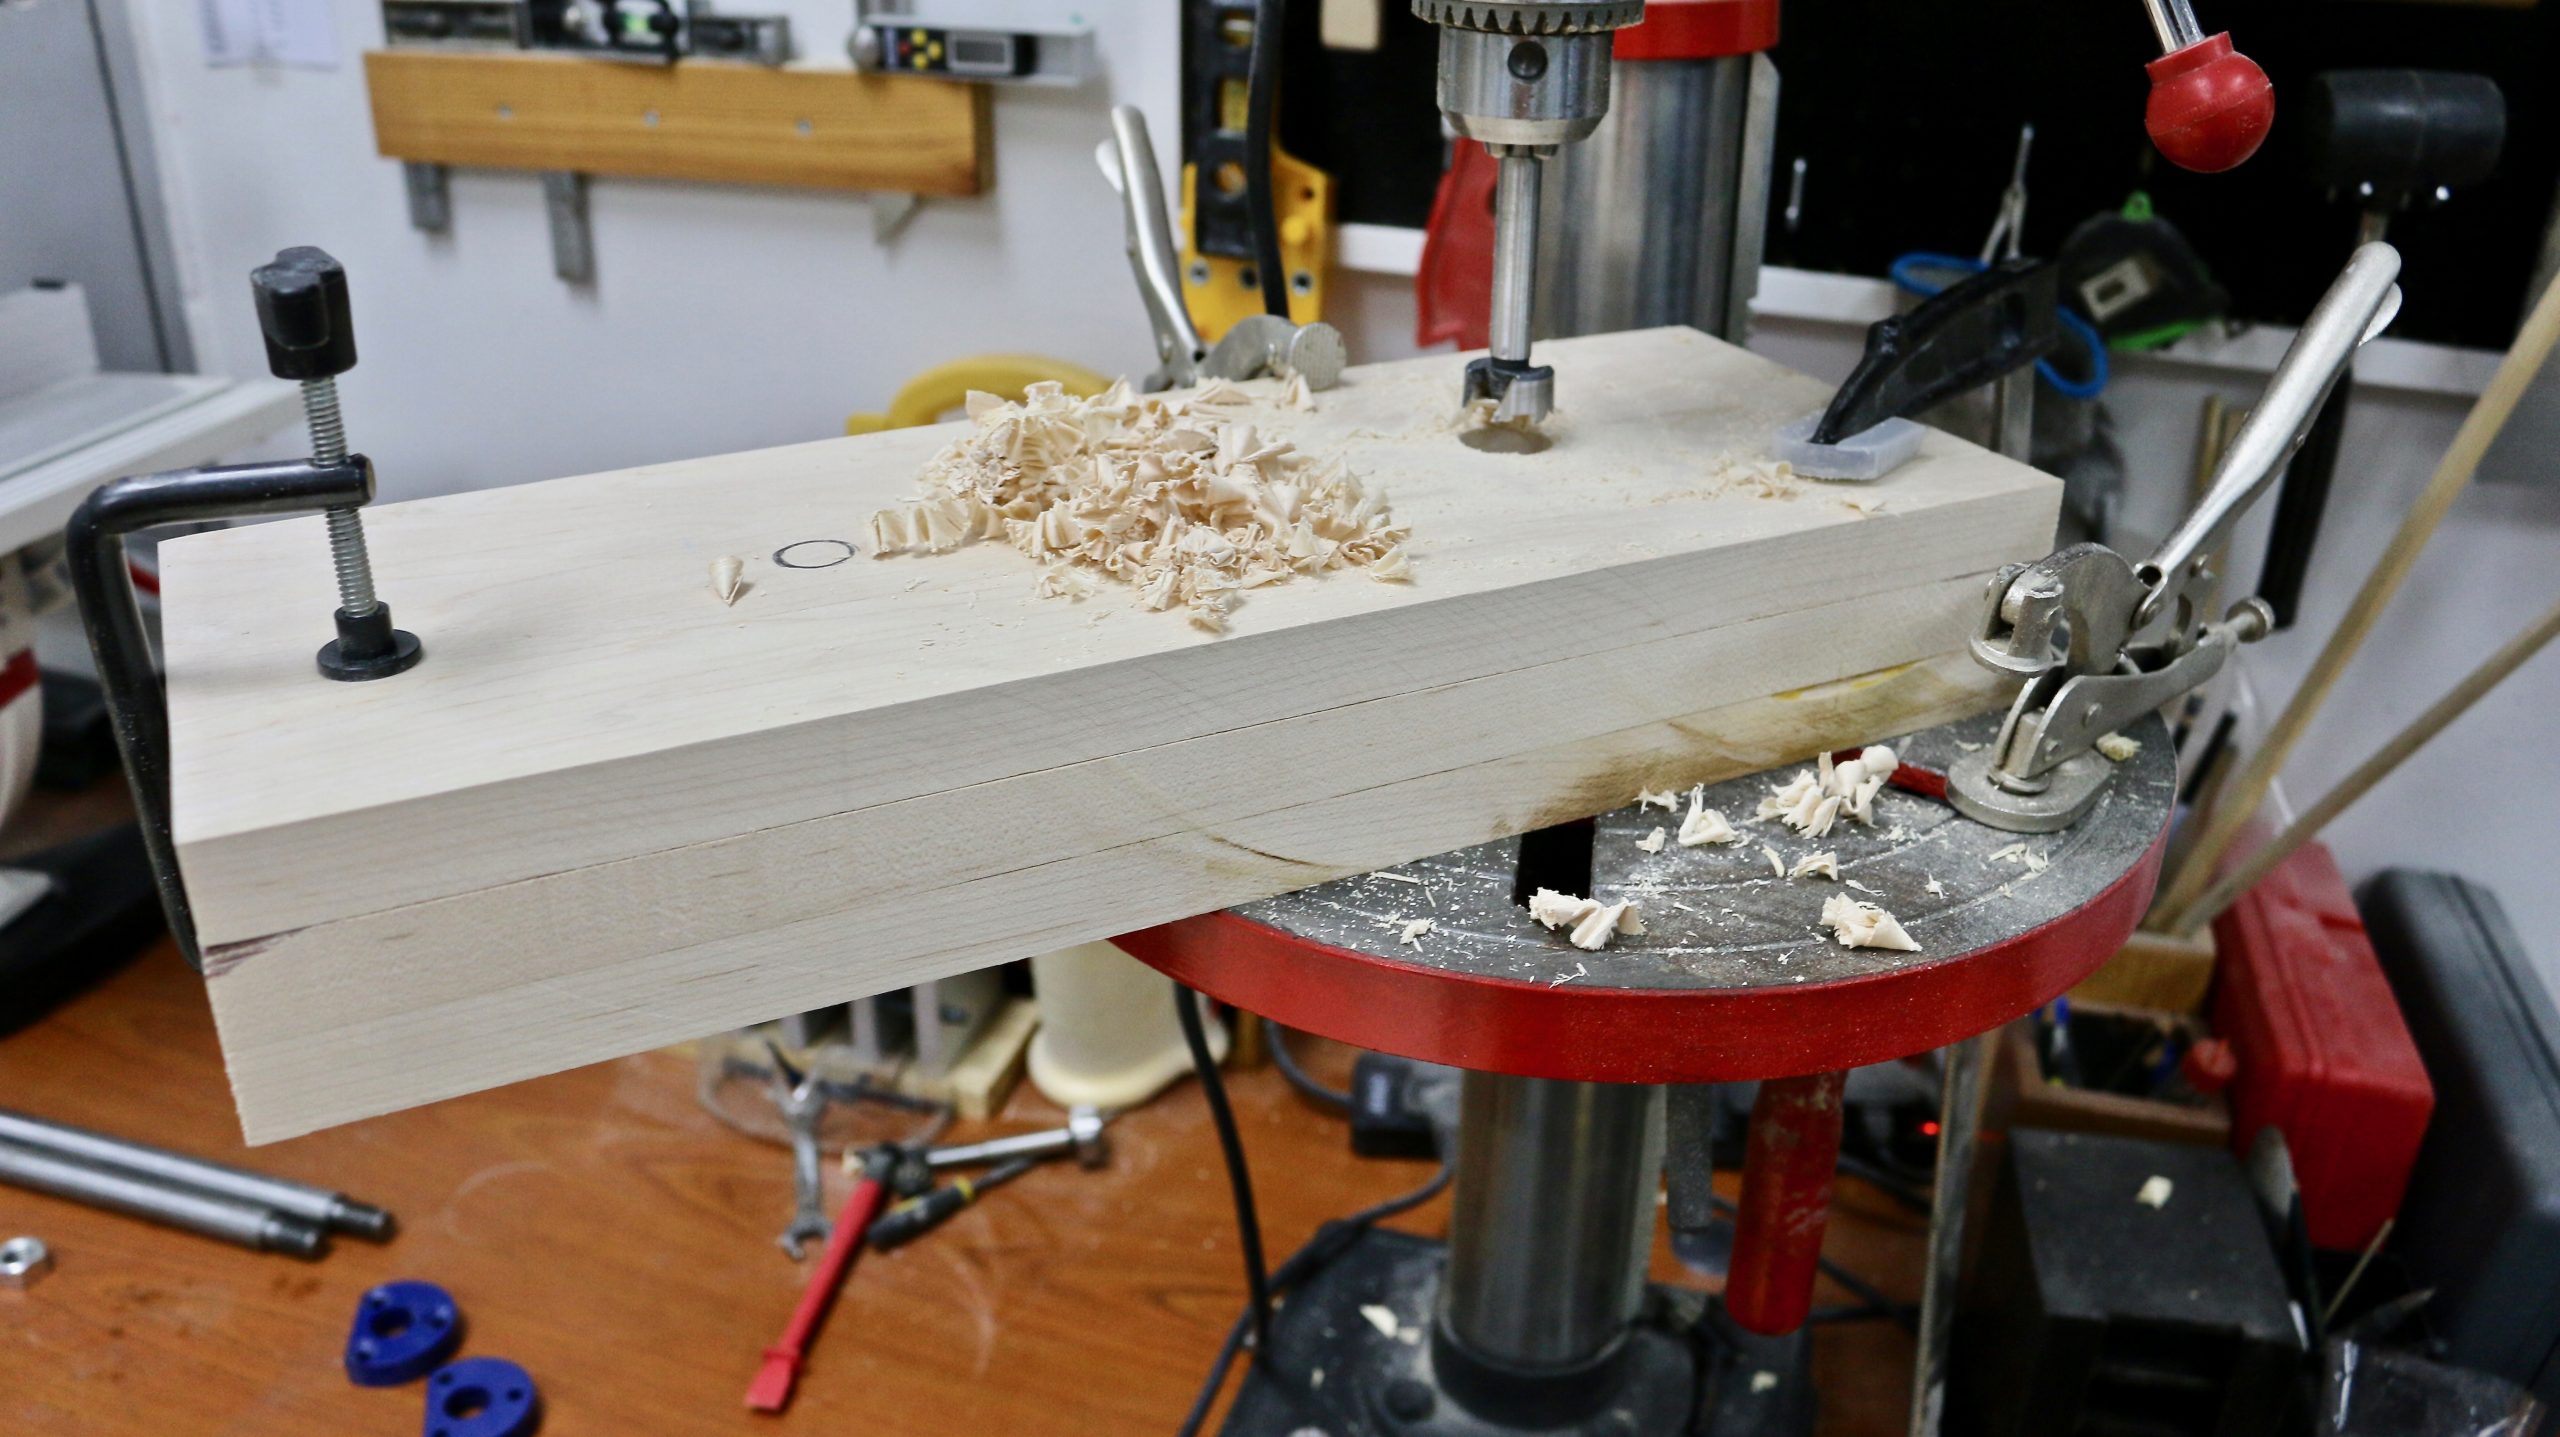
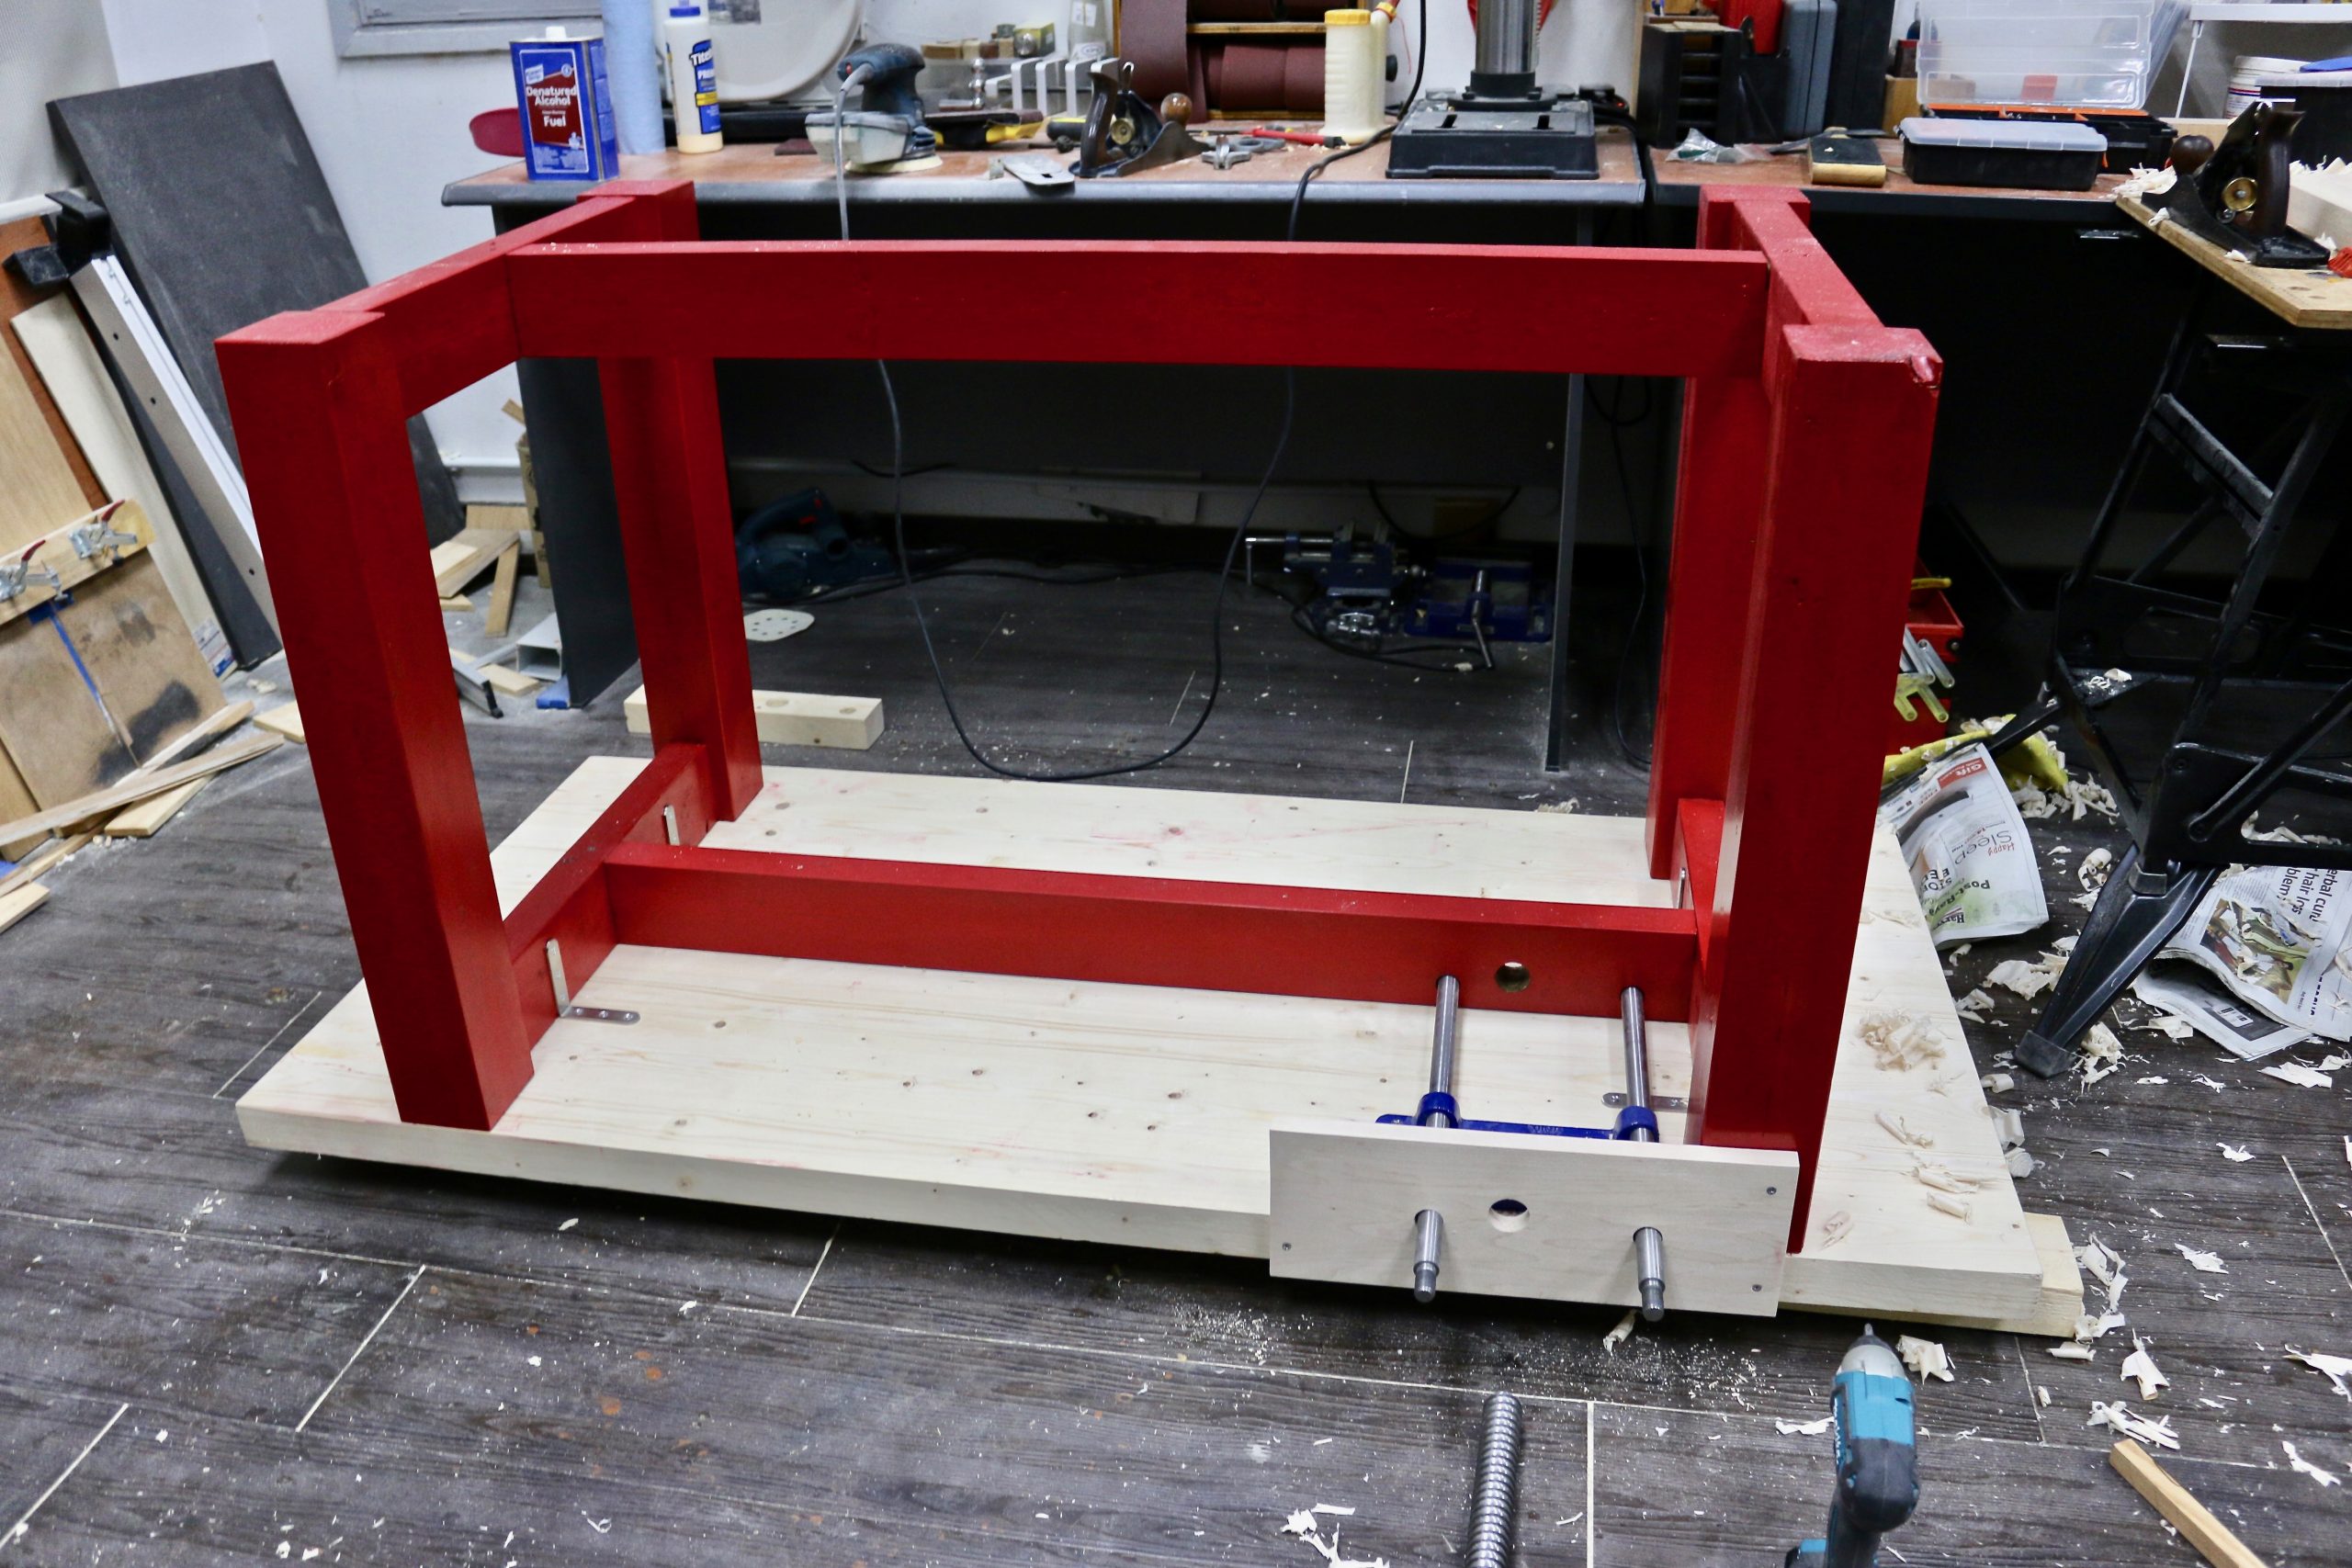
In my case, I had just finished creating my tabletop and legs for my DIY workbench. So I clamped a piece of hard Maple exactly where I wanted my Yost woodworking vise to be.
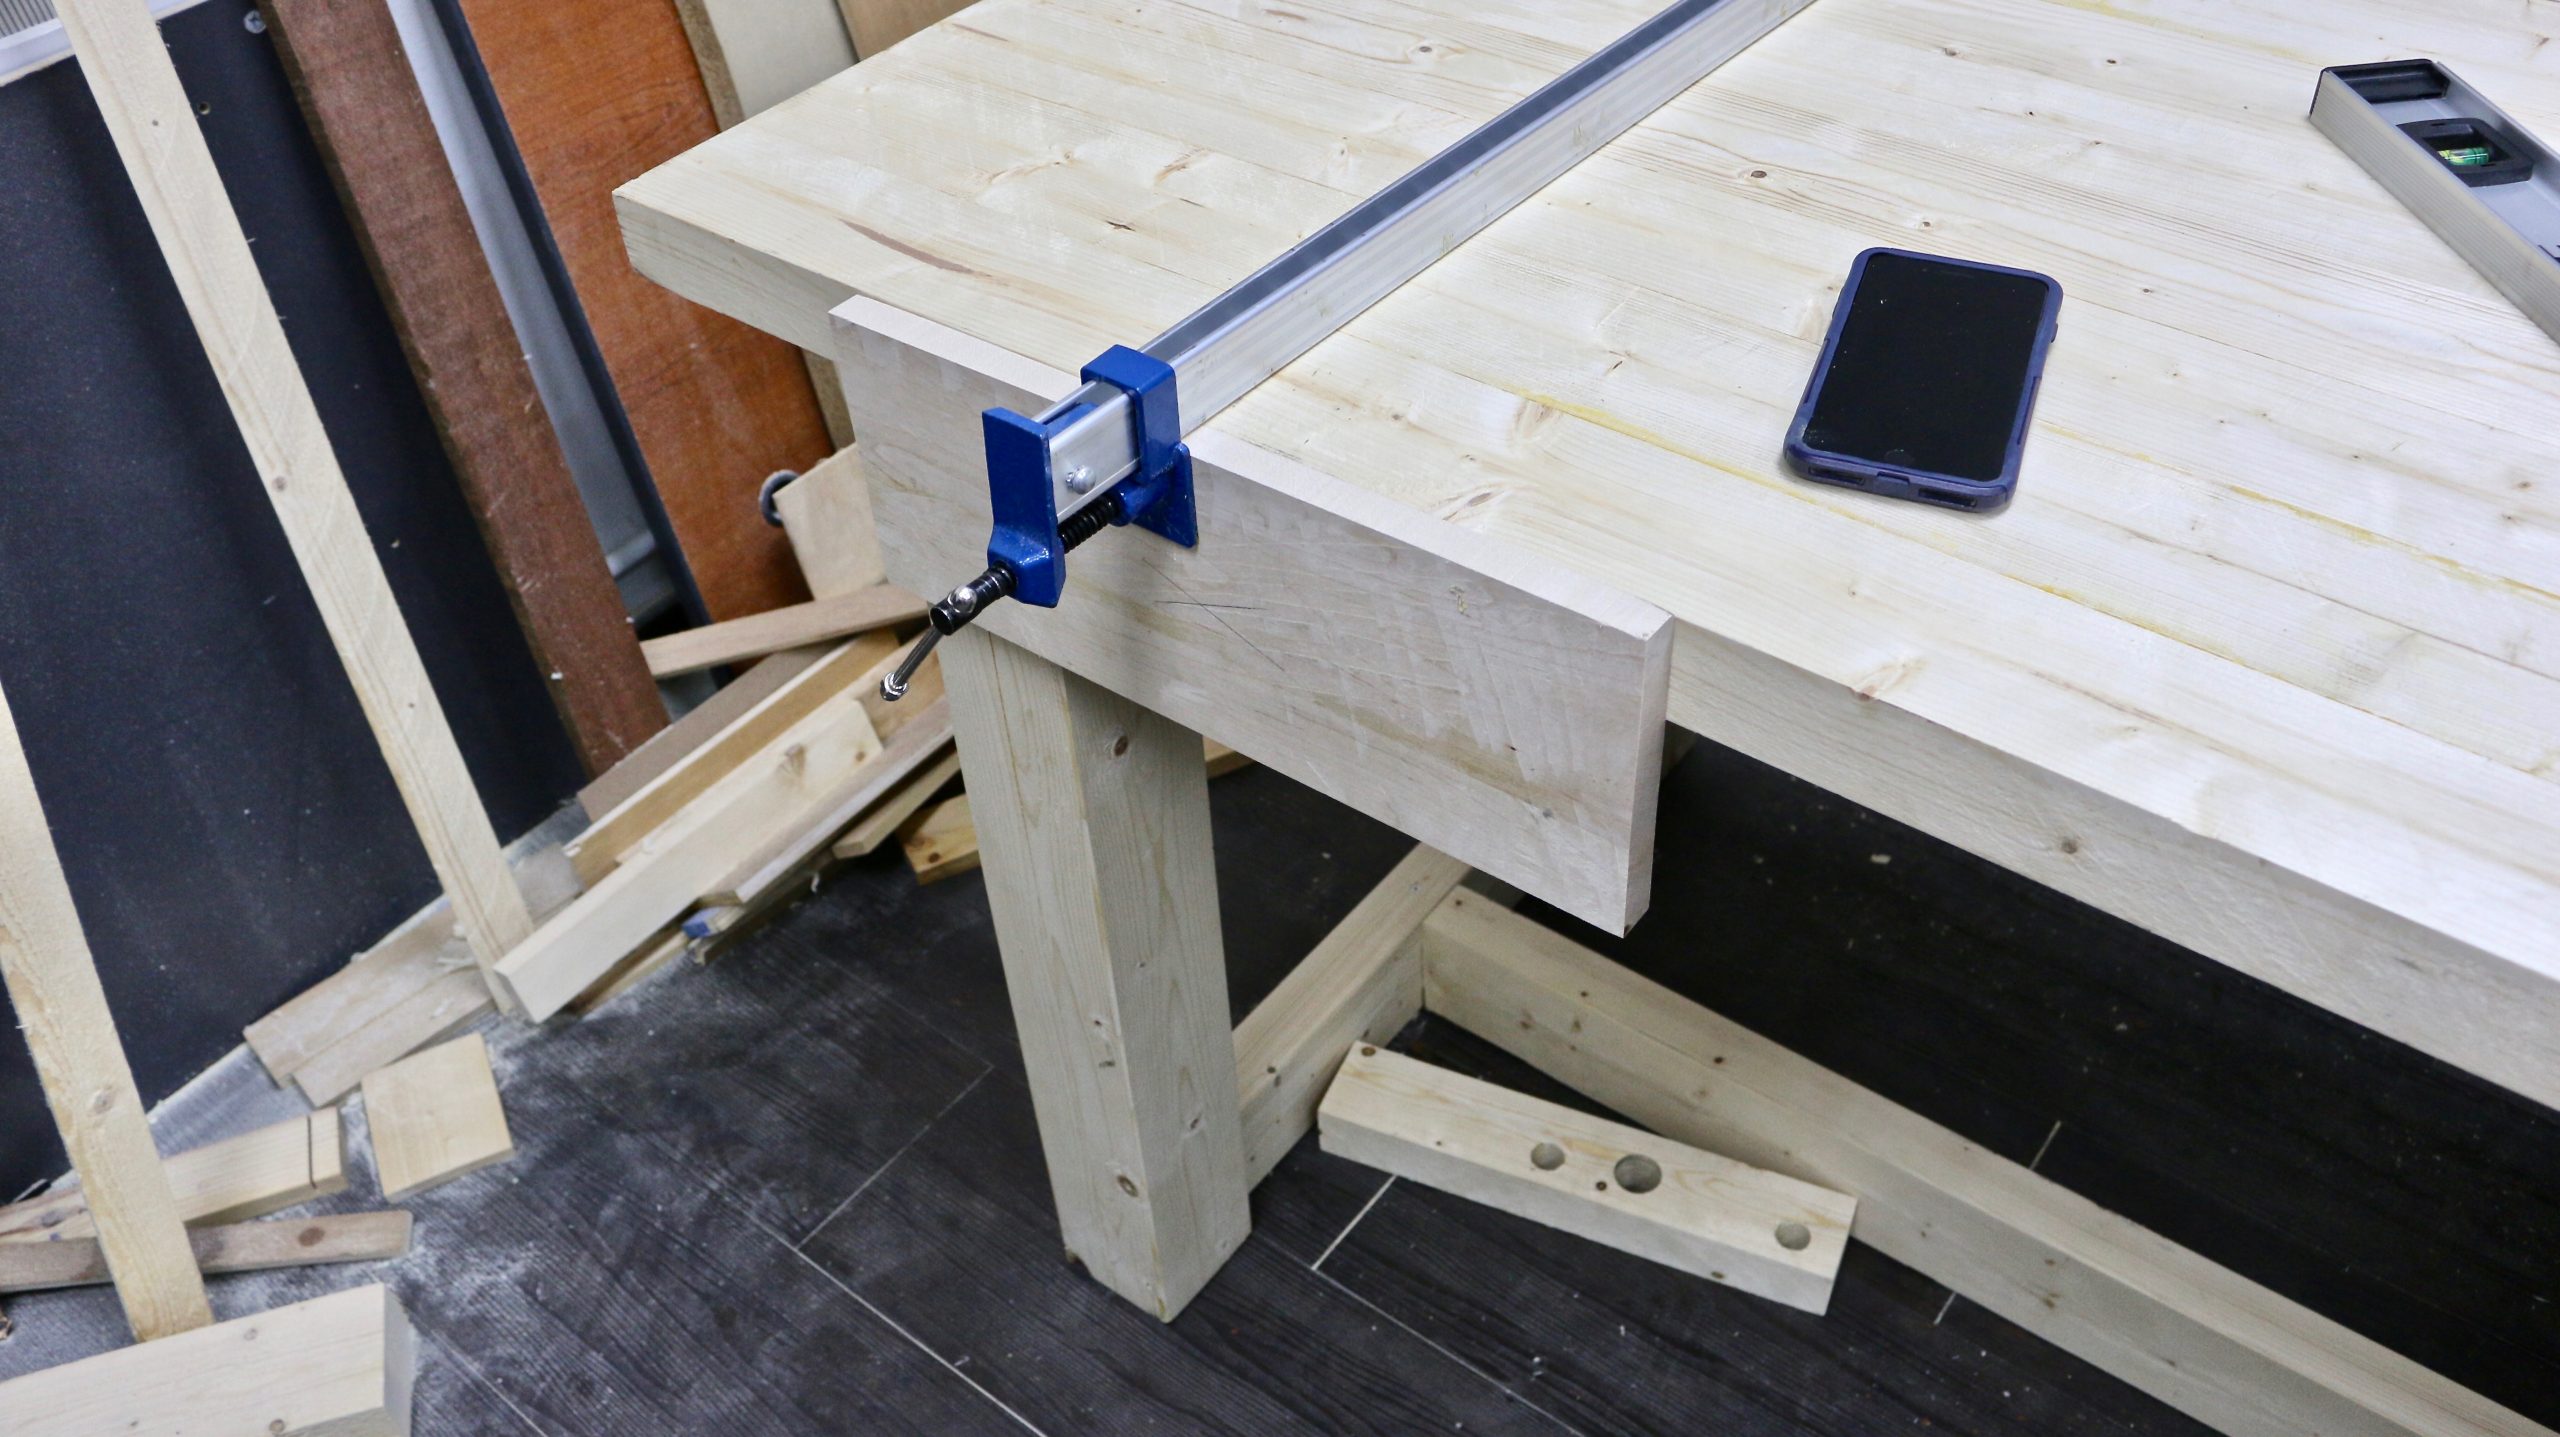
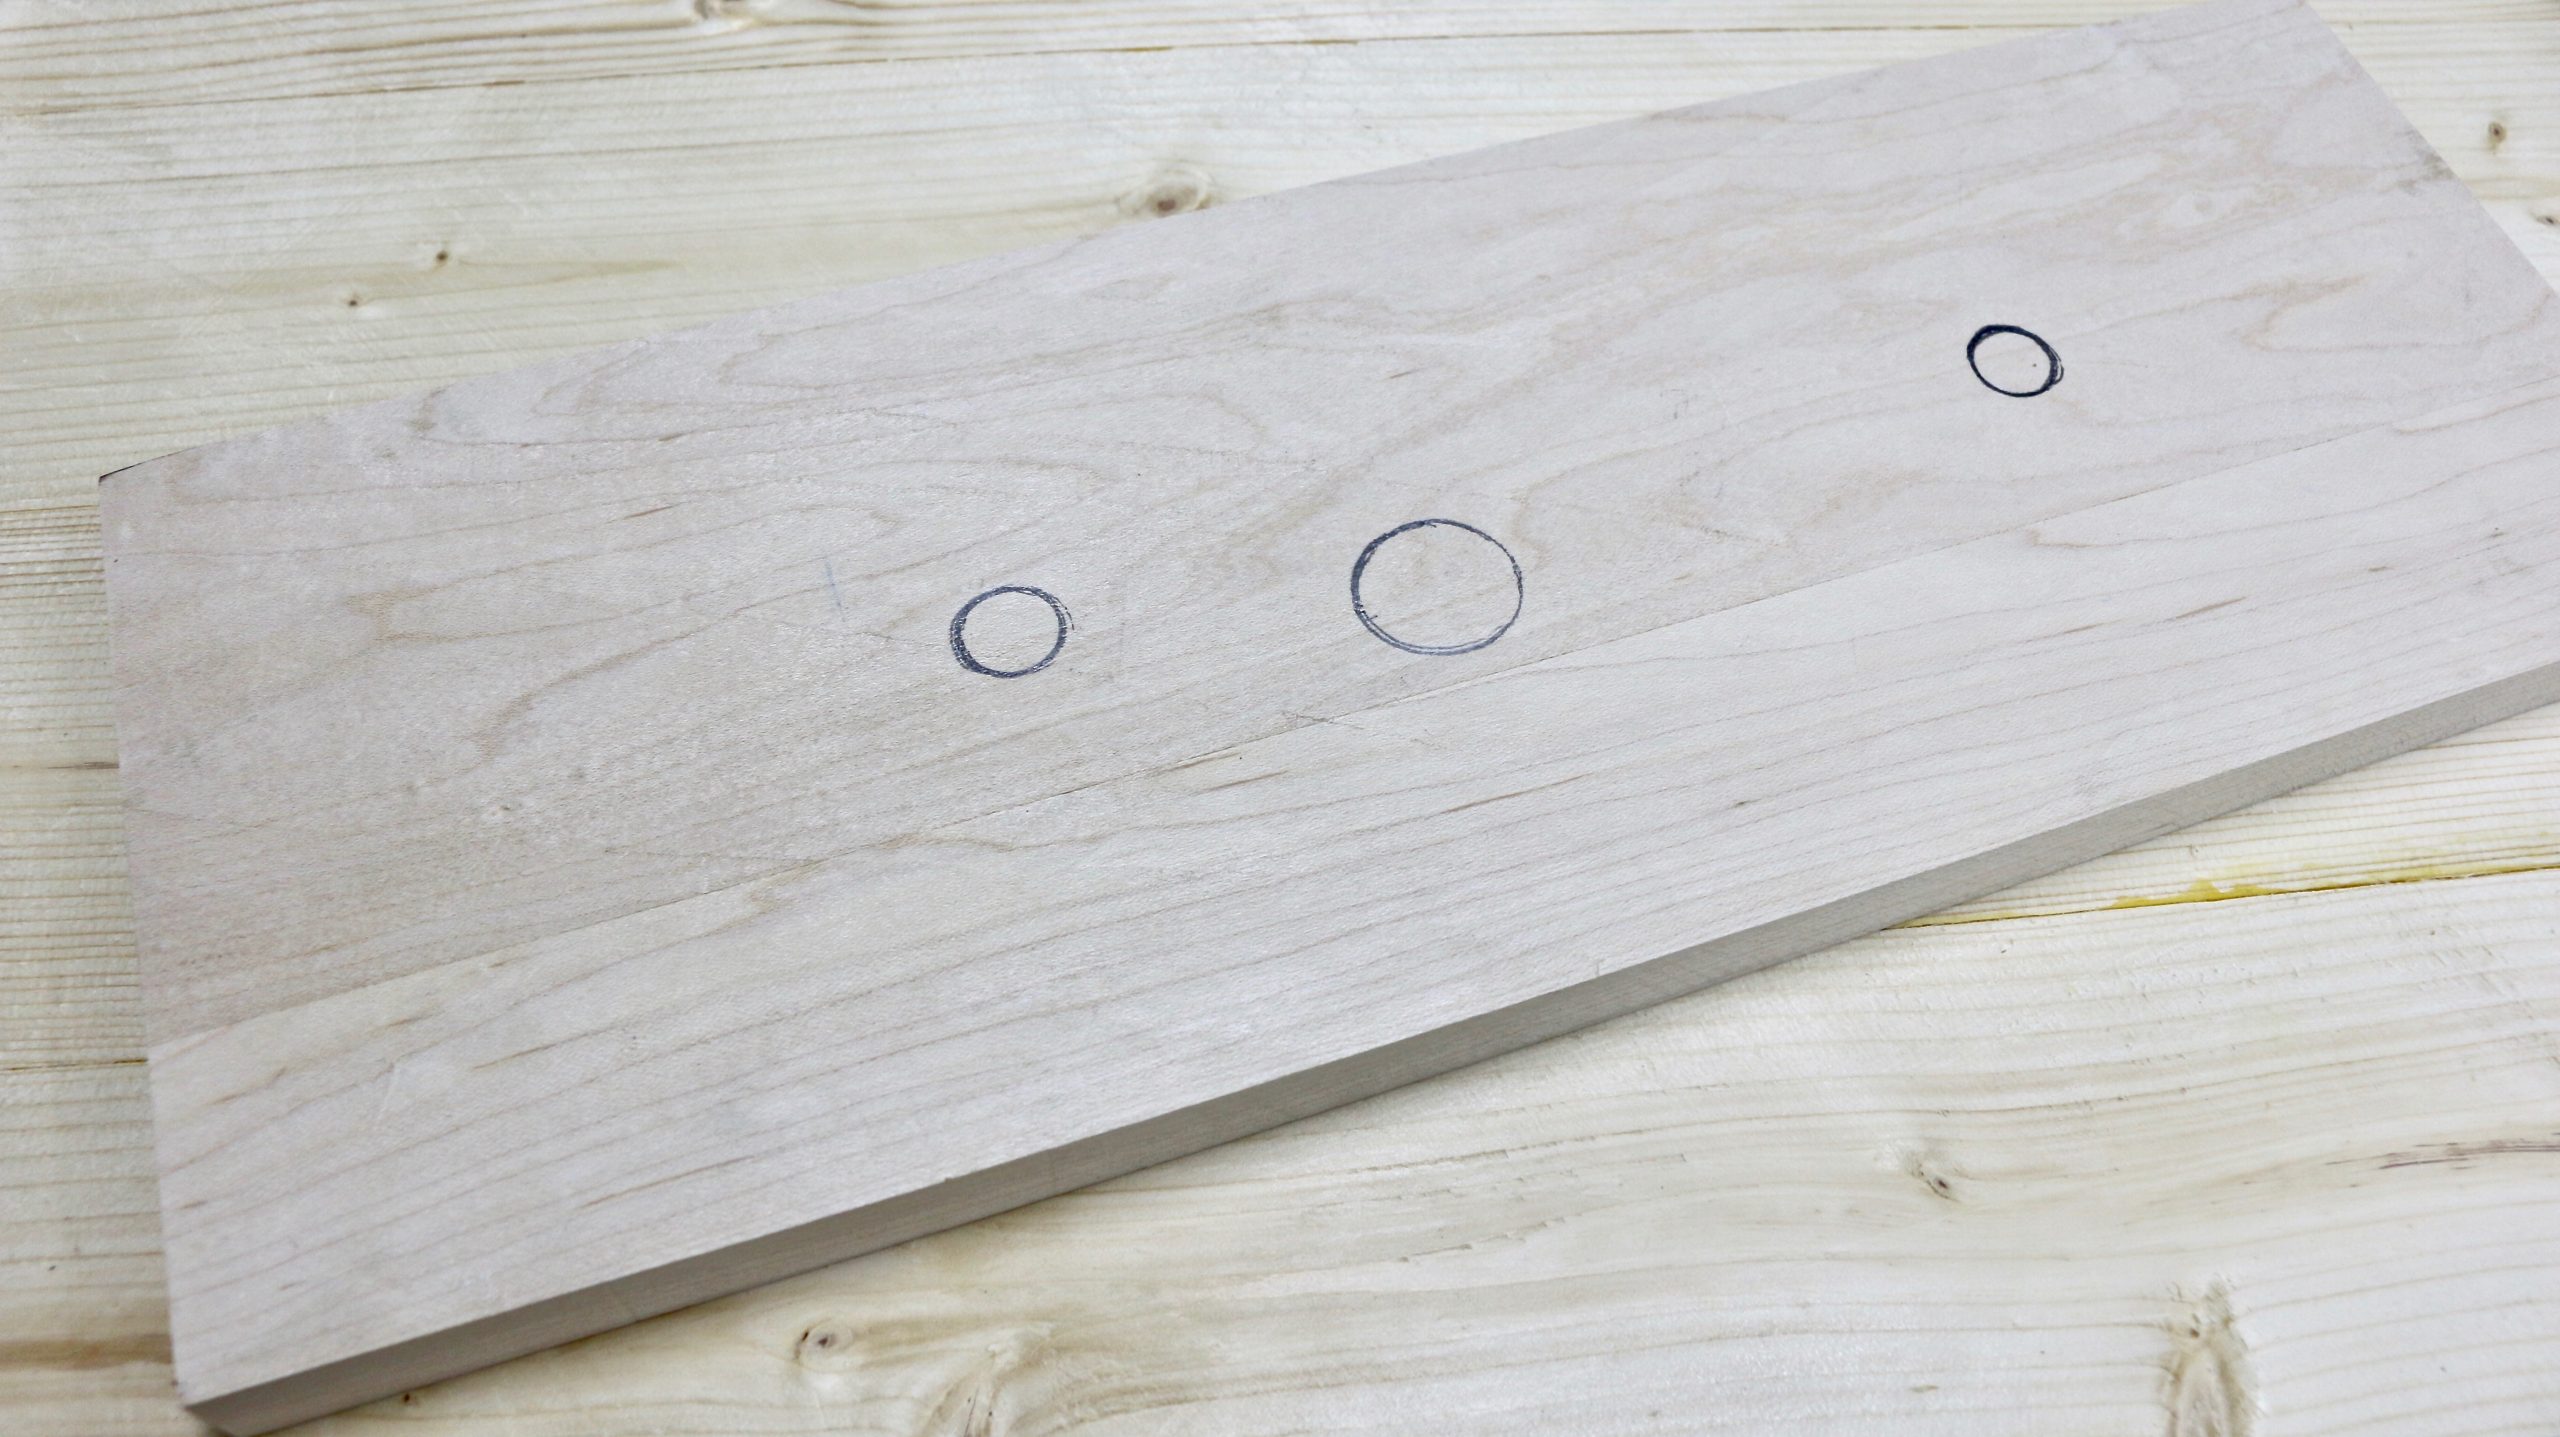
Using the base of the vice and a sharp pencil, I traced out the three main holes for the vise from underneath. Since I traced inside the hole, I knew it would have to be slightly bigger in actual diameter.
From measuring the hole based on the actual position of the vise, I realised my 1×4 hard maple boards were not wide enough. I would be drilling the large hole too close to the edge.
So, I cut another 1 inch of hard maple and laminated it to the 1×4 maple, making the total width about 5 inches. You can observe the seam line here to see what I mean.
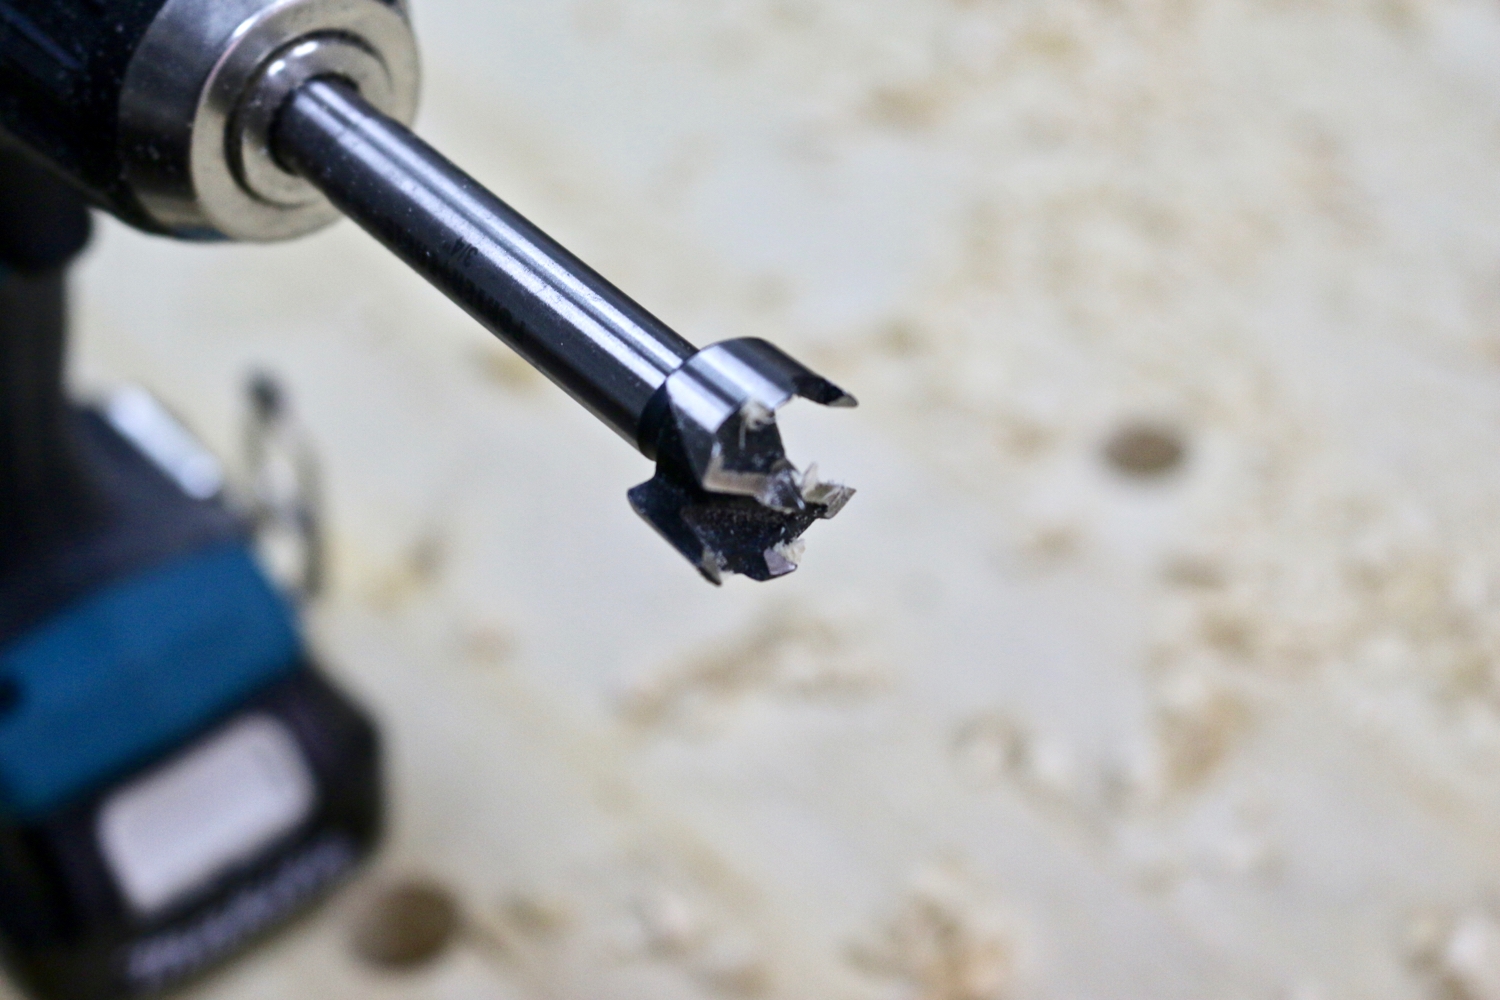
Drill the big hole for the lead screw with a 1″ Forstner bit, and the two guide rod holes with a 3/4″ Forstner bit. You can also use a spade bit if you prefer. Please check your actual vise for the correct measurement. Keep the holes slightly oversized.
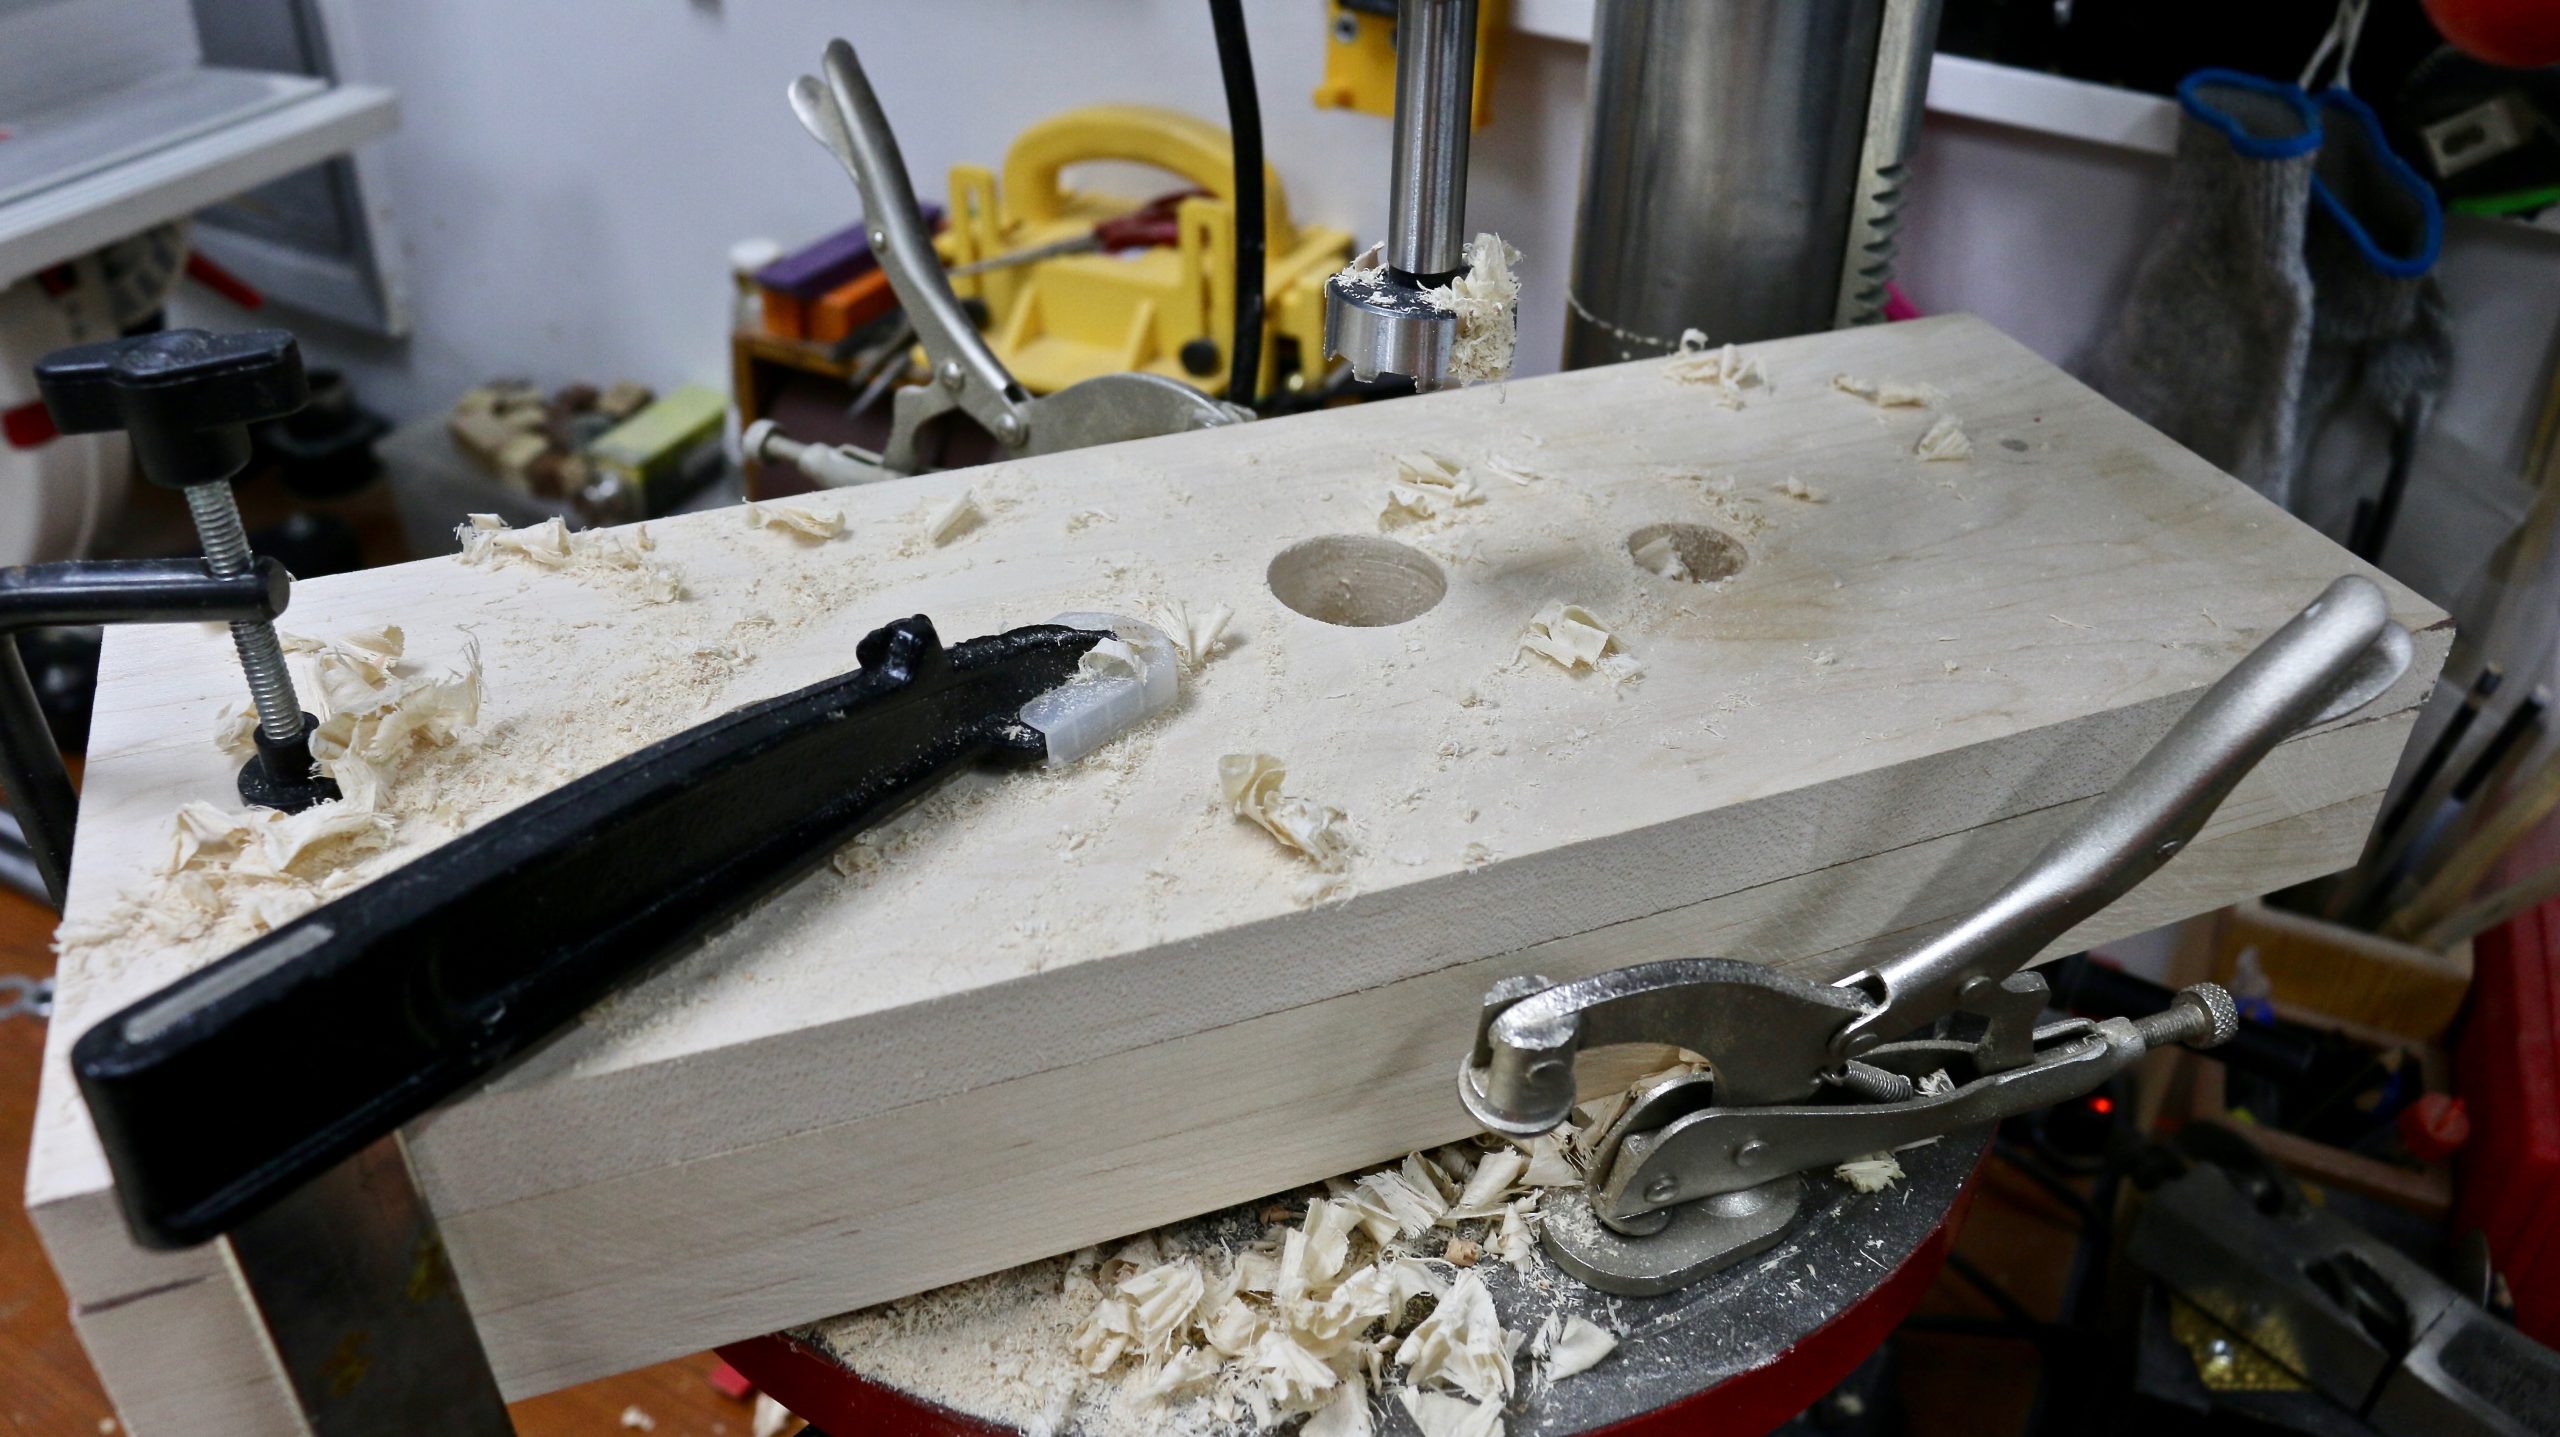
I plan to drill a few 3/4-inch holes for mounting my bench dog on the vise’s front face. So, I cut out two hard maple boards of equal length and glued two pieces together, making the depth closer to 2 inches.
I then clamped all the maple boards together and used the hole marks to drill through all of them at the same time. I used Porter-Cable Forstner drill bits, which are very high quality.
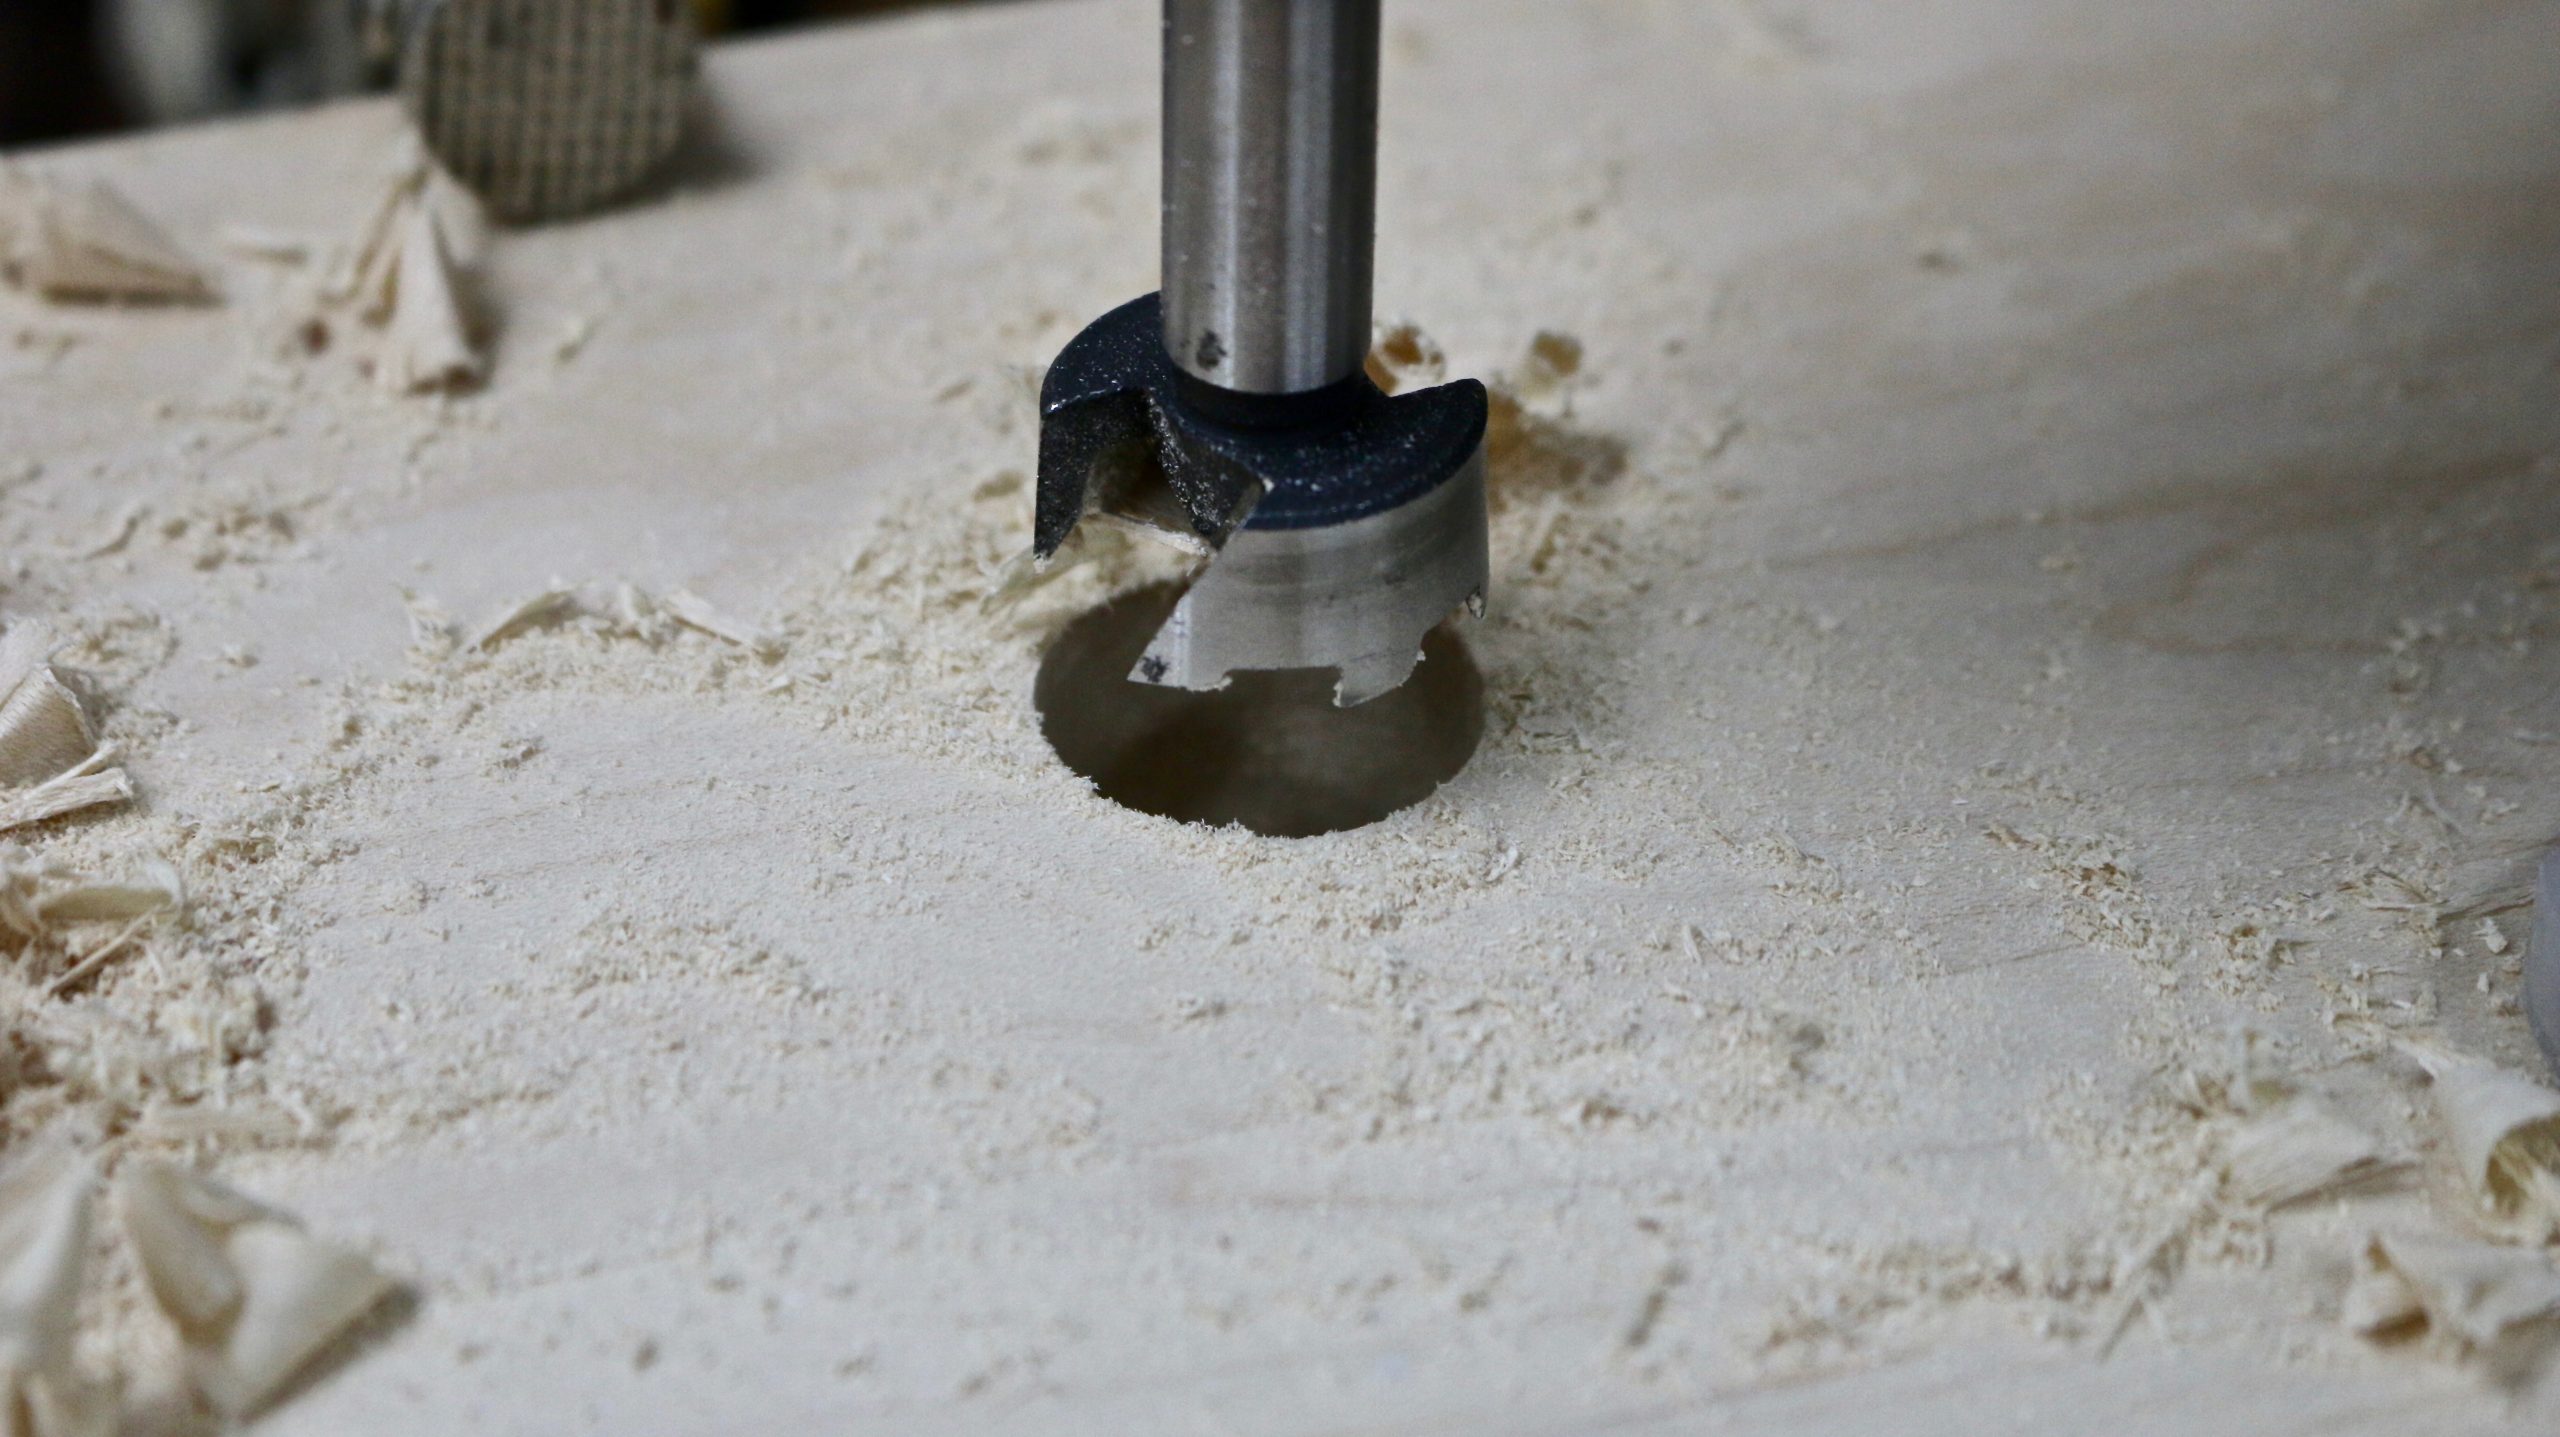
I had to make sure I cleared all the chips and drilled about 6/8 inch every time I pressed down with my drill press. Trying to drill too deep with every press can result in a lot of heat caused by the friction between chips still caught inside the hole and the wood.
My Forstner bit was not long enough to drill through three 1×4 pieces of hard maple in one go. So, I drilled about 3/4 through for each hole.
Then, I lifted the maple and slid a piece of plywood for the backing. I drilled all the way through, and the plywood backing prevented tearout.
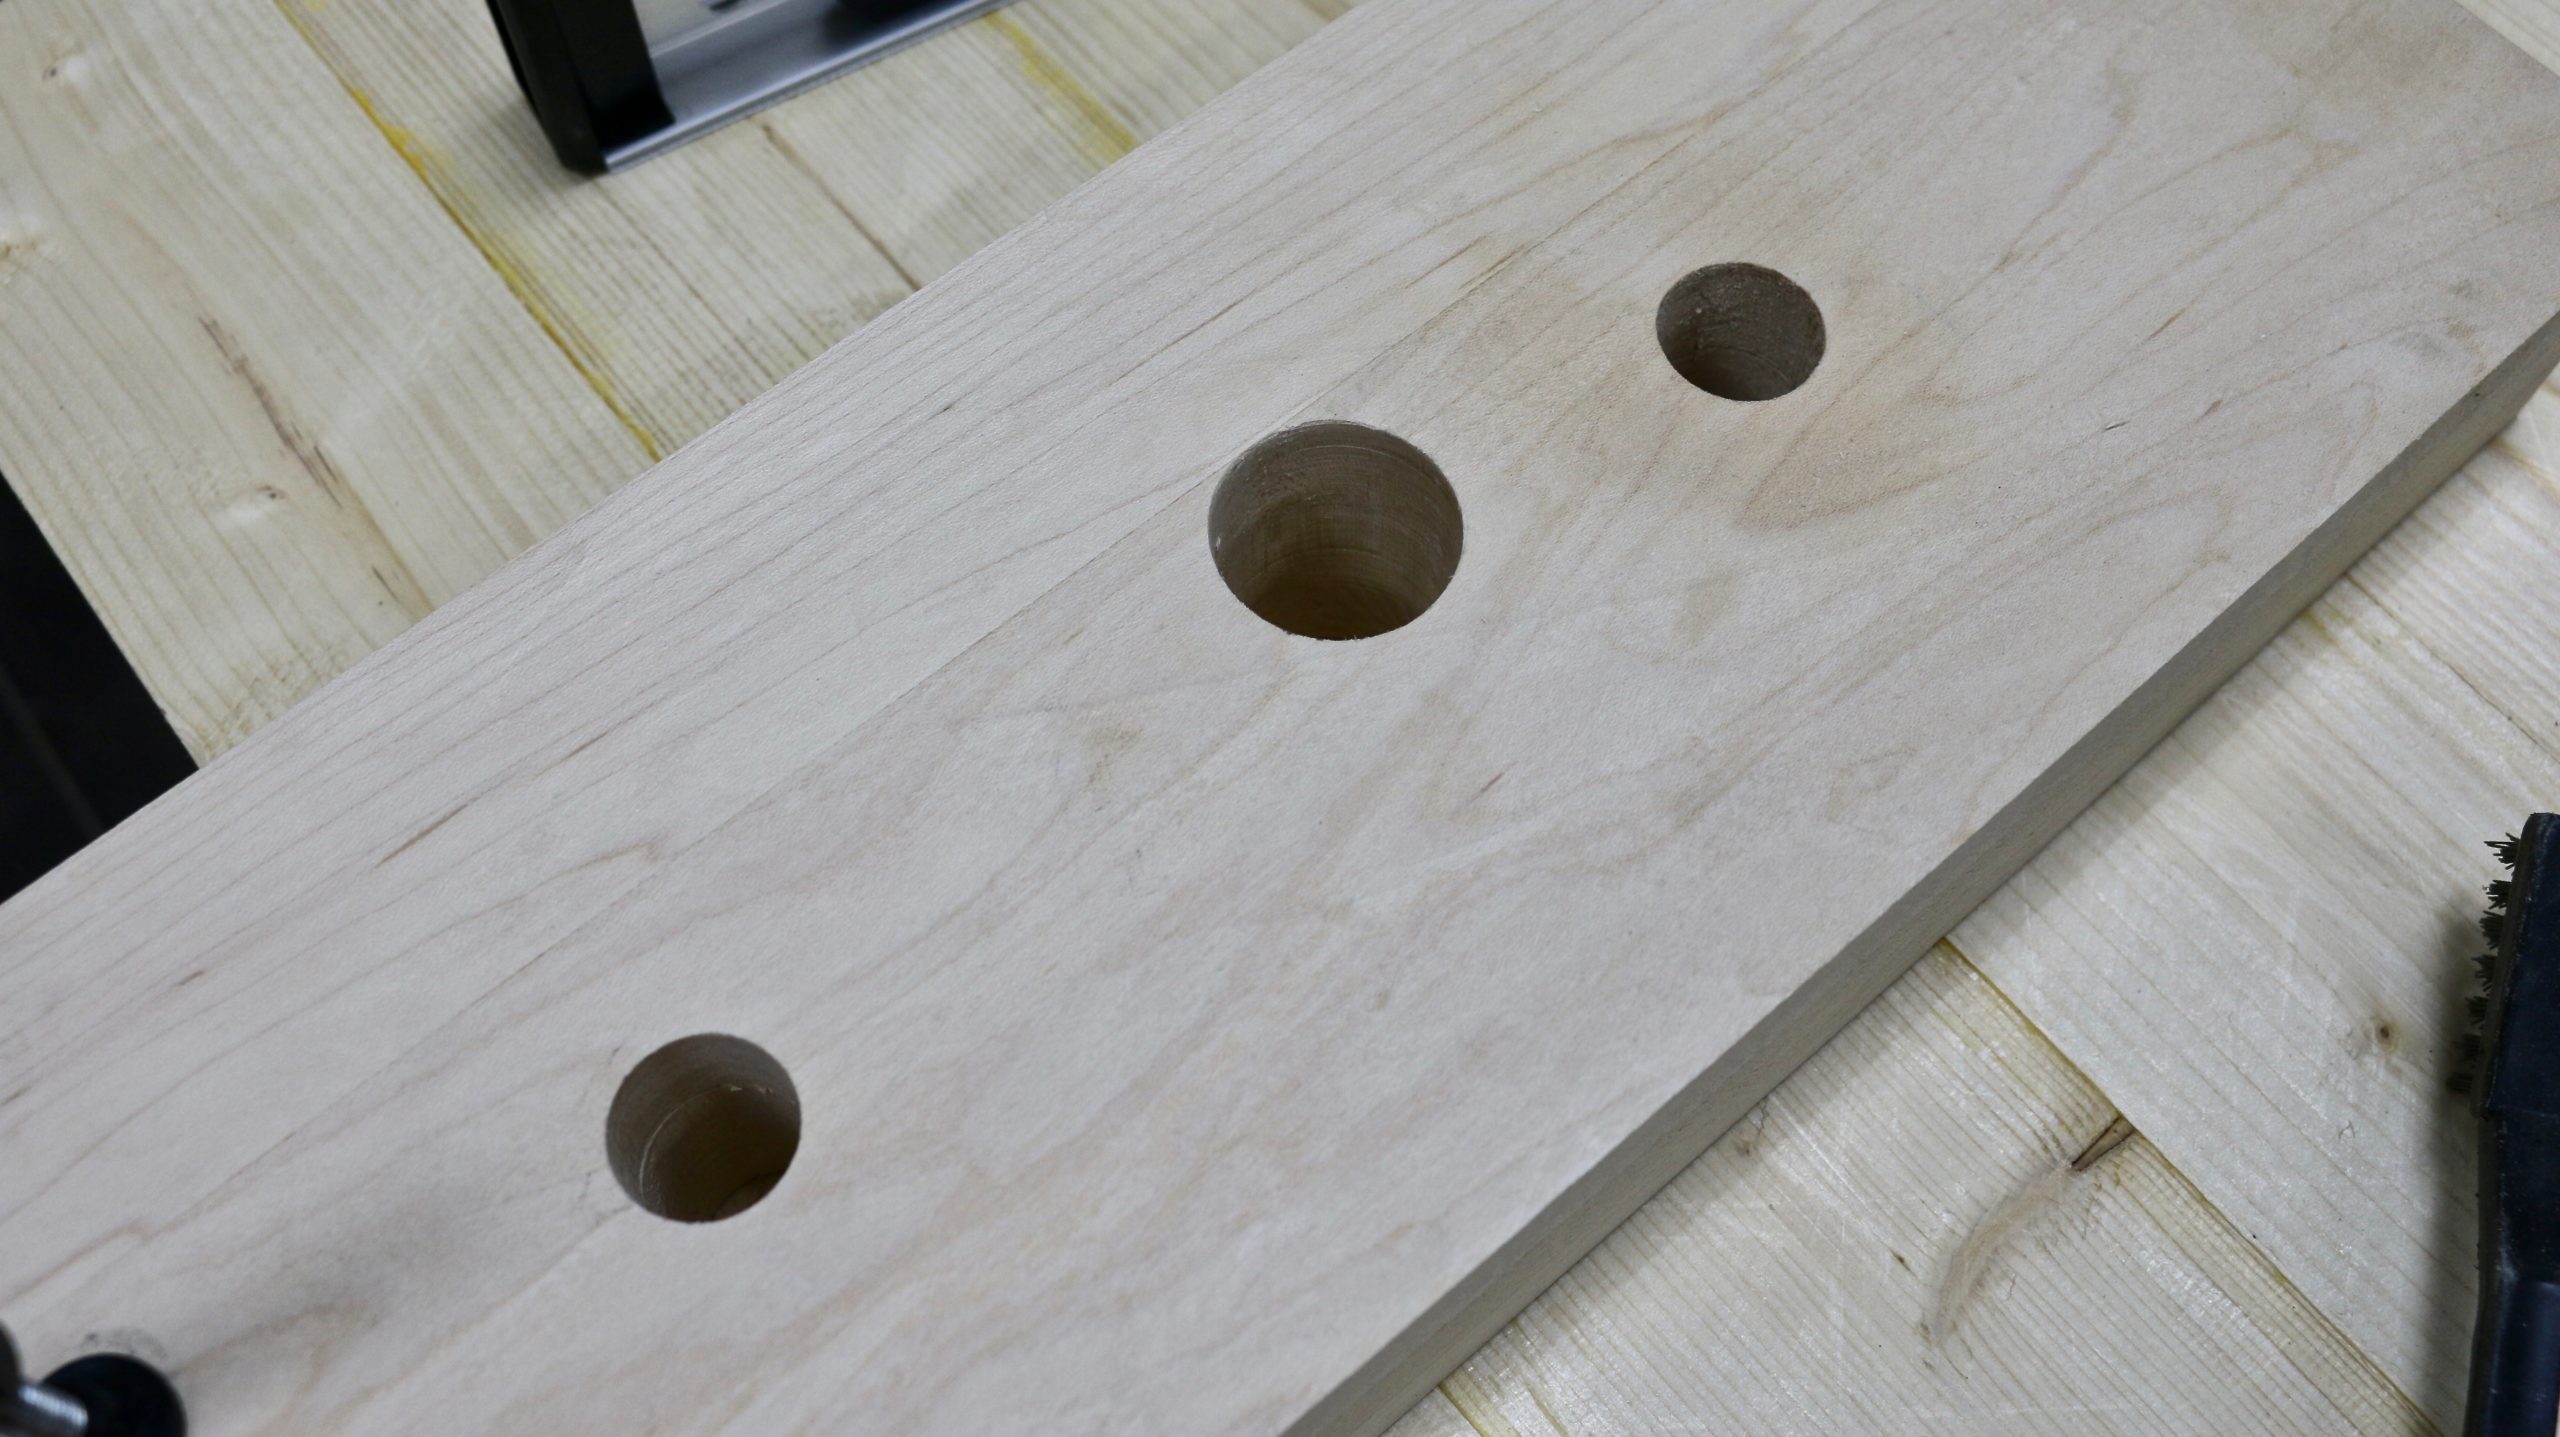
I was pretty happy with the result. There was absolutely no tearout. Make sure you drill the holes oversize by a bit.
Test Mounting the Yost Woodworking Vise
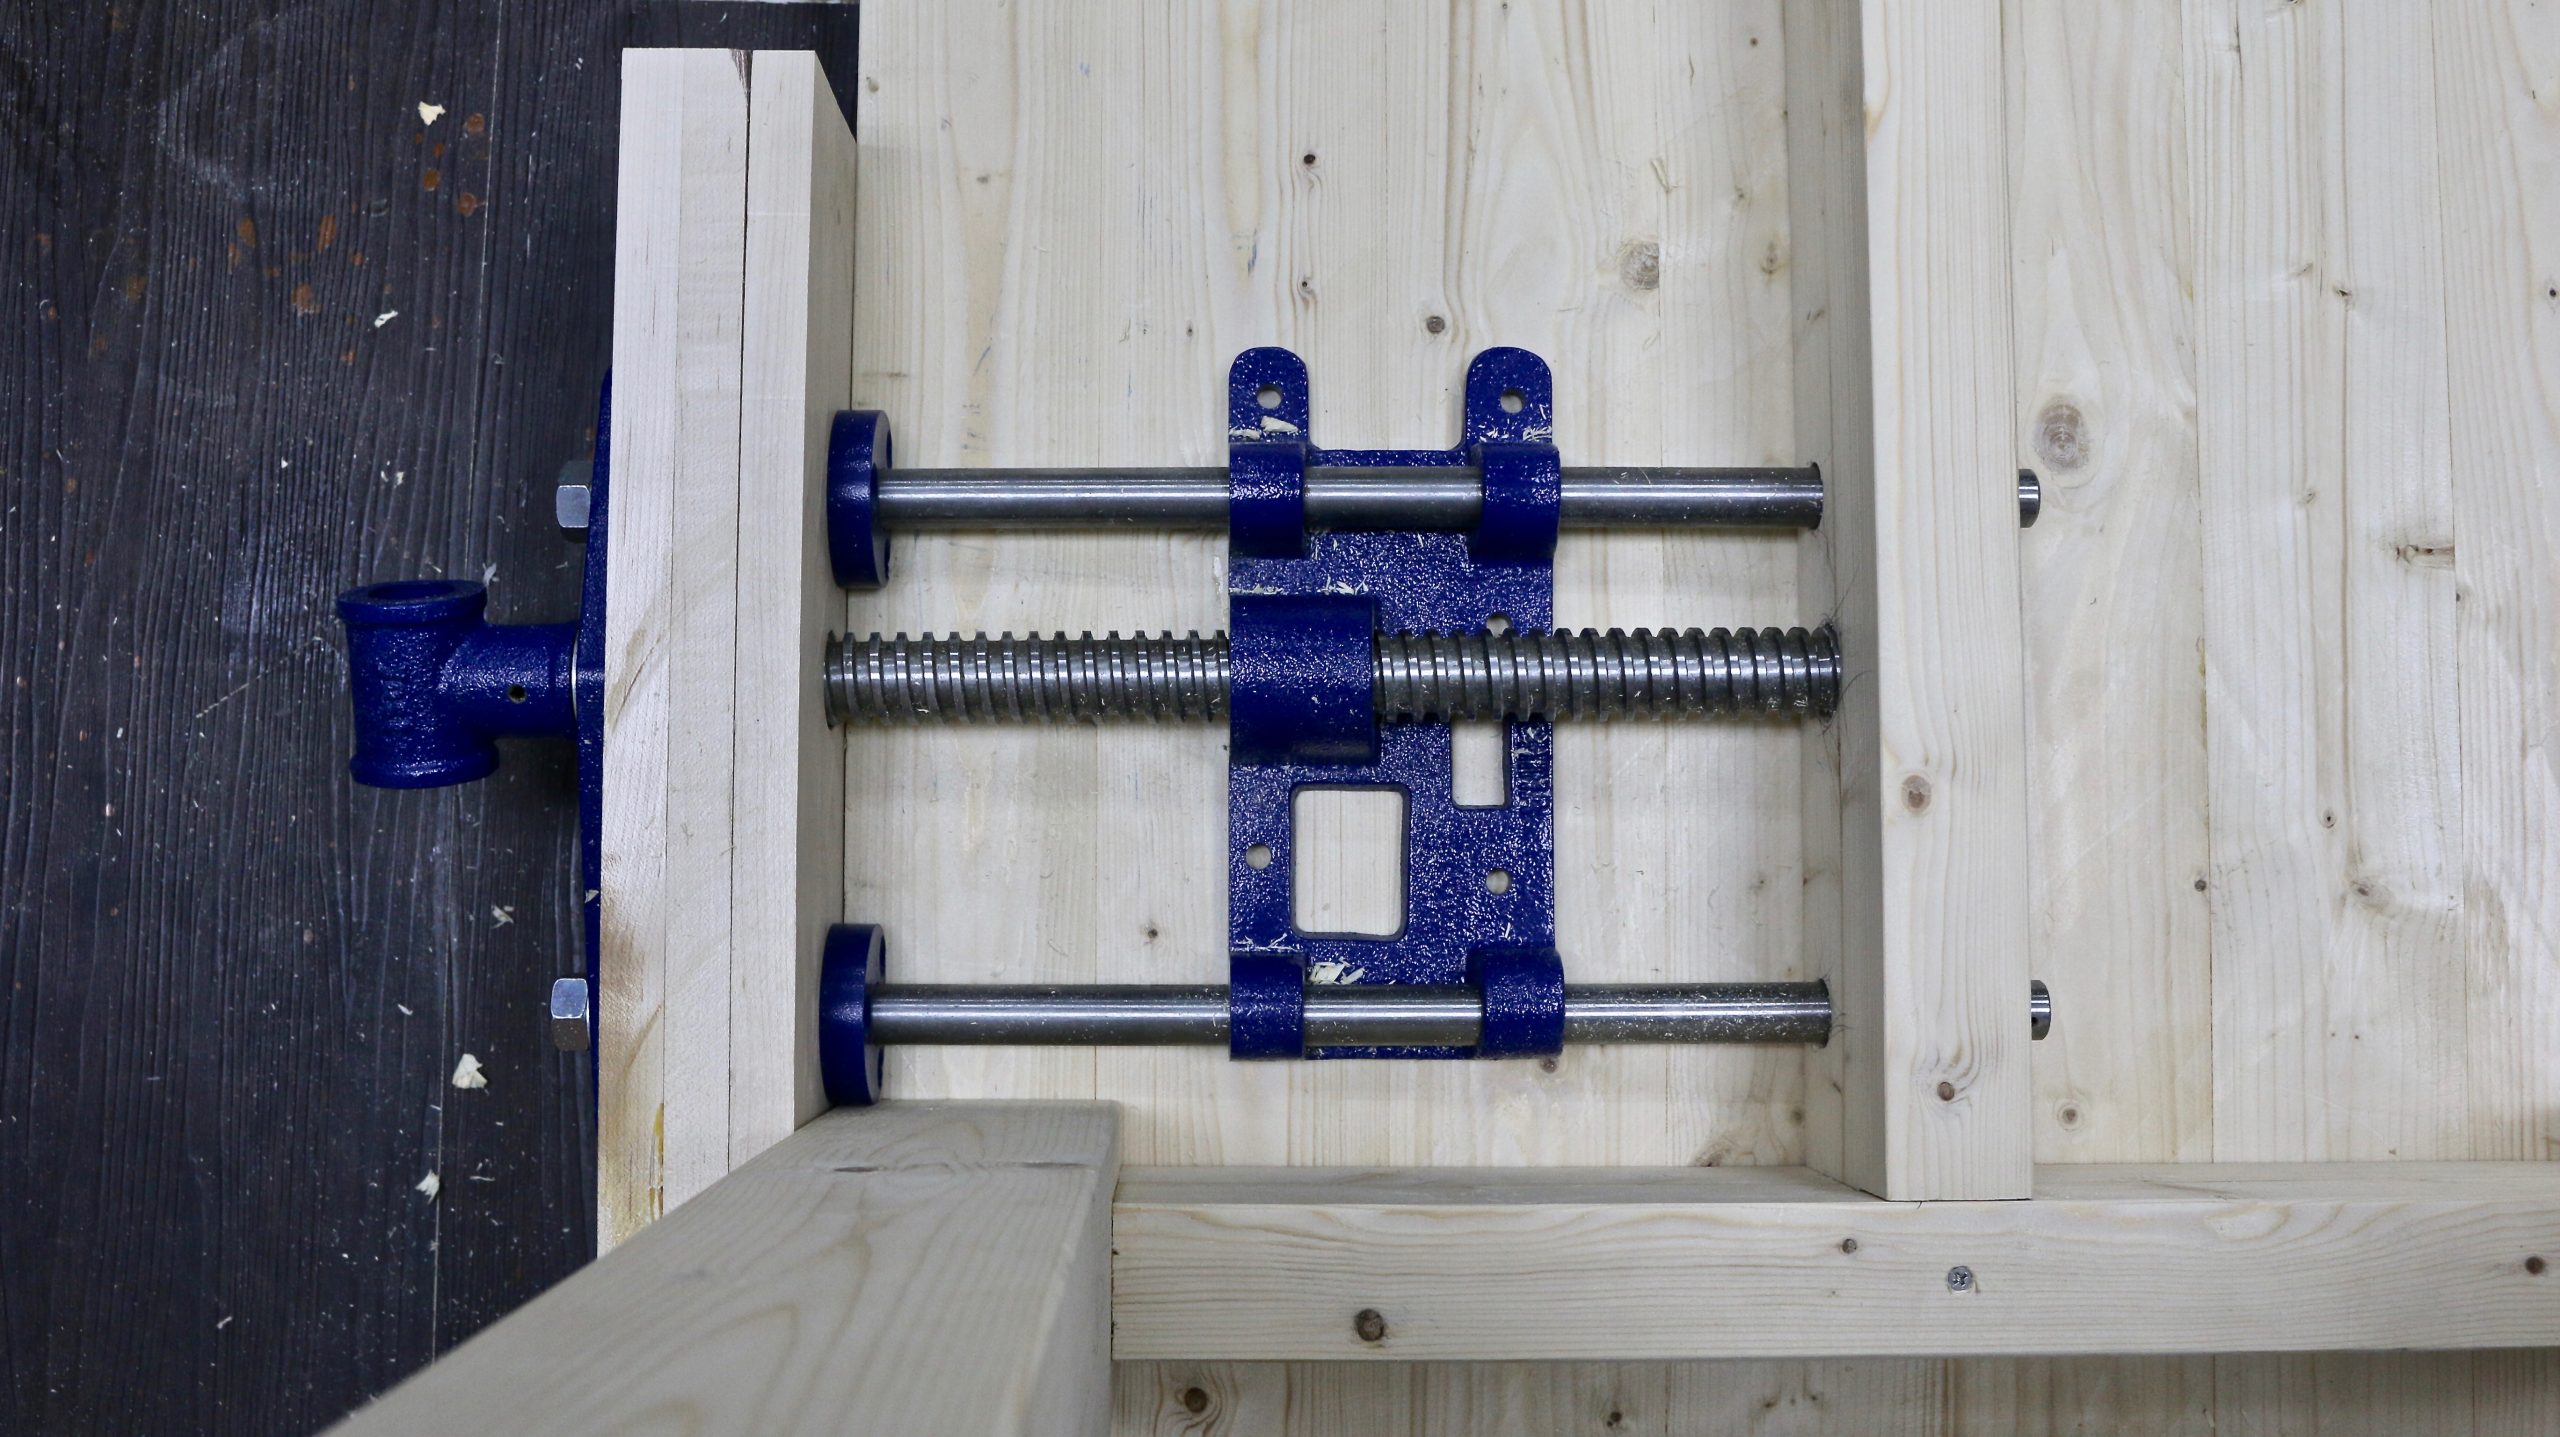
I assembled the Yost woodworking vise with the hard maple faces in place, and everything fit just fine. I did, however, realize that the center rails of the workbench also needed three holes for the clamp to be completely closed.
I completely overlooked this during the planning stage, and it just goes to show how important it is to do these things step-by-step. I should have measured the total space needed when my Yost 10″ woodworking vise was fully closed.
I drilled these holes out with the same Porter-Cable Forstner bits, but this time with my cordless Makita drill-driver. I tested fitted the vise again and was happy with the result.
I could now close the vise completely. Of course, better planning can help you avoid drilling through your table’s rails in the first place.
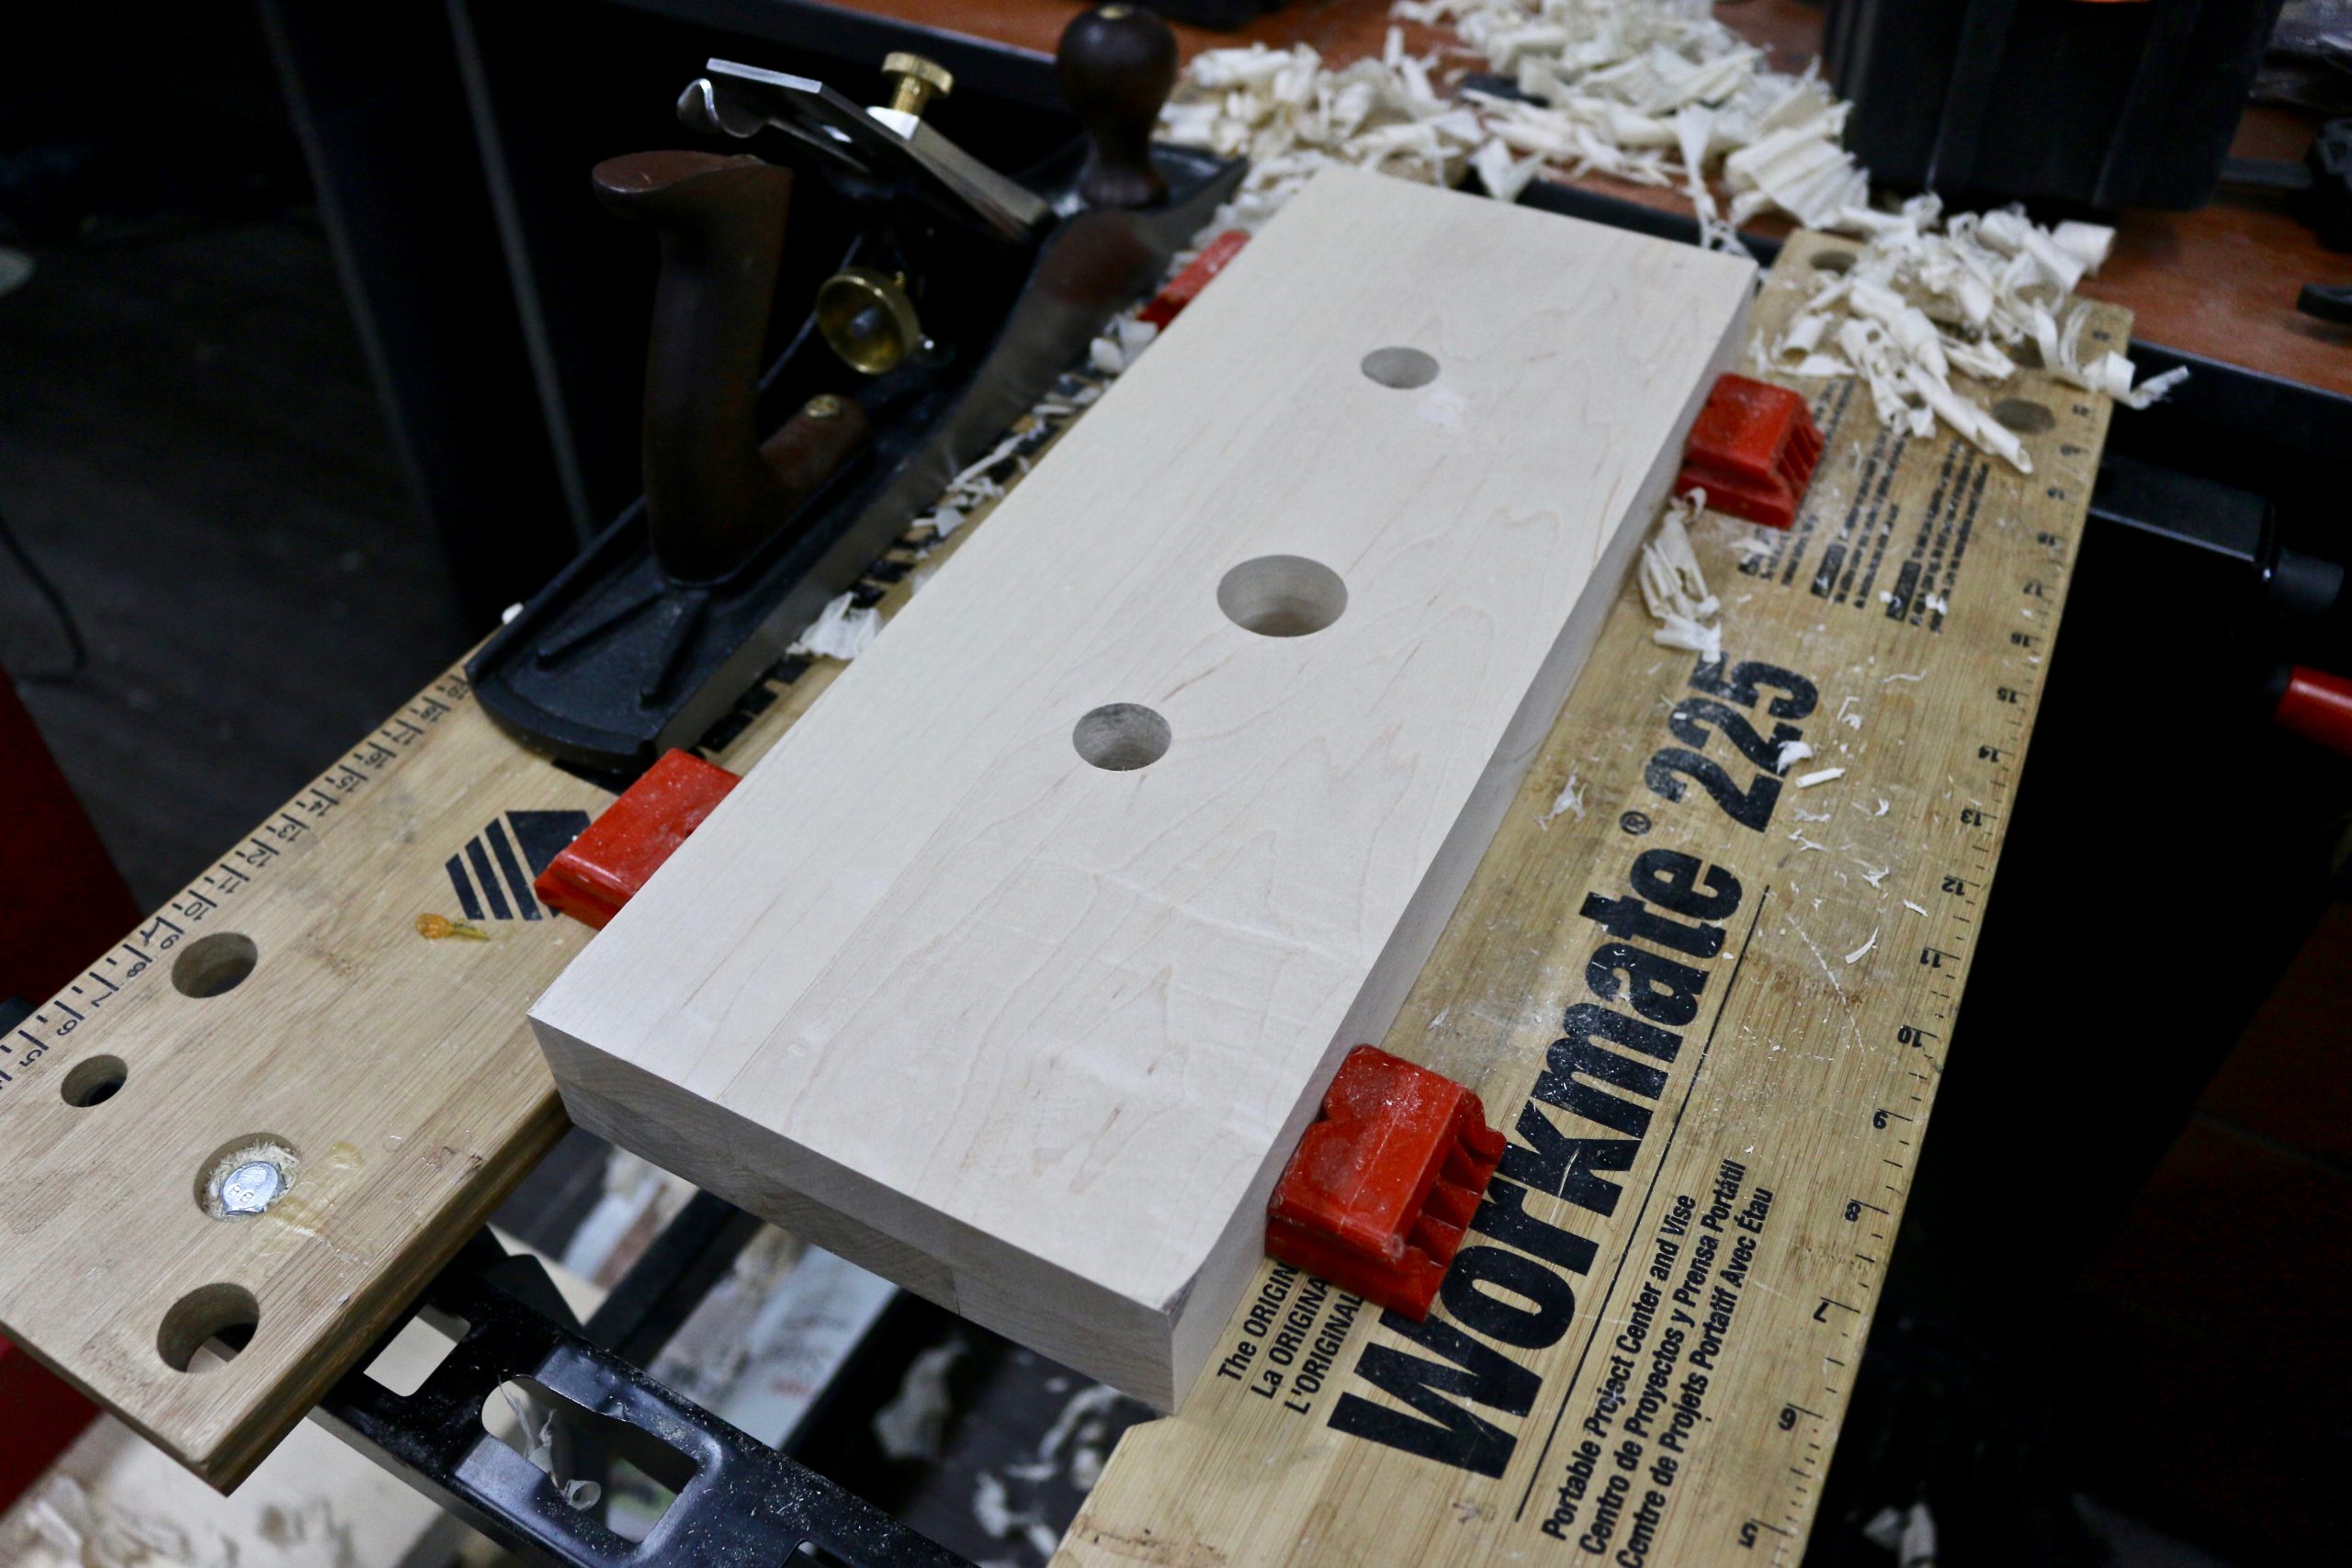
Next, I took the hard maple boards and smoothened them out with my Taytools #5 jack plane. With a freshly sharpened iron, I was able to get a superb finish on the hard maple without any tearout.
Mounting and Screwing the 10″ Yost Front Vise
Then, I finished my workbench legs with three coats of red paint (I love red), before mounting the Yost vice back into position. I’ve seen people use all kinds of bolts to mount the vice, but I just used wood screws of the correct size.
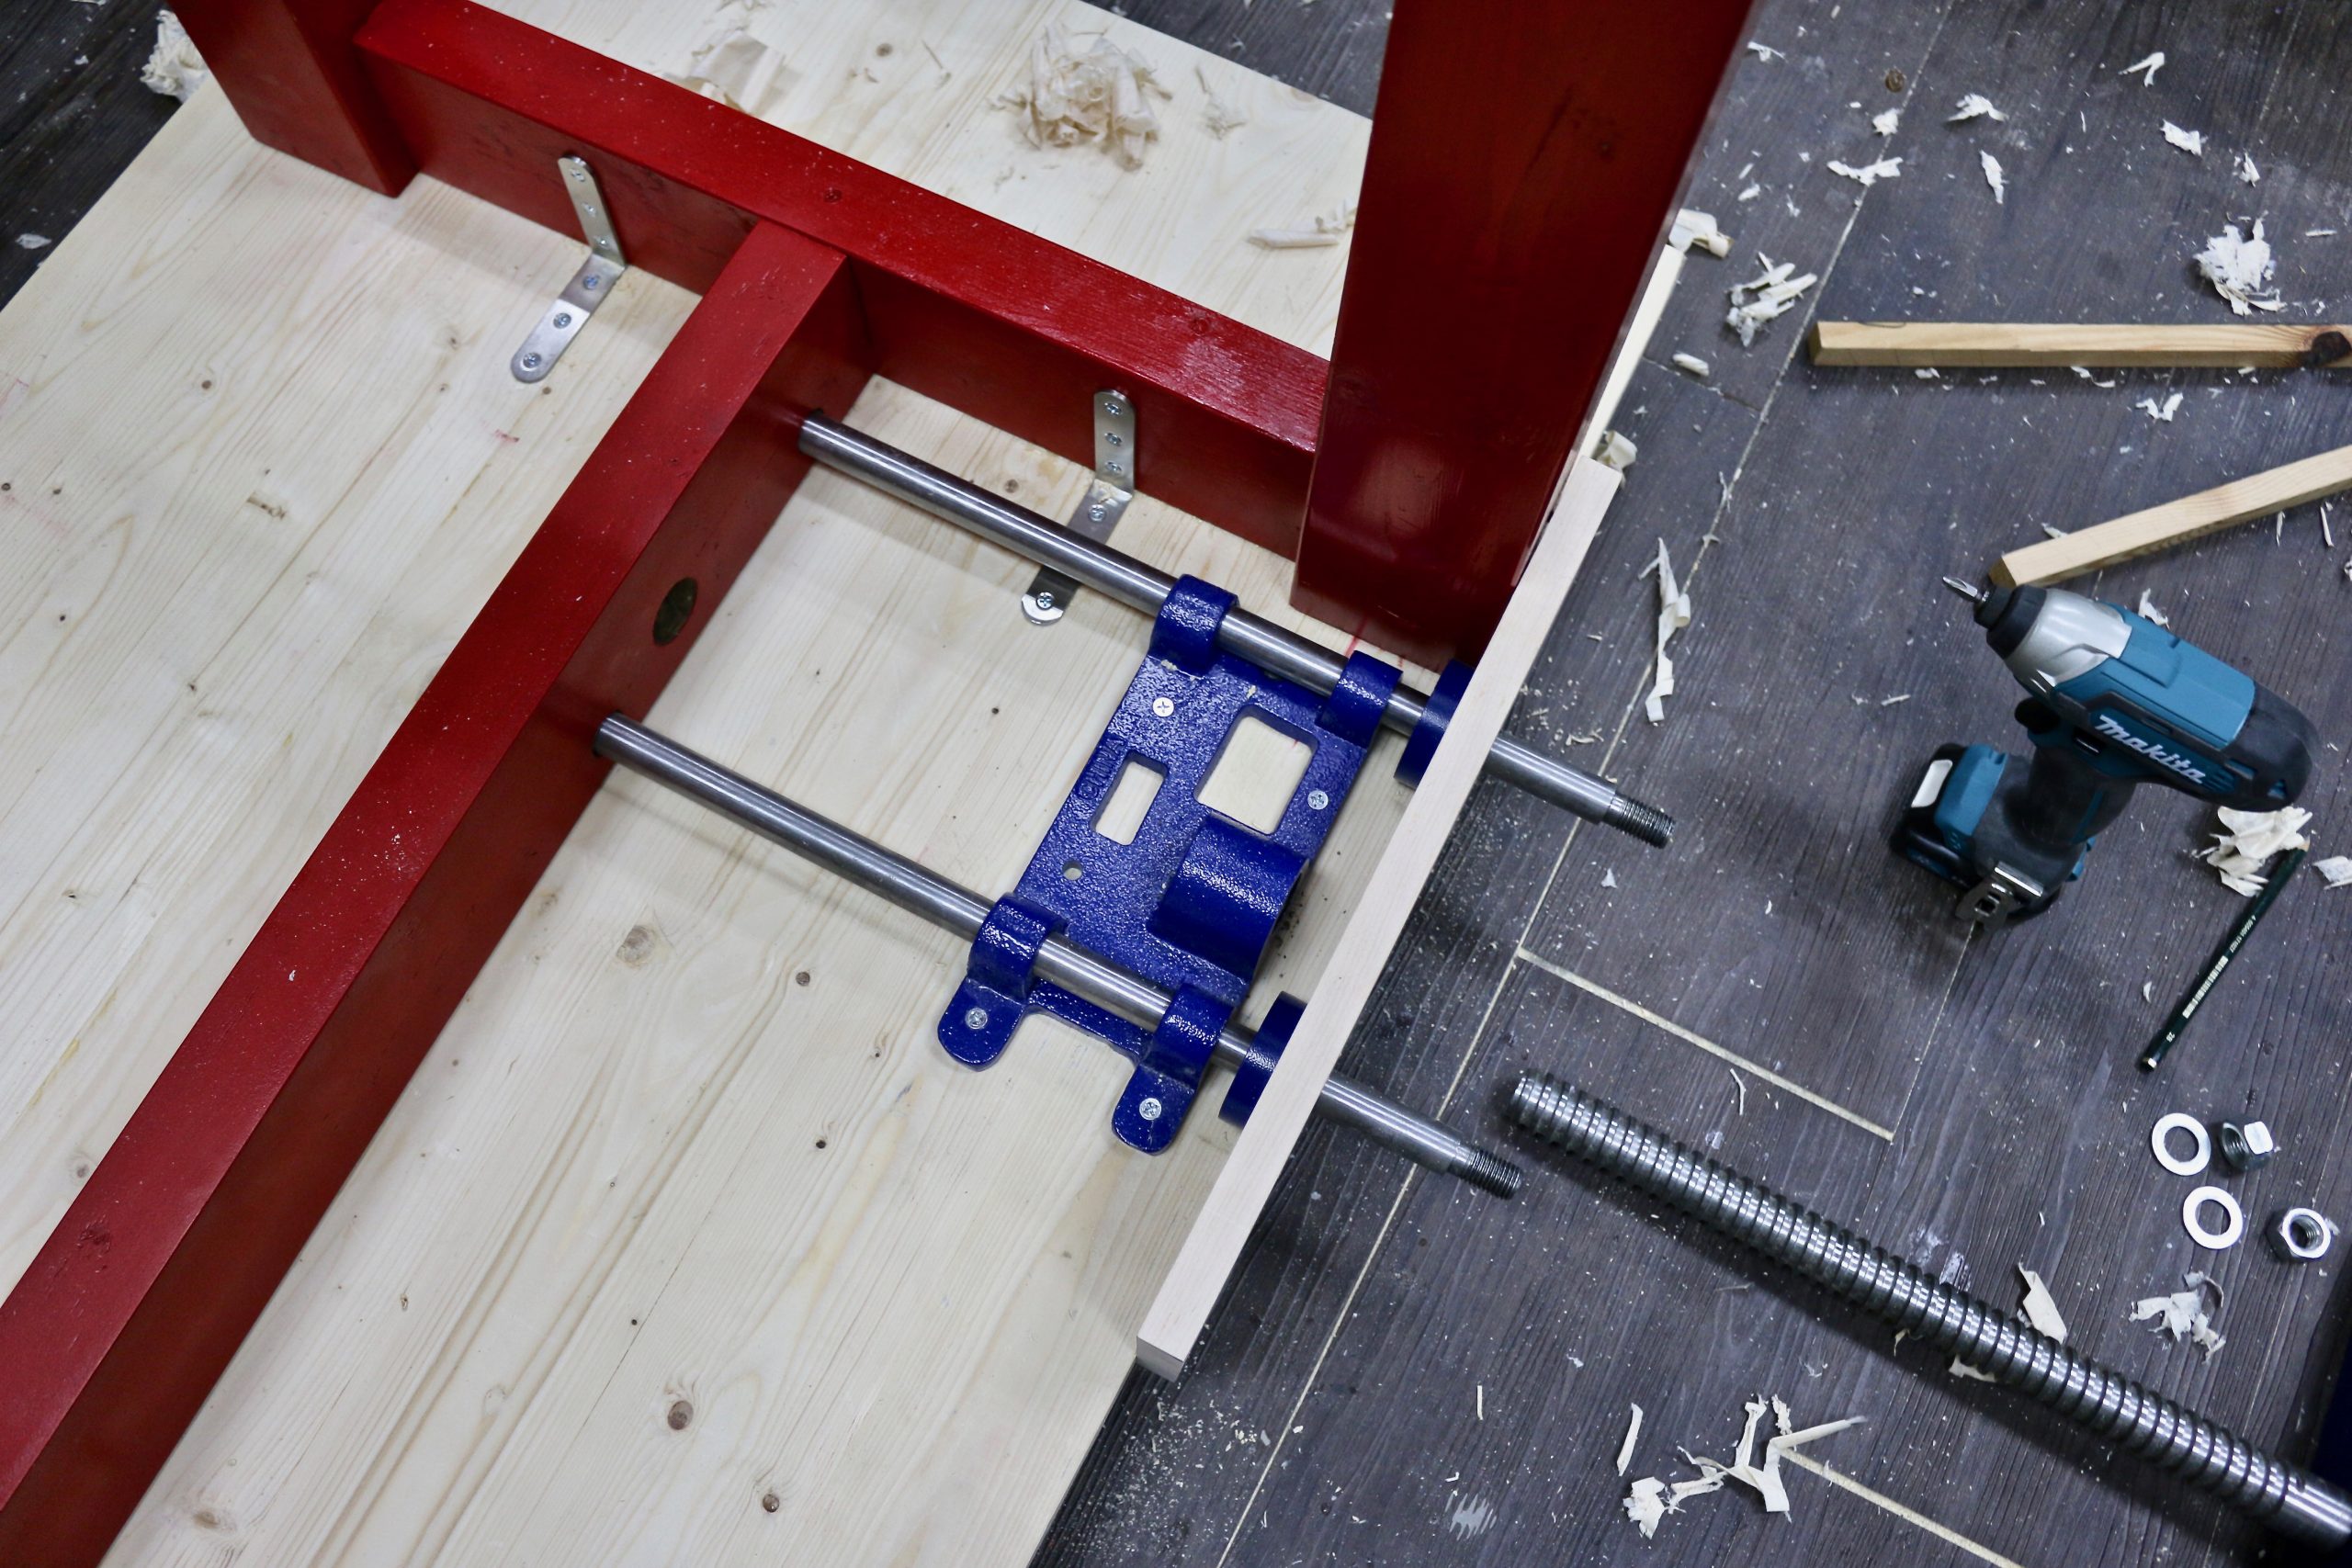
I pre-drilled each hole and made sure the screw was short enough, so it didn’t pierce through the other end of my tabletop. Then I removed the two guide rod and screwed on the brackets onto the hard maple board.
I attached the hard maple board to my tabletop with three screws. I pre-drilled each hole and counter-sunk them to recess the screws from the surface of the hard maple face.
I then screwed in the front of the vise with two more screws. The vise was now properly installed, and ready to be used. But here are a few more steps to make it work better.
Making The Vise Flush with My Tabletop
I put my workbench upright and tested the Yost 10″ front vise to make sure it worked. The lead screw was a bit squeaky, so I applied some paste wax to ease the friction. It worked so much better with the added lubrication. I used paste wax on the guide rods as well.
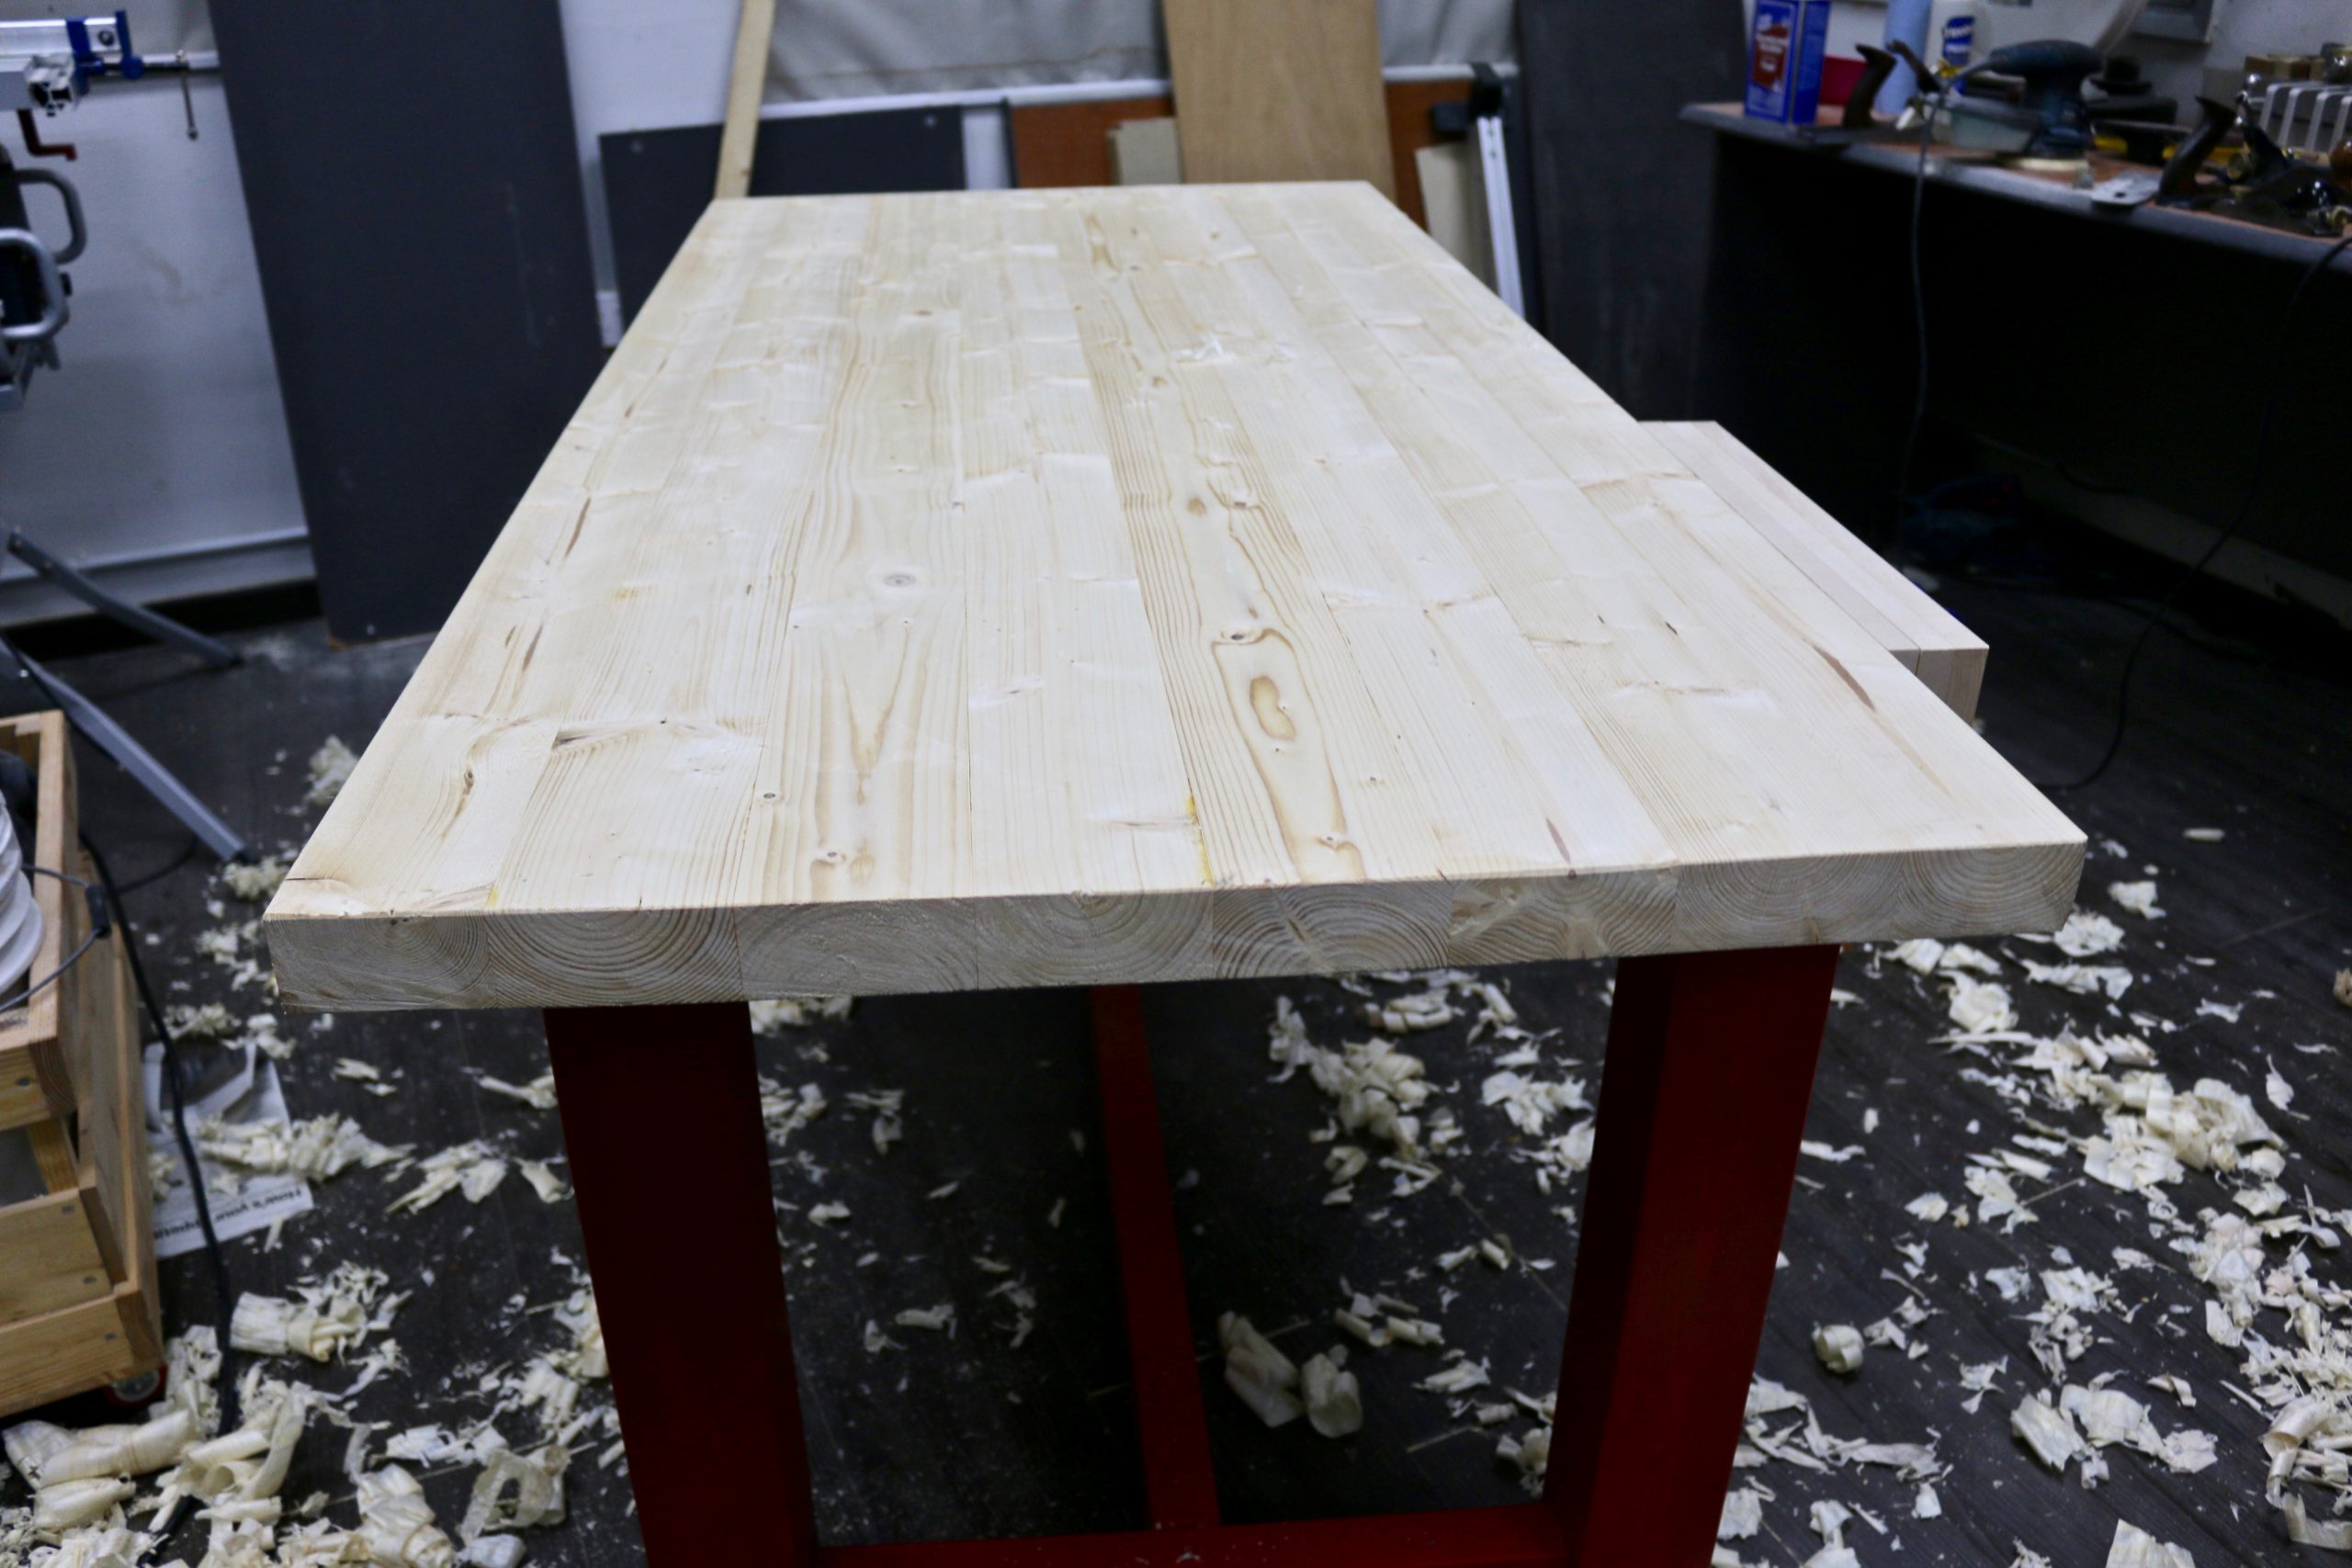
I then planed the top of the hard maple clamps flush with my workbench top and added bevels to the vise faces using my Stanley block plane. The No. 7 Stanley jointer plane works the best for flattening a large surface, but a No 5. Jack plane would do if that is what you have.
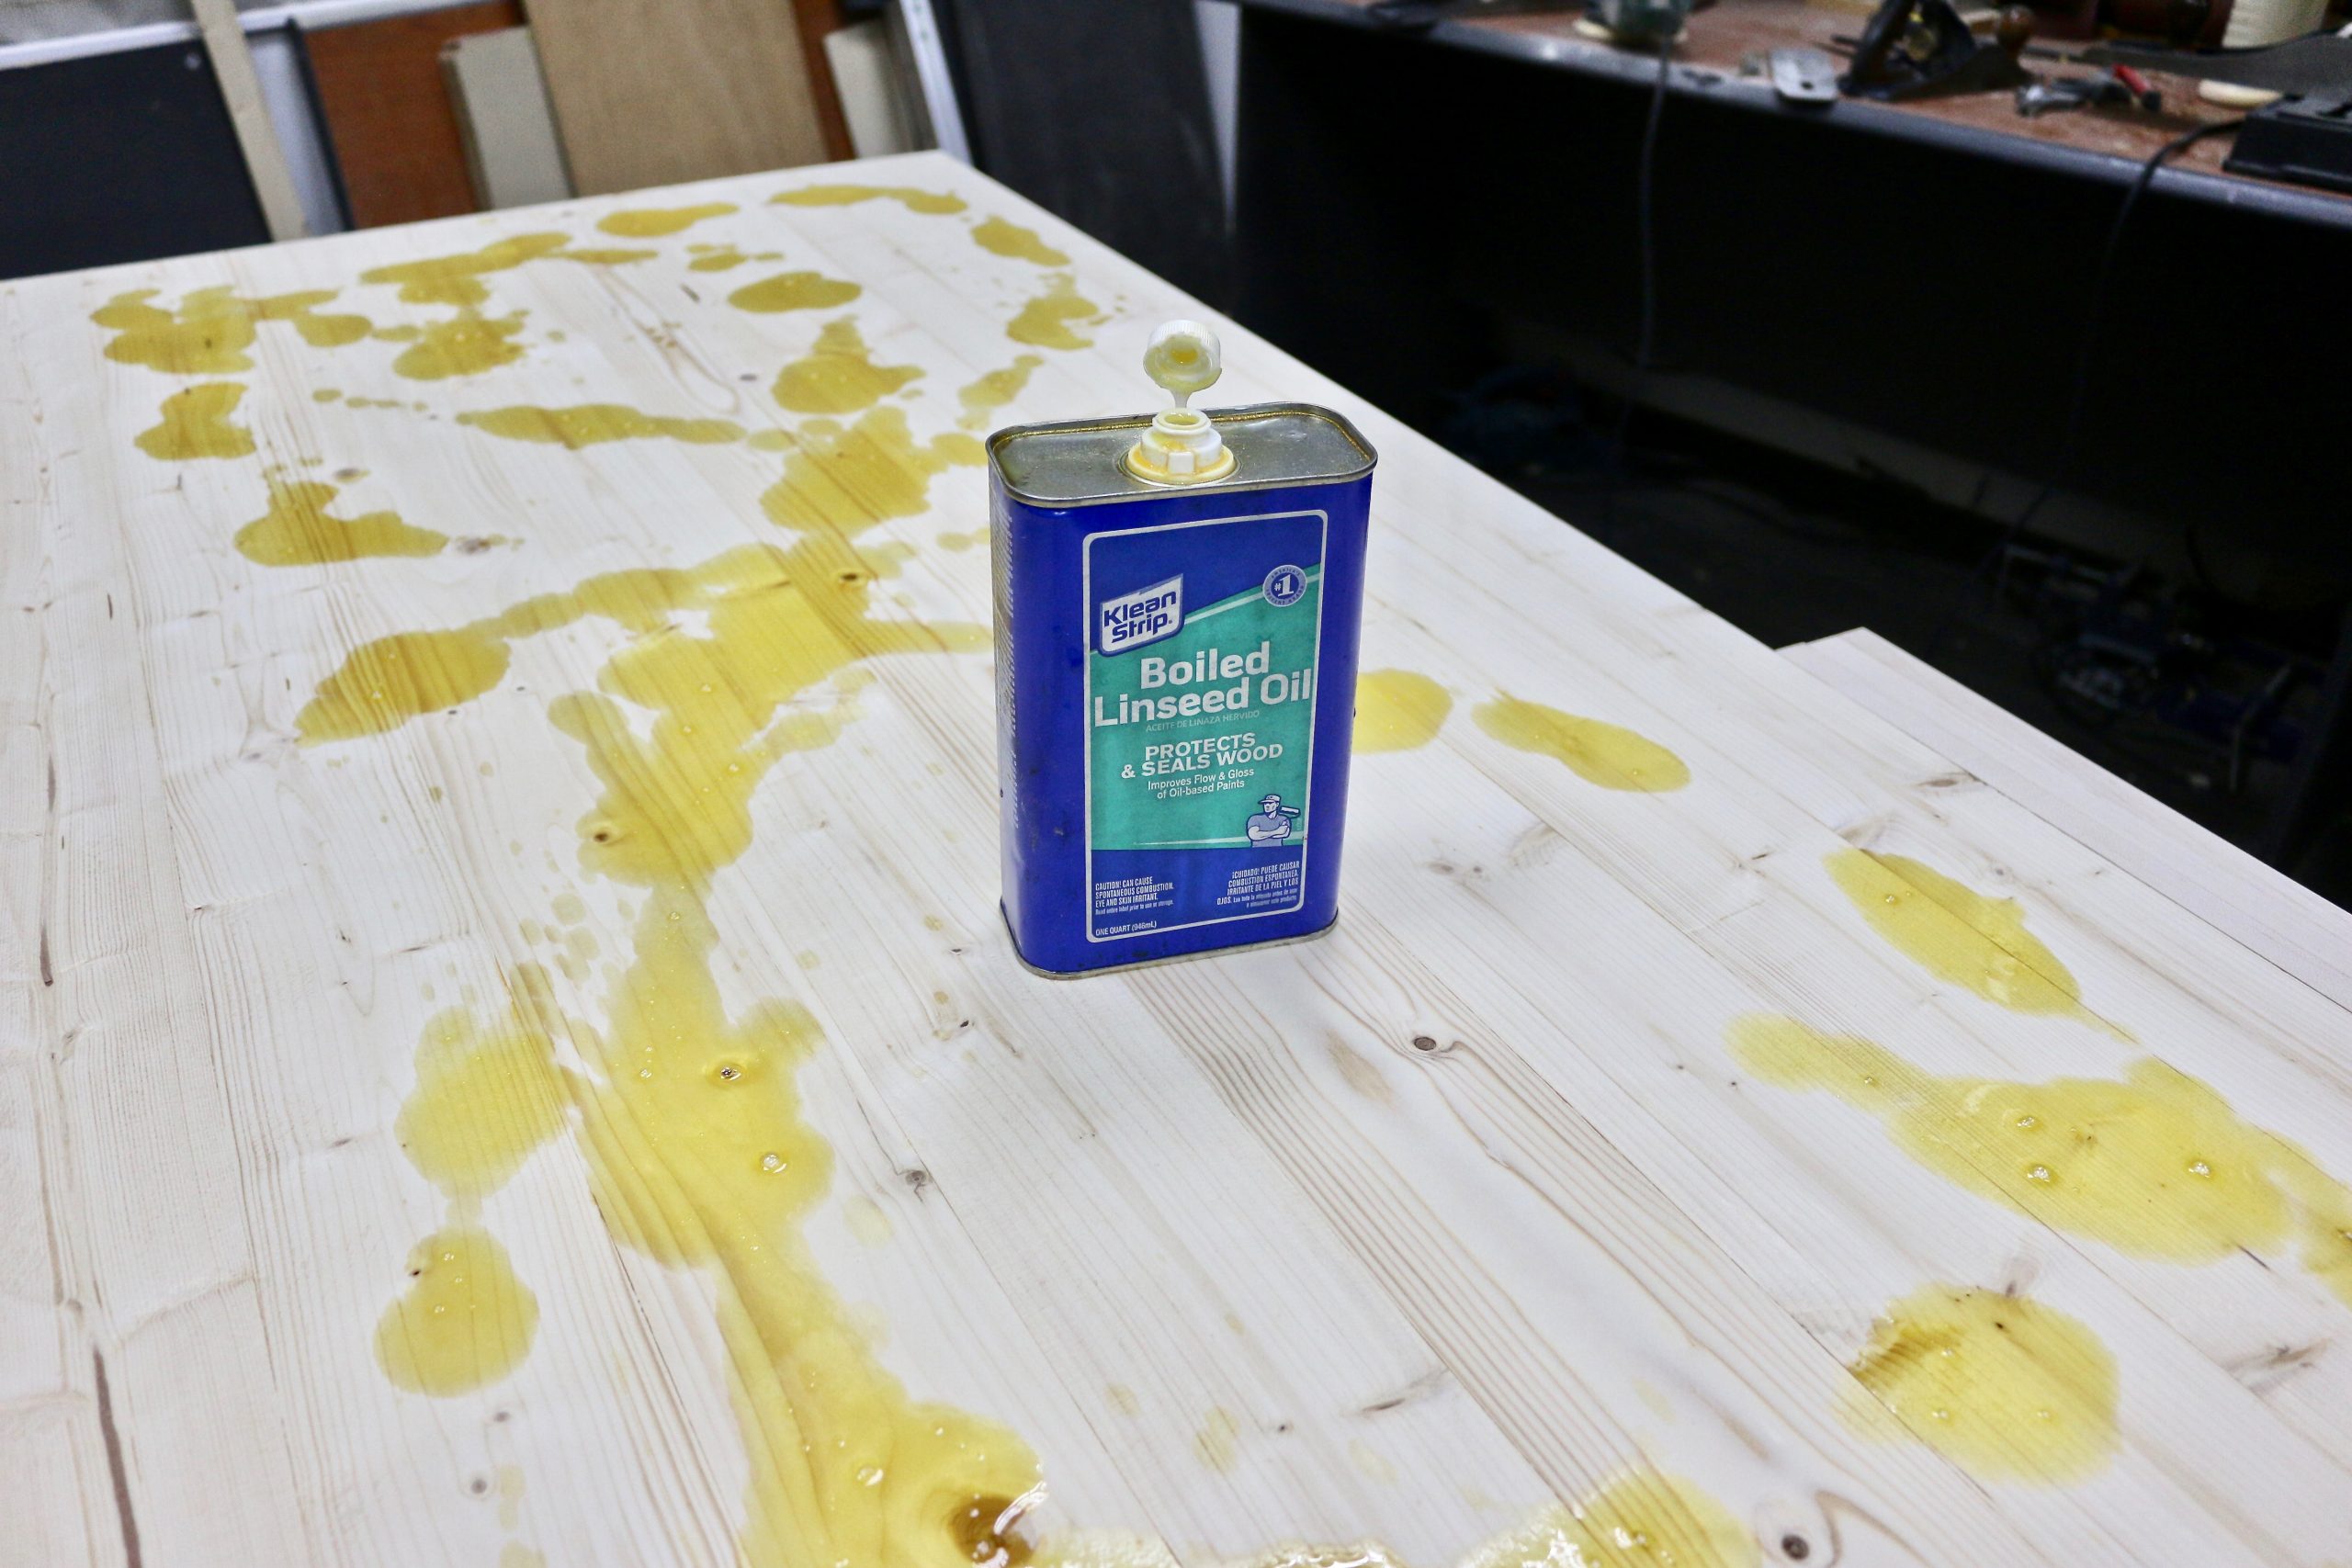
When I was happy with how flat it was (it was not perfectly flat), I applied some boiled linseed oil as a quick finish.
I didn’t see the need to use any other type of permanent finish, as I expect both the tabletop and the vise to take quite a beating. It will require re-finishing several times in the next few years.
Making or Buying A Vise Handle
You can turn a vise handle if you have a lathe. The actual inner diameter is just over 1″. Size your handle to 1″ and it should be just right.
You can also buy 1″ dowels, cut it to the required length, and hand-sand it down to fit correctly. Here are some 1″ dowels you can get from Amazon.
You can also buy a pre-made 1″ vise handle from Amazon. Check the item description to make sure you’re getting the right diameter for your Yost vise.
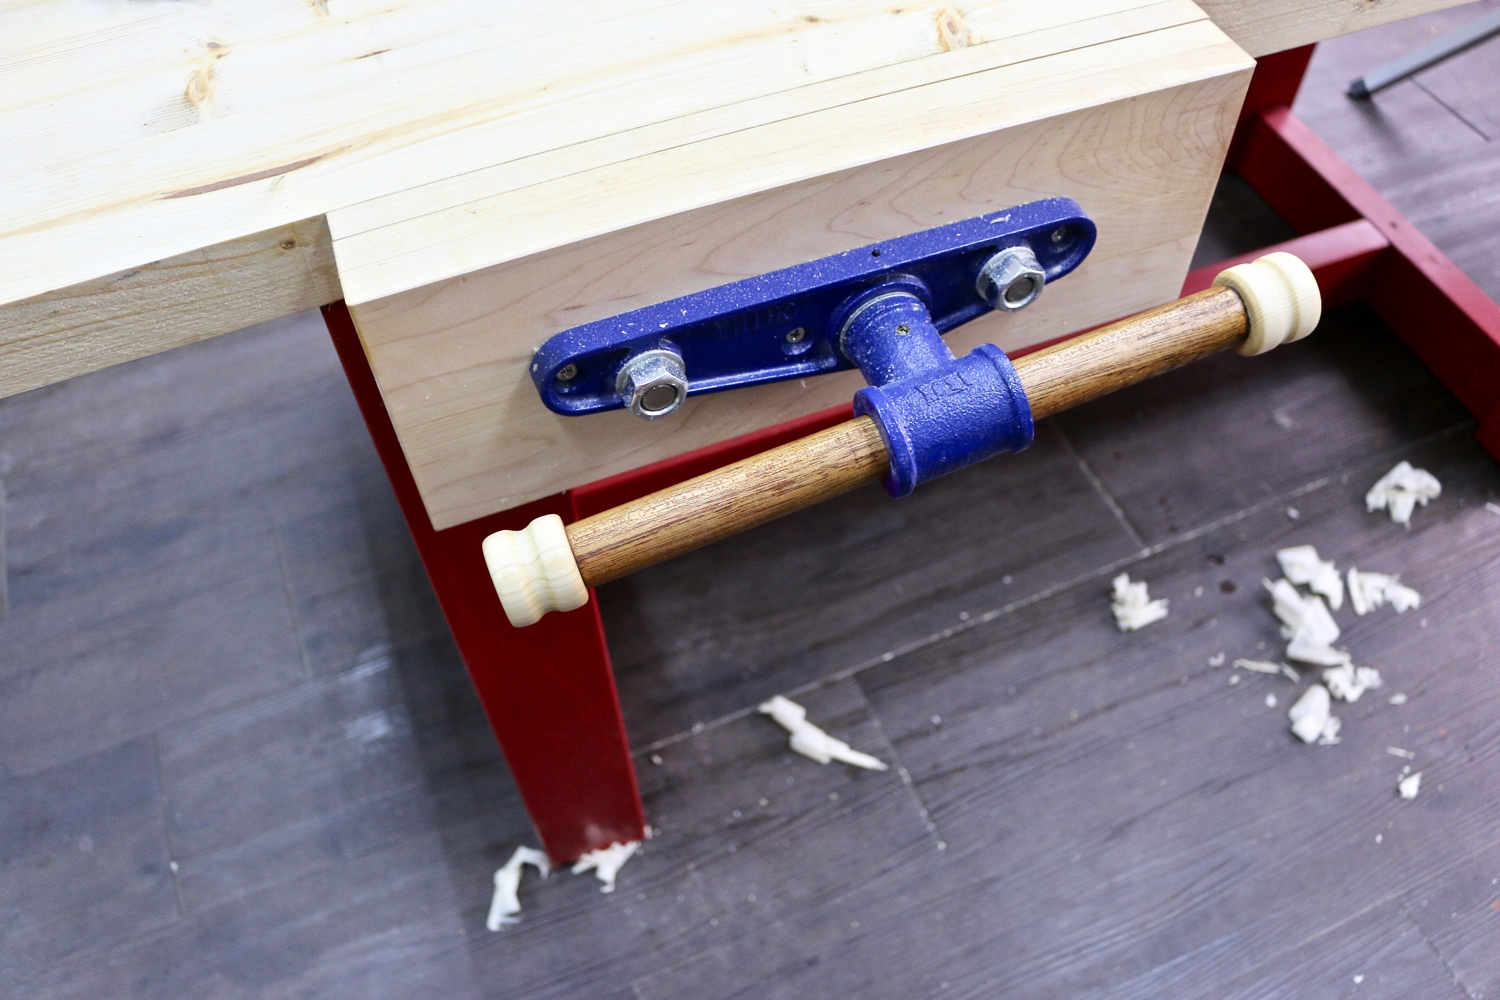
I managed to make mine from a few pieces of scrap wood, and was more than happy with the result. If you’re interested in making one, read this step-by-step guide to turning or making your own wooden vise handle.
Drilling Dog Holes on the Vise and Bench
Bench dogs will add more clamping options to your Yost woodworking vise. I bought these affordable plastic bench dogs from Amazon that require 3/4″ holes.
I used Porter Cable Forstner drill bits. I drilled three holes on my Yost vise’s front face and another three sets of matching parallel holes on my workbench. I did not want to drill any more holes for now, as I can always do them later when required.
I will give you some tips on drilling dog holes in a different article.
Testing The Yost 10″ Front Vise and Bench Dogs
So now that everything was done, I cleared up the mess and tested out the Yost 10″ front vise. It worked like a charm!
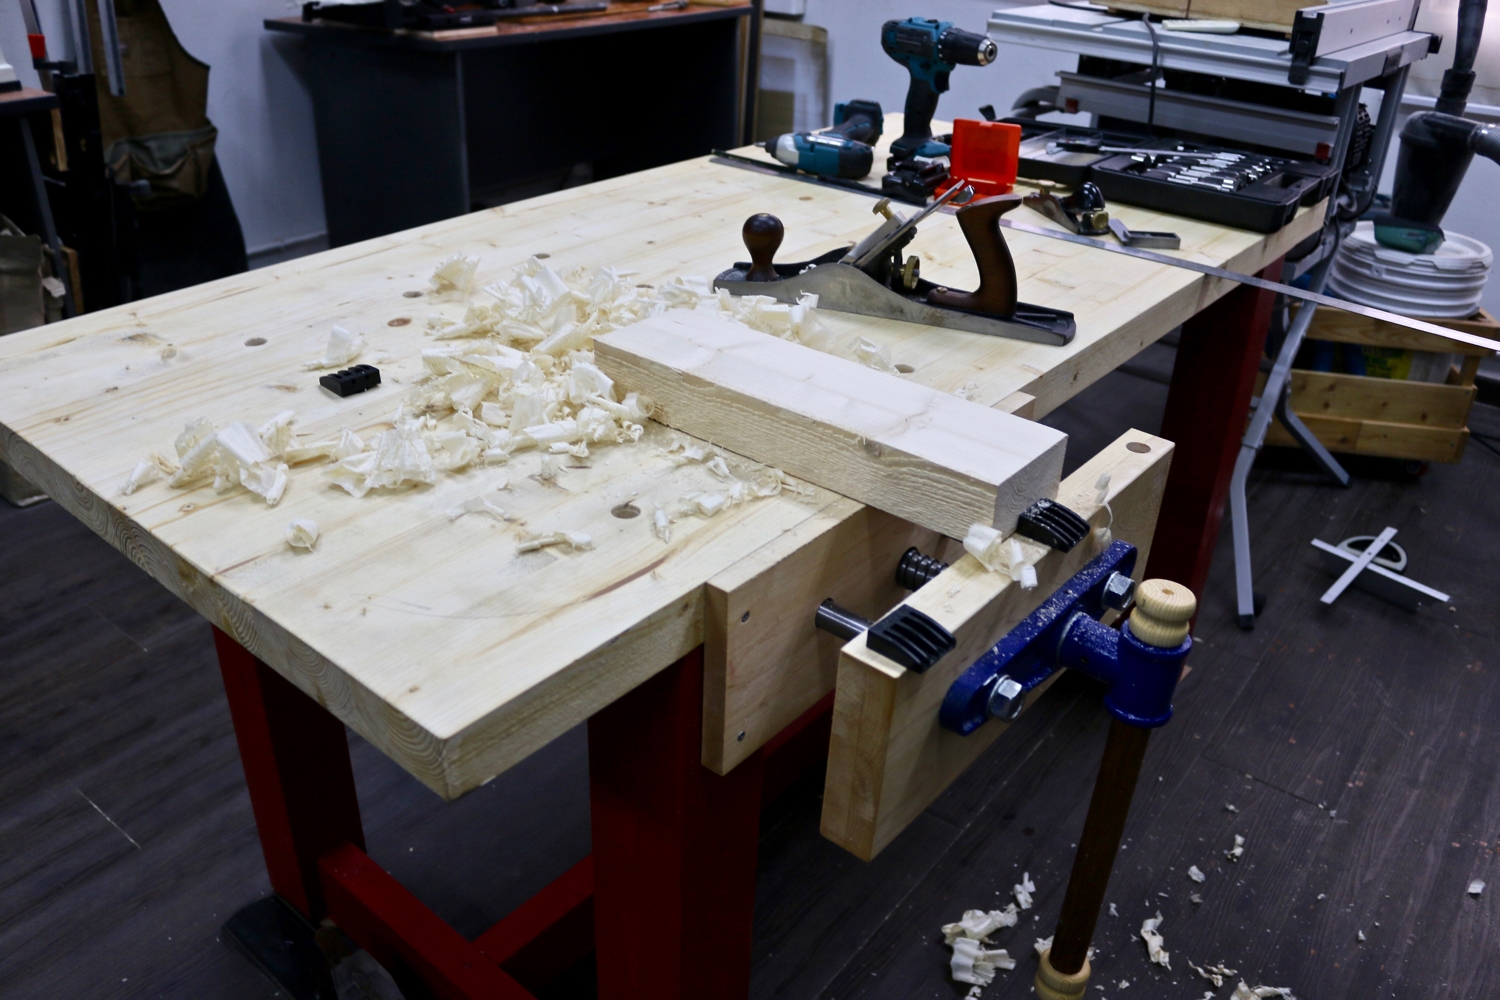
Before building my workbench, I struggled with my Black and Decker Workmate when trying to plane wood. It just didn’t have the weight to stay put.
With the Yost 10″ vise mounted on my workbench, everything changed. I was able to clamp rough-sawn lumber securely and plane away with zero vibration or movement. Suddenly, using hand planes felt so much easier.
With the bench dogs in place, I had even more options for larger panels. Although nothing I build in the next year will be as large as my workbench, flattening the tabletops of small end tables is going to be so much easier now.
Overall, I am very happy with the 10″ Yost woodworking vise. I hope this guide helped you how to mount the Yost vice easily and securely.